Guide of Garalon available in the Band instance Heart of Fear.
It may be time to rethink about stepping on bugs. Don't laugh at this behemoth's tiny wings - it will only make him angry.
General Information
| Difficulty | "Salud" | Enrage | Band | |||
|---|---|---|---|---|---|---|
| Garalon | Legs | Tank | Healers | DPS | ||
| 10-jug | 109M | 3.1M | 7 min | 2 | 2-3 | 5-6 |
| 25-jug | 654M | 20M | 7 min | 2 | 5-6 | 17-18 |
| LFR | ?? | ?? | - | 2 | 5-6 | 17-18 |
Skills
-

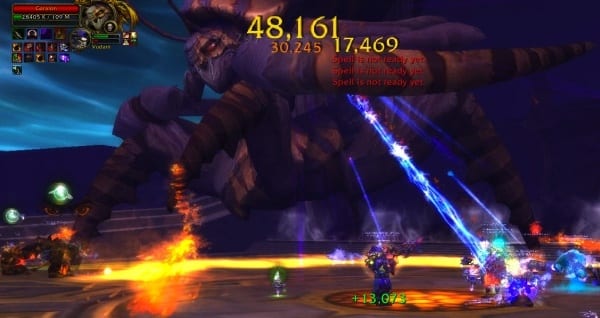
Furious scourge: Garalon fires a Furious Swipe at targets in a cone in front of him, inflicting 800000 damage. of physical damage. If Garalon fails to hit at least 2 targets with his Furious Swipe, he gains Fury.
-
Furia: Rage increases Garalon's damage by 10% and his movement speed by 10% for 30 sec. This effect stacks.
-
-
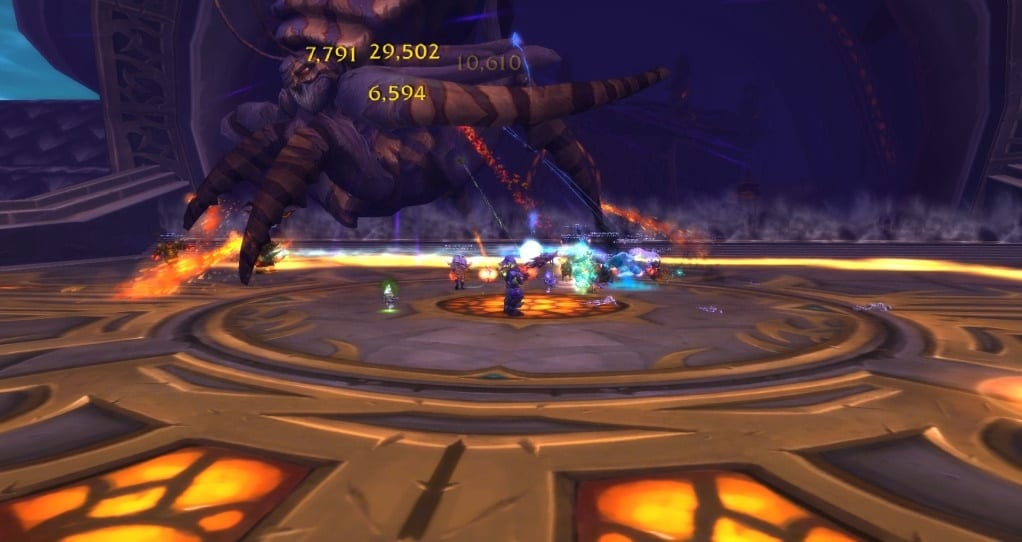
Crush: Garalon crushes his enemies, inflicting 250000 damage. physical damage to all players. Any player within 12 yards is awarded 800000. extra physical damage when Garalon's body falls on them. Garalon's immense size also knocks down all players for 2 seconds. Garalon crushes his enemies whenever he senses their presence under him.
Normal, Garalon also crushes his enemies when the Pheromones are transmitted to a new target.
Heroic, Garalon periodically crushes his enemies.
-
Pheromones: Garalon surrounds a player with powerful pheromones that lock onto the target. Pheromones inflict 2 every 20000 seconds. Nature damage, inflict Sharpness on the target and create a Pheromone Trail. Pheromones are passed on to nearby allies.
-
Bite: Exposure to Garalon's pheromones makes the target much more scathing, increasing pheromone damage by 10% for 1,25 min. This effect stacks.
-
Pheromone trail: Pheromone trail on the ground inflicts 100000 damage. Nature damage to players within 4 yards.
- Garalon Legs: Players attack Garalon's legs separately from his body.
-
Weak point: Being close to Garalon's leg allows players to see weak spots, increasing his damage dealt to the leg by 100%.
-
Broken leg: Breaking Garalon's leg damages Garalon for 3% of his maximum health and reduces Garalon's movement speed by 15%. This effect stacks up to 4 times.
-
Heal leg: Garalon periodically heals one of his broken legs, bringing him back to full health.
-
Damaged: On Heroic Difficulty, Garalon gains the Damaged effect when his health reaches 33%.
-
Pheromones: While Garalon has the Damaged effect, Garalon ignores the fixate effects of Pheromones.
-
Body to body: While Garalon has the Damaged effect, Garalon uses his normal melee attack and gains a significant speed increase.
-
Strategy
{tab = Summary}
Fight Summary
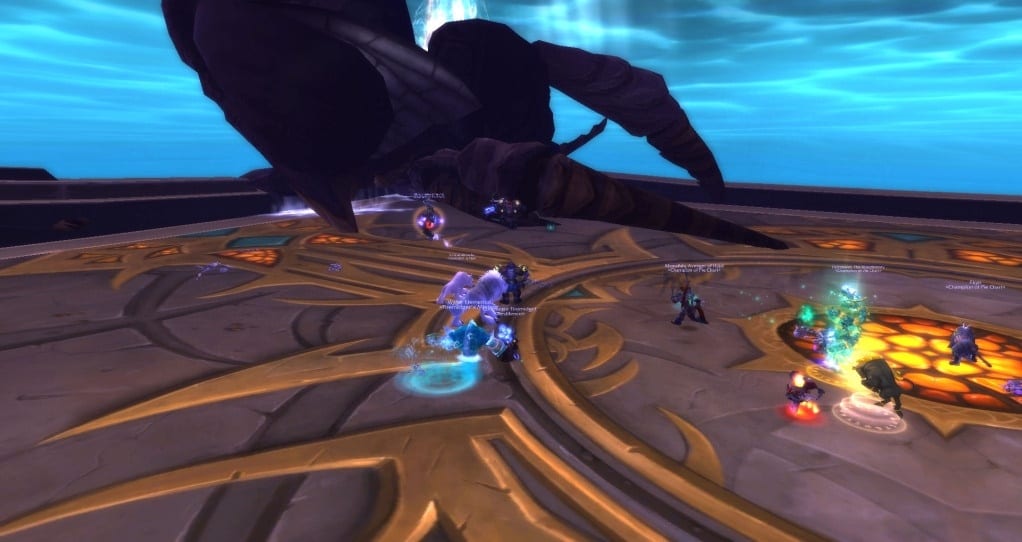
Garalon is a single phase fight. The boss does not deal melee damage, and must be kite for the entire encounter. However, Tankes are still required.
Garalon will always randomly fixate on a gang member and move towards them. Who he looks at is determined by a debuff that the boss applies, which can be passed from one player to another. Therefore, your gang can control who the boss follows. The same player cannot have the debuff for a long time, as it deals increased damage to them.
The four legs are separated, they can be attacked and eliminated. Removing one of the legs damages and slows Garalon (this effect is proportional to the number of legs removed). Slowing down Garalon makes kiteboarding considerably easier and ensures that he doesn't get close to the kiterer. Garalon will periodically revive his legs, so killing them is something that must be done throughout the fight. Note that attacking the legs is not a loss of DPS since the damage done to the legs is transferred to Galaron.
The only role of the tank in the encounter is to take damage from a frontal cone attack by the boss, which must be taken by at least two players.
{tab = Skills}
Skills
There are three separate elements to the Garalon fight, and you must understand all of them, as well as their synergy, to understand the fight.
Pheromone debuff
You must understand the debuff that Garalon applies, as it is the key to the encounter. When faced, GarWhen, Garalon will throw ![]()
Pheromones to the players who pull it. Cast this debuff only once, but it will stay active throughout the fight. Pheromones have several effects.
- As long as the Pheromones are active (always), it will constantly do a small nature damage but it increases to the entire band, every two seconds.
- Garalon notices a player who is carrying the Pheromones, and moves towards him.
- The player wearing the Pheromones is affected in two ways.
- They receive a debuff that accumulates called

Bite, which increases the damage that
Pheromones They deal the entire raid, for 10% of their base damage, per stack. Mordacity lasts for two minutes in the 10 person and 4 minutes in the 25 person. Stacks every two seconds.
- They leave a trail of damage zones behind, called
- They receive a debuff that accumulates called
- Pheromones can be passed to different players, simply by having contact with them. That is, when the player carrying the debuff comes within 2 yards of another player, the debuff will move to that player.
Pheromone damage is reset to its base damage every time you switch carriers. For example, if the wielder of the debuff has 10 stacks of Sharpness, then the Pheromones will do 100% extra damage to the entire raid. When the debuff is passed to a new player (who has no Sharp stacks), the Pheromones will deal their base damage to the entire raid. Therefore, the damage that the band receives from the Pheromones will have a predictable pattern of low-medium-high-low.
However, if a player who already has Sharp stacks receives the debuff when it is passed, the Pheromones will deal their damage based on this player's Sharp stacks.
If carrier of the debuff dies, the debuff will remain in your body and its number of stacks will continue to increase. If this happens, someone has to move into the player's body and receive the debuff, just as if they were alive.
Garalon attacks
The next thing you need to understand is the damage Galaron does. Garalon has two abilities.
-
To crushInflicts 800000 damage. Physical damage to enemies within 12 yards and 75000. Physical damage to all enemies below Galaron. Garalon's heavy weight also knocks down enemies for 2 seconds. The boss launches this when the following conditions are met:
- the Pheromone debuff is passed on to a new player;
- a member of the gang is under Garalon.
-
Furious scourge Deal physical damage to targets in a large cone in front of Garalon. If Garalon fails to hit a minimum of 2 targets, he receives a stacking buff called.
-
Furia Damage dealt is increased by 10% and movement speed by 10% for 30 seconds per stack.
The purpose of the fighting mechanism, below de Garalon means within 12 yards of its center. Since Galaron has a massive model, the 12-yard radius is still under his model. This 12-yard radius is visually indicated by a circle on the ground, under Garalon.
{tab = The legs}
The Legs of Garalon
They are separate NPCs which can be targeted, attacked, and eliminated. They do not share health, neither with each other nor with Garalon. These legs are located at the ends of the giant Garalon, in the four corners (if you imagine Garalon as a cuador).
Each time one of Garalon's legs is removed, Garalon takes 3% of his maximum health as damage, and takes a stacking debuff that slows him by 15% per stack, up to 4 times.
Removing the legs is easy by ![]()
Weak points, a buff the player receives when they are within 12 yards of one of Garalon's legs. This increases the damage they do to the leg to 100%. Players within 12 yards of the leg must be careful not to accidentally move under Garalon.
Garalon will periodically release ![]()
Heal leg, which instantly revives one of its legs.
Visual aids
When facing Garalon, you will notice a circle under his model. This is a visual aid to indicate the area that counts as being under the boss. If any gang members are in this area, the boss will cast ![]()
To crush, and will deal increased damage to players in this area.
There are also visual aids positioned to help players see the exact range of the ![]()
Weak points. These are only visible to players who are near one of Garalon's legs.
{tab = Strategy}
Strategy
The strategy to defeat Garalon can be summarized as follows.
- Pass the
Pheromones between players. You should do this as few times as possible, so that Garalon casts little
To crush, but you must also make sure that no one wears the Pheromones for long, so that the damage to the band does not overwhelm those who heal.
- Make sure the player who kites Garalon is efficient, minimizing the space taken up by the
- Have each
Furious scourge received by the two tanks, and no one else is hit by this.
- Make sure no one activates a
To crush for being under him, and no one being under him when Smash occurs.
- All of Garalon's legs must be dead at all times.
In the following sections, we will go into detail on each of these aspects.
Tank Duty
The tanks have a simple task in this encounter, always be in front of Garalon. They will have to take damage from the ![]()
Furious scourge, which throws it often. The damage from this ability is not a problem for tanks, unless they are on low health.
Since Garalon will change direction based on the player's location he is targeting, it is important that tanks pay attention to this and make sure to adjust their position.
Controlling Pheromones
The biggest challenge in the match will come in the way your gang controls the ![]()
Pheromones. Your goal is to debuff between players as few times as possible. Under normal circumstances, the debuff wielder should consider passing it when they hit close to 20 stacks, which will deal 45,000 damage every two seconds. Also note that a new stack is added every 2 seconds, wanting players in the 25, before the first player's stack is removed, say that the bearer carries it for 40 seconds. You will have between 3-4 players in the 10-person band, and 6-8 before the debuff is removed from the first player to receive it.
You should assign specific players to control this debuff. Because the wearer has to constantly move because of the damage zones they leave behind, it is best to assign classes that do not suffer much from the movement. Hunters, tanks and healers are the best alternatives, but you will not always have the luxury of choosing them (especially in the 10 person one).
The first player to receive the debuff will be the player closest to Garalon when he fights, so you can easily control the succession of players who receive the debuff.
You must also remember the interaction between passing the Pheromones and the ability ![]()
To crush of Garalon. Every time the debuff is passed, Garalon will launch this, dealing extensive damage to the raid and knocking players down for 2 seconds.
While we cover Crush healing concerns in another section, you should keep in mind: do not pass the debuff more than necessary. You should especially avoid miscommunication situations, where players trying to pass the debuff from one to another stay in melee range and continue debuffing each other.
Kiteo pattern
The bearer of the ![]()
Pheromones will be set by Garalon. This player should kite the boss, keeping two things in mind.
- They must always be away from Garalon so that his frontal attack does not hit them. The range of his attack is 15-20 yards.
- They must move in such a way that the
Pheromone trail that they leave behind do not impede the movement and positioning of the belt.
Ideally, Garalon should be kitered near the ends of the room. The first player who is pinned by Garalon must go to the corner of the room, wait until Garalon is close, and then move around the sides of the room.
Also, it is important to minimize the amount of space that damage zones take up. This means that, as soon as those damage zones appear, the player must move away from those zones as soon as necessary, and stand at the ends of the zone until a new one appears. This will cause the damage zones to partially overlap, taking up less space.
Healer Concerns
There are several significant sources of damage in this fight.
First, the two tanks regularly take big hits, so they must maintain stable health during the fight.
Second, the entire raid will constantly take a varying amount of nature damage every 2 seconds. This damage is low each time the Pheromones change targets, but increases the amount of time the wearer takes the debuff further. As said before, you can expect hits for more than 40,000 every two seconds in the worst case.
In addition to this, there are three other potential sources of damage.
- A lot of damage to the band
To crush. If your band's performance is controlled, you should be able to anticipate when this happens when
Pheromones be passed on to others.
- Damage to the band who stand or walk through the damage areas left by the carriers of the Pheromones.
Any player who is under Garalon when he casts Crush will be killed instantly.
Eliminate Legs
During the course of the fight, the DPS will have to kill Garalon's legs. More specifically, they will have to kill all 4 to start, and kill any paws that Garalon revives.
When killing a leg, it is very important to take advantage of ![]()
Weak points. This means that all DPS hitting the paws must move within melee range of the paw.
In doing so, players must be careful not to enter the area that counts as being under Garalon, as doing so will activate ![]()
To crush, and will kill them in the process.
When to use Heroism / Bloodlust / Time Warp
We recommend using ![]()
Temporal Distortion at the beginning of the fight. This is when everyone's cooldowns are available, and you can make sure the entire gang is alive.
{/ Tabs}
Learning the fight
The main problem that you will encounter while your band learns the fight with Garalon, is the proper handling of the ![]()
Pheromones , Of the ![]()
Pheromone trail , as well as the good positioning of your band.
We recommend that you start by focusing on no one except the tanks in front of Garalon, while the person carrying the Pheromones stays as far away from the boss as possible. This will give more time to get used to the mechanism.
DPS should always focus on killing Garalon's paws as it slows him down and will save a lot of time.
You will have to put an order of players to receive the Pheromones.
Once these skins are ready, you can start fine-tuning your execution, focusing on optimizing the DPS on the legs and boss, and improving the handling of the damage zones of the game. ![]()
Achievements
The achievement ![]()
No crush on the knee it is part of the goal achievement ![]()
Glory of the Pandaria Raider. The achievement requires you to defeat Garalon without destroying any of his legs.
In practice, this means that you will have to fight Garalon having a higher movement speed than you normally have with all of his legs removed. The easiest way is to make sure whoever is pinned can survive the damage from ![]()
Furious scourge, which will almost certainly always hit.
Additionally, Garalon will cover distances faster, and the player who is pinned must move faster. This means that they will not be able to accumulate the damage zones of ![]()
Pheromone trail dexterously, and your band will have to go to greater lengths to avoid positioning themselves in them.
Dispossession / Loot
{tab = Normal}
| Name | Fashion | Level | Request. | Box | Type | |
|---|---|---|---|---|---|---|
| Ring of the Shattered Shell | Normal | 496 | 90 | Finger | Ring | |
| Garalon Hollow Skull | Normal | 496 | 90 | Head | Plate armor | |
| Stormrunner Mist Cloak | Normal | 496 | 90 | Back | Cover | |
| Garalon's Etched Shell | Normal | 496 | 90 | Chest | Plate armor | |
| Xaril's Hood of Intoxicating Vapors | Normal | 496 | 90 | Head | Cloth armor | |
| Collar of Curdled Weakness | Normal | 496 | 90 | Neck | Amulet | |
| Panic claws | Normal | 496 | 90 | Hands | Plate armor | |
| Great cape of legbreaker | Normal | 496 | 90 | Back | Cover | |
| Bonebreaker Gauntlets | Normal | 496 | 90 | Hands | Leather armor | |
| Grips of the Leviathan | Normal | 496 | 90 | Hands | Mesh armor | |
| Sandals of the Unexpected | Normal | 496 | 90 | Feet | Cloth armor | |
| Shoulders of Foaming Fluids | Normal | 496 | 90 | Shoulder | Cloth armor | |
| Robes of Eighty Lights | Normal | 496 | 90 | Chest | Leather armor | |
| Vestments of Vapor Ichor | Normal | 496 | 90 | Chest | Mesh armor | |
{tab = Heroic}
| Name | Fashion | Level | Request. | Box | Type | |
|---|---|---|---|---|---|---|
| Ring of the Shattered Shell | Heroic | 509 | 90 | Finger | Ring | |
| Garalon Hollow Skull | Heroic | 509 | 90 | Head | Plate armor | |
| Stormrunner Mist Cloak | Heroic | 509 | 90 | Back | Cover | |
| Xaril's Hood of Intoxicating Vapors | Heroic | 509 | 90 | Head | Cloth armor | |
| Collar of Curdled Weakness | Heroic | 509 | 90 | Neck | Amulet | |
| Panic claws | Heroic | 509 | 90 | Hands | Plate armor | |
| Great cape of legbreaker | Heroic | 509 | 90 | Back | Cover | |
| Bonebreaker Gauntlets | Heroic | 509 | 90 | Hands | Leather armor | |
| Grips of the Leviathan | Heroic | 509 | 90 | Hands | Mesh armor | |
| Sandals of the Unexpected | Heroic | 509 | 90 | Feet | Cloth armor | |
| Robes of Eighty Lights | Heroic | 509 | 90 | Chest | Leather armor | |
{tab = Normal 25}
| Name | Fashion | Level | Request. | Box | Type | |
|---|---|---|---|---|---|---|
| Ring of the Shattered Shell | Normal | 496 | 90 | Finger | Ring | |
| Garalon Hollow Skull | Normal | 496 | 90 | Head | Plate armor | |
| Stormrunner Mist Cloak | Normal | 496 | 90 | Back | Cover | |
| Garalon's Etched Shell | Normal | 496 | 90 | Chest | Plate armor | |
| Xaril's Hood of Intoxicating Vapors | Normal | 496 | 90 | Head | Cloth armor | |
| Collar of Curdled Weakness | Normal | 496 | 90 | Neck | Amulet | |
| Panic claws | Normal | 496 | 90 | Hands | Plate armor | |
| Great cape of legbreaker | Normal | 496 | 90 | Back | Cover | |
| Bonebreaker Gauntlets | Normal | 496 | 90 | Hands | Leather armor | |
| Grips of the Leviathan | Normal | 496 | 90 | Hands | Mesh armor | |
| Sandals of the Unexpected | Normal | 496 | 90 | Feet | Cloth armor | |
| Shoulders of Foaming Fluids | Normal | 496 | 90 | Shoulder | Cloth armor | |
| Robes of Eighty Lights | Normal | 496 | 90 | Chest | Leather armor | |
| Vestments of Vapor Ichor | Normal | 496 | 90 | Chest | Mesh armor | |
{tab = Heroic 25}
| Name | Fashion | Level | Request. | Box | Type | |
|---|---|---|---|---|---|---|
| Ring of the Shattered Shell | Heroic | 509 | 90 | Finger | Ring | |
| Garalon Hollow Skull | Heroic | 509 | 90 | Head | Plate armor | |
| Stormrunner Mist Cloak | Heroic | 509 | 90 | Back | Cover | |
| Xaril's Hood of Intoxicating Vapors | Heroic | 509 | 90 | Head | Cloth armor | |
| Collar of Curdled Weakness | Heroic | 509 | 90 | Neck | Amulet | |
| Panic claws | Heroic | 509 | 90 | Hands | Plate armor | |
| Great cape of legbreaker | Heroic | 509 | 90 | Back | Cover | |
| Bonebreaker Gauntlets | Heroic | 509 | 90 | Hands | Leather armor | |
| Grips of the Leviathan | Heroic | 509 | 90 | Hands | Mesh armor | |
| Sandals of the Unexpected | Heroic | 509 | 90 | Feet | Cloth armor | |
| Robes of Eighty Lights | Heroic | 509 | 90 | Chest | Leather armor | |
{tab = Raid Finder}
| Name | Fashion | Level | Request. | Box | Type | |
|---|---|---|---|---|---|---|
| Ring of the Shattered Shell | Band finder | 483 | 90 | Finger | Ring | |
| Garalon Hollow Skull | Band finder | 483 | 90 | Head | Plate armor | |
| Stormrunner Mist Cloak | Band finder | 483 | 90 | Back | Cover | |
| Garalon's Etched Shell | Band finder | 483 | 90 | Chest | Plate armor | |
| Xaril's Hood of Intoxicating Vapors | Band finder | 483 | 90 | Head | Cloth armor | |
| Collar of Curdled Weakness | Band finder | 483 | 90 | Neck | Amulet | |
| Panic claws | Band finder | 483 | 90 | Hands | Plate armor | |
| Great cape of legbreaker | Band finder | 483 | 90 | Back | Cover | |
| Bonebreaker Gauntlets | Band finder | 483 | 90 | Hands | Leather armor | |
| Grips of the Leviathan | Band finder | 483 | 90 | Hands | Mesh armor | |
| Sandals of the Unexpected | Band finder | 483 | 90 | Feet | Cloth armor | |
| Robes of Eighty Lights | Band finder | 483 | 90 | Chest | Leather armor | |
| [Shoulders of Foaming Fluids] | Band finder | 483 | 90 | Shoulder | Cloth armor | |
| [Vestments of Steaming Ichor] | Band finder | 483 | 90 | Chest | Mesh armor | |
{/ Tabs}
Photos

Videos
{tab = MMO-Champion}
{tab = Method} {tab = Other} {/ Tabs}Rewards
Thanks to the sites Wow head y MMO-Champion.