Mel'jarak Windlord's Guide available in the Band instance Heart of Fear.
Windlord Mel'jarak leads the considerable mantid air forces. Although oozing arrogance, this cunning insectoid is very protective of his soldiers and enjoys fighting alongside them. Mel'jarak believes that mantid are superior to all other races and is convinced that they are impossible to defeat.
General Information
| Difficulty | Mel'jarak | Battlecaster Zar'thik | Amber Trapper Sra'thik | Kor'thik Elite Steelmasters |
|---|---|---|---|---|
| 10-jug | 87M | 25.2M | 25.2M | 25.2M |
| 25-jug | 340M | 84M | 84M | 84M |
| LFR | ??? m | ?? | ?? | ?? |
Composition of the Raid.
| Difficulty | Tanks | Healers | DPS |
|---|---|---|---|
| 10-jug | 2 | 2-3 | 5-6 |
| 25-jug | 2-3 | 5-6 | 16-18 |
| LFR | 2 | 5-6 | 17-18 |
Skills
Windlord Mel'jarak leads the considerable mantid air forces. Although oozing arrogance, this cunning insectoid is very protective of his soldiers and enjoys fighting alongside them. Mel'jarak believes that mantid are superior to all other races and is convinced that they are impossible to defeat.
![]()
Rotating blade: Windlord Mel'jarak throws his sword at a random player's location, inflicting 80000. physical damage to all players in his path. After the sword reaches its destination, it returns to Windlord Mel'jarak. The sword also inflicts 80000. physical damage to all players who are on their way back.
![]()
Rain of Swords: Windlord Mel'jarak throws swords at all players, inflicting 25000 damage. of physical damage. Wind Lord Mel'jarak throws three sets of swords before stopping.
![]()
Watchful eye ![]()
: Windlord Mel'jarak watches over his swarm and removes all forms of crowd control from all warriors if he notices players incapacitating more than four.
When a group falls from the swarm of Windlord Mel'jarak, he becomes more vigilant. Now removes all forms of crowd control from all warriors if you notice players incapacitating more than two.
When a second group falls from Windlord Mel'jarak's swarm, he becomes even more vigilant, removing all forms of crowd control from all warriors if he notices players incapacitating any.
![]()
On Heroic Difficulty, Windlord Mel'jarak does not become more vigilant and only removes crowd control effects if players incapacitate more than four warriors.
![]()
Reinforcement ![]()
(heroic):When a group of Windlord Mel'jarak falls, he summons a new group of warriors to replace them. Summons these reinforcements 45 seconds after a party falls.
![]()
Recklessness (normal): When the windlord Mel'jarak sees a group of his warriors fall in battle, he becomes uncontrollable for the remainder of the battle. This increases the damage you deal and take by 50%. This effect stacks.
![]()
Temerity ![]()
(heroic): When Windlord Mel'jarak sees a group of his warriors fall in combat, he becomes reckless for 30 seconds. This increases their damage dealt by 100% and their damage taken by 300%.
SWARM
The swarm: Windlord Mel'jarak fights alongside his most loyal warriors. ![]()
Fate of the swarm
Each group in the Mel'jarak swarm shares its health with the other members of the swarm.
![]()
Impaling spear
Up to 4 players can use weapon racks left behind by the mantid army to earn the Impaling Spear ability.
Impaling Lance stuns a target for 50 sec. Any damage dealt directly to the target by a player causes the target to be released.
Amber Trapper Sra'thik ![]()
Amber Prison
Sra'thik Amber Trappers lock a random player in Amber, stunned until released.
Players can hit the Amber Prison and free their imprisoned allies by interacting with it. Residue affects players who destroy Amber Prisons.
![]()
Residue
Residue prevents a player from destroying Amber Prisons for 45 seconds.
![]()
Corrosive resin
Sra'thik Amber Trappers cover a player with 5 stacks of Corrosive Resin for 30 sec, inflicting 10000 damage. Nature damage every second per stack. Moving while affected by Corrosive Resin removes one of its stacks and creates a pool of Corrosive Resin at the player's location.
![]()
Puddle of corrosive resin
Pools of Corrosive Resin inflict 10000 damage. Nature damage every second to all players in the pool.
Battlecaster Zar'thik ![]()
Relieve ![]()
Zar'thik Battlecasters assist their allies, healing a group in the swarm for 15% of their maximum health. ![]()
Acceleration ![]()
Zar'thik Battlecasters accelerate the entire swarm of Mel'jarak, increasing all damage dealt and melee attack speed by 25% for 15 sec. This effect stacks. Elite Steelmaster Kor'thik ![]()
Kor'thik Strike
The elite Kor'thik Steelmasters focus on a single player and strike in unison; each inflicts 150000 damage. of physical damage.
Strategy
Fight Summary
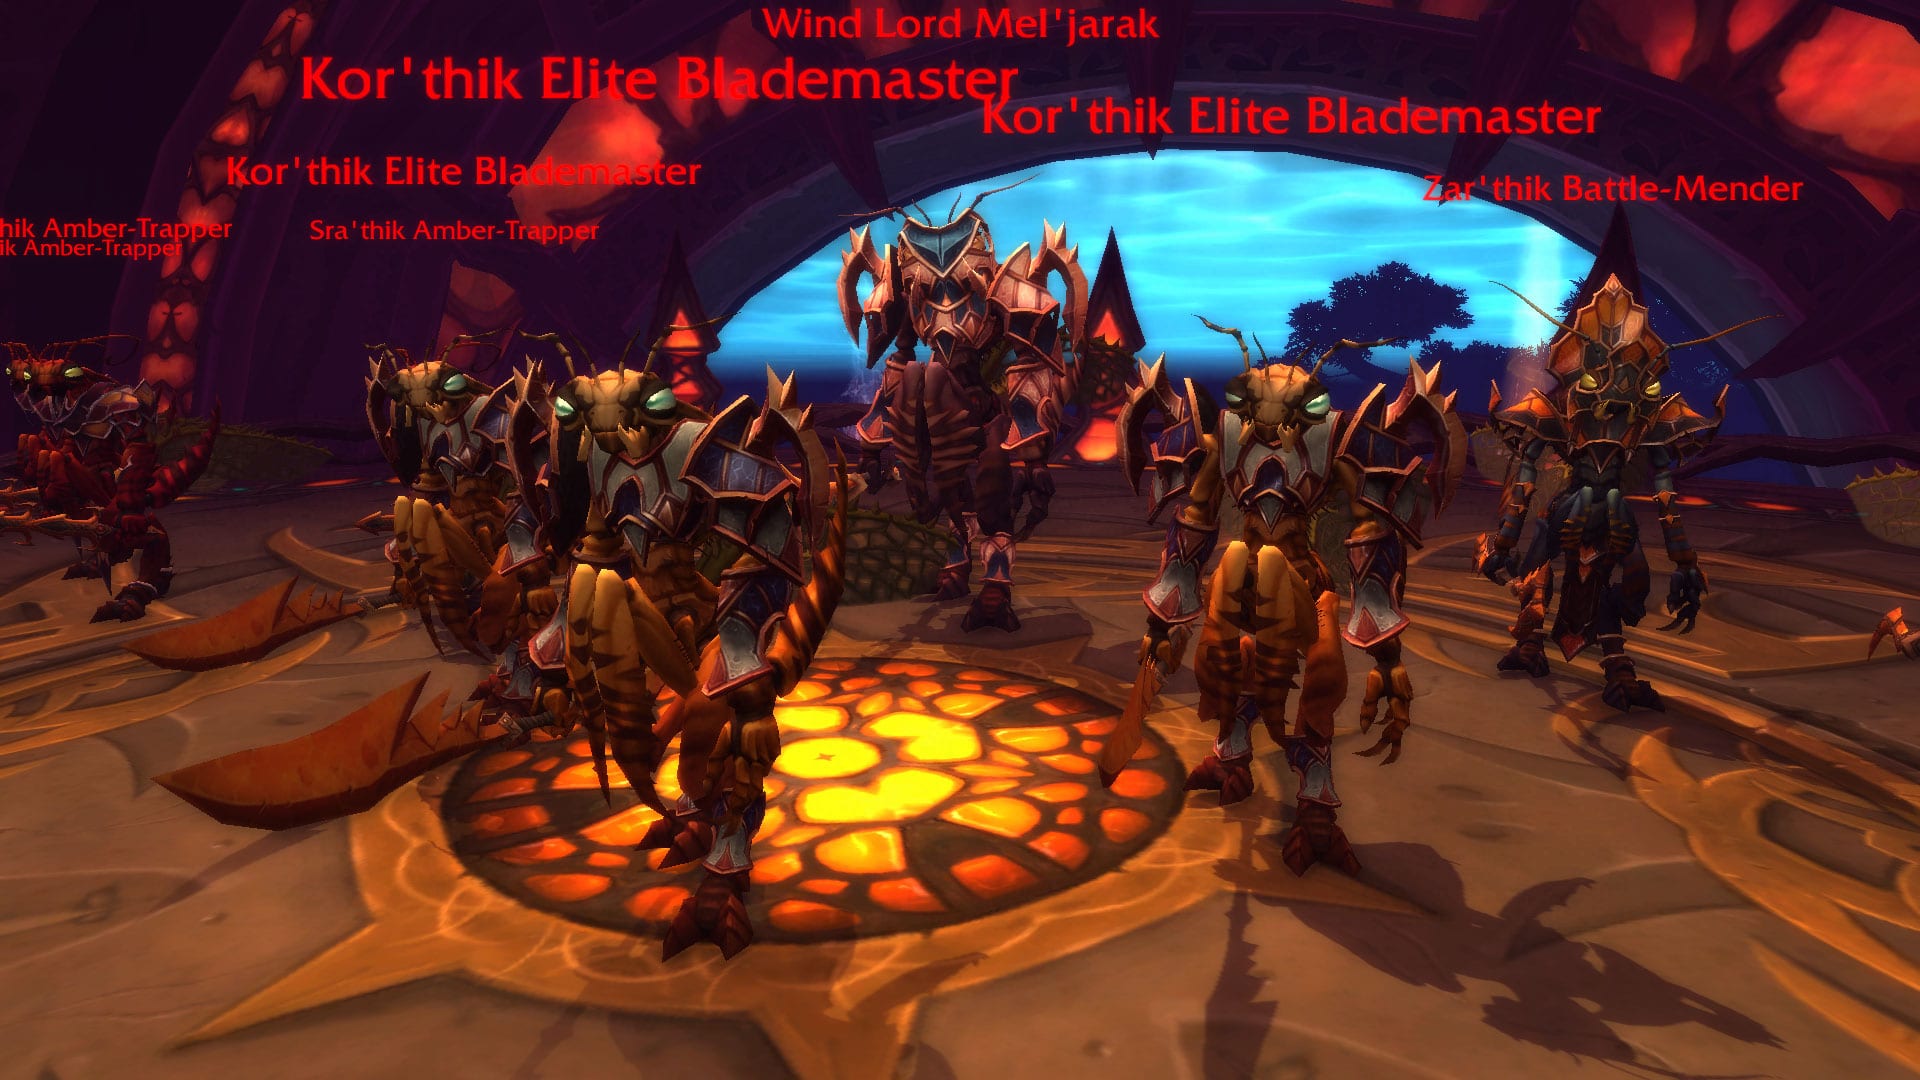
The match against Wind Lord Mel'jarak (formerly referred to simply as Mel'jarak) is a one-phase fight. During the fight, you will have to fight Mel'jarak, as well as the 9 adds: 3 Amber Trapper Sra'thik, 3 Elite Kor'thic Steelmasters, and 3 Battlecaster Zar'thik. The adds will become active as soon as you face the boss.
Controlling and killing the adds is the important thing in the encounter. They have a number of mechanics associated with them, which will decide the strategy of your raid.
- Adds of the same class share a health pool and possess the same abilities.
- Killing 3 adds of the same class accumulates a buff on Mel'jarak that increases his damage and the damage he takes.
- Adds can be handled with mass control:
- When 9 adds are alive, you can control them 4 adds;
- When 6 adds are alive, you can control 2 adds;
- When 3 adds are alive, you can control 0 adds.
As we explain in this guide, the fight can be carried out in several ways, depending on the order in which you kill the adds, which adds controls, and if you decide to kill 2 kinds of adds at the same time (to reduce the time you have to fight adds that cannot be controlled), etc.
Mobs and Skills
{tab = Mel'jarak}
Mel'jarak has few spells that he will use during the fight. In addition, it hits relatively high frequency and with heavy damage.

Rotating blade Throws a blade at a player's location, inflicting 200000 damage. physical damage to all enemies in its path. After reaching its destination, the blade returns to Mel'jarak for 200000. physical damage to all players on their way back.
-
Rain of swords Swords rain down on enemies every 0.5 seconds for 6 seconds. They deal physical damage.
-
Wind pump it is a skill that regularly casts upon reaching 75% health. Throws a volatile bomb at a player, inflicting 175000 damage. Nature damage to all players within 5 yards. After 3 s, the bomb will arm and detonate if any player comes within 6 m. The bomb does not disappear, and remains present in the room until the end of the fight, progressively limiting the space in which the players have to move.
In addition to these abilities, each time adds of the same type are killed, Mel'jarak accumulates a buff of ![]()
Temerity, which increases its damage by 50% and the damage taken by 33%.
{tab = Adds}
As mentioned before, there are 9 adds present in the room where you fight Mel'jarak. They all come together, when they pull Mel'jarak.
The 9 adds are 3 Amber Trapper Sra'thik, 3 Elite Kor'thic Steelmasters, and 3 Battlecaster Zar'thik. Adds of the same type share health, this means that when hurting one, it also hurts the other two. Therefore, when an add of the same type dies, the other two adds of the same type die as well.
Crowd Control
The key mechanic of this encounter is the ability to mass control these adds. Most crowd-control spells, such as ![]()
Polymorph or ![]()
Freezing trap, they can be used .. The encounter also guarantees you an easy way to control them, regardless of the composition of your raid. Near the edges of the room, there are 4 weapon racks. Interacting with these will give players (1 per shelf) a special ability called ![]()
Impaling Spear is a form of mass control. Throw a spear at one of Mel'jarak's warriors, incapacitating them for 50 sec. Any direct damage will cancel the effect, but not for the damage taken by other adds of the same type. The same applies to the other mass control, that is, that indirect damage done that mob (via shared health) doesn't break crowd control.
There is a limit to how many adds you can control at one time.
- If all adds are alive, you can control 4 adds.
- When 6 adds are alive, you can control 2 adds.
- When 3 adds are alive, you can't mass control them.
If you go beyond these limits, Mel'jarak will dispel the mass control effect on all adds.
Amber Trapper Sra'thik
Amber Trapper Sra'thik they cast two abilities.
-
Amber Prison Encloses an enemy in amber, which stuns them until they are freed by another player when right-clicking on them). They cast this ability every 35 seconds. Players who free those who are locked up for this are debuffed
Residue, which prevents him from releasing another player in 115 seconds.
-
Corrosive resin Covers an enemy in corrosive resin, dealing 30000. Nature damage every second for 30 sec. Moving while affected by Corrosive Resin removes a build-up of Corrosive Resin and creates a
Puddle of corrosive resin, which is released every 35 seconds.
Battlecaster Zar'thik
Battlecaster Zar'thik They release two abilities:
-
Relieve Heals a group in the Mel'jarak Swarm for 35% of their maximum health.
-
Acceleration Accelerates the entire swarm of Mel'jarak, increasing damage dealt and speed by 35% for 15 sec. This effect stacks. It can be dispelled.
Kor'thik Elite Steelmasters
Elite Kor'thic Steelmasters They have a skill.
![]()
Kor'thik Strike Charge an enemy for 160000. of physical damage. These 3 mobs simultaneously attack the same random raid member. This ability is used every 40 seconds.
{/ Tabs}
Strategy
First, we will summarize the strategy for the meeting. Later, we will go into detail about several important aspects of the fight.
- Have one tank keep the boss and one or two of the adds, while the other or other tanks keep the remaining adds.
- Spread out in circles around the boss, to minimize damage from
Rotating blade, and to avoid having more than one person trapped in
- Make sure players stay away from
Wind pumpyes, and that nobody activates them after they are armed.
- Mass Control with as many adds as the limit allows.
- Manage add skills
- Interrupt
- Dispel
- Drive away players affected by
Corrosive resin, and locate the vacuum zones in such a way that it does not cause inconvenience to the Belt.
- Free the players from the
- Interrupt
{tab = The Adds}
Mass Controlling the Adds
The most important decision you will have to make is which of the adds you will control. We'll start by saying that the fight can be done with pretty much any combination of adds that you choose to control. It is fundamentally up to you to decide which combination works best for your group, based on strengths and weaknesses.
To make an informed decision, we will quickly go to the issues that each add represents to your raid, but we will refrain from suggesting which combination to control. If a combination proves to be the easiest to control, we will write it.
Amber Trapper
Sra-thik Amber Trapper will regularly catch players in ![]()
Amber Prisons. This does not hurt, but it is a big inconvenience. This spell is cast every 35 seconds, so if all 3 adds remain for a long time, the ![]()
Residue in the end it will overwhelm your raid, and you will be unable to free all trapped players.
The vacuum areas that remain due to the ![]()
Corrosive resin They are not problems, but they will decrease your movement space and can cause problems after a while.
On the whole, these are the least troublesome type of adds, and the ones that you can leave relatively unattended for much longer.
Battle Streamers
Battlecaster Zar'thikIf you don't pay attention to them, they will heal the other mobs in large numbers and buff them, increasing their damage immensely. The healing can be interrupted, and the damage buff dispelled, but it will require your raid focus while these adds are alive and not in crowd control.
Failing to interrupt their healing is a major setback, as they heal all 3 adds of a random type for 25% of their maximum health.
Because the damage to the tank is very intense in this encounter, the ![]()
Acceleration it can quickly lead to damage that can kill the tank.
While these adds can theoretically be negated by almost all via interruptions and dissipations, in practice this proves to be very difficult for any sustained period of time. We always recommend mass-checking at least one of these adds, but preferably two.
Elite Steelmasters
Kor'thic Elite Steelmasters, if they are overlooked, they will do extreme damage to random players, using their ![]()
Kor'thik Strike on the same player, the 3 Masters of Steel can easily kill the players in one.
It is not possible to say who will be affected by Kor'thik Strike, since they do not change the marking of the tank or announce their victim.
While it is possible to overcome this by having everyone prepared when a Kor'thik Strike is about to occur, as well as covering with a band CD like ![]()
Summoning howl, leaving all 3 mobs free is not exactly feasible. Given the long interval between the casting of Kor'thik Strike, it may be possible to kill these adds with DPS CDS.
We always recommend having at least one of these adds Controlled.
General advice
As we mentioned before, it would not serve much purpose for us to tell you which add to control. However, there are few things that can be of use to you.
- If your Raid has many classes that can disrupt and dispel, you are better off not controlling the Battlemen en masse, and leaving them alive longer. In this case, you would take advantage of the situation to kill the Masters of Steel first.
- If your Band is able to survive the damage of the 3 Masters of Steel (either due to the good use of the CDs, or that due to the damage of these abilities they do not end up killing the players), you should take advantage of the situation and control the other mobs in return.
{tab = DPS}
DPS focus priority
First of all, DPSing Mel'jarak is not a priority until the adds have been eliminated. Of course, any damage you do to him through splits or damage over time is good, and it will make the fight easier, especially for the time of Enrage proves to be strict.
Second, it's important to note that when adds are killed, the remaining adds are not healed. This means that it is possible to bring all adds of two classes (or even 3) to low health before finally killing them. This is something we highly recommend, as it makes it much easier to control mobs, especially Masters of Steel (because you maintain the ability to mass control 4 adds).
It is possible that the complications resulting from keeping adds alive for too long can overwhelm your raid. In this case, you can focus on one type of adds.
{tab = Mobs}
Tanking the Mobs
Mel'jarak will be active throughout the fight. Although their abilities are not in the foreground, they will still have to be addressed. As mentioned before, Mel'jarak also hits for a large amount of damage, something that is increased each time an add dies.
Bands of 10 will use two tanks for the fight. A tank will have to be with Mel'jarak, and one or two of the remaining 5 adds. The other tank will have to tank the rest of the adds.
Bands of 25 have the option of using three tanks. This makes the fight considerably easier. A tank should take Mel'jarak and an add, while the remaining adds will be split between the other two tanks.
When possible, Mel'jarak should be tanked in the center of the room. This will allow your gang to position themselves around the boss and give them more room to move.
Ideally, all adds that are not mass controlled should be tanked close to the boss, so players can deal overtime damage to all mobs. The adds in crowd control should be moved away, so there is no risk of them accidentally breaking the effect.
{tab = Positioning}
SEO
There is no point in the fight where your gang can come together safely. Ideally, separate into a wide circle around the boss. Melee DPS are unable to spread very far, but they can still be at least 2 yards away from each other so that ![]()
Amber Prison does not affect more than one player (assuming it can even be thrown on melee players).
It is important that the players do not line up in relation to Mel'jarak's position, as ![]()
Rotating blade deals damage to all players in the path of its objective.
Players will also have to move away from void areas left by players affected by ![]()
Finally, certain areas will be inaccessible, as they are taken over by the ![]()
{tab = Skills Adds}
Dealing with the Add skills
Amber Trapper
When a player is caught by ![]()
Amber Prison, someone will have to release it. There is no need to assign whoever frees, as the one closest to the trapped person can do it.
Players should, however, communicate when they are unable to free others due to ![]()
Residue. Ideally, everyone should have a way of showing players with the debuff, so that they automatically know when they need to free someone. Otherwise, if the players who are next to the trapped person have Residue, they will call someone else to release that player.
Players affected by ![]()
Corrosive resin they will need to move immediately to get rid of the accumulating debuff. They should be careful where they run, so that they do not fill the central area of the room with the vacuum zones. Ideally, they should run straight to one end of the room, and then run across the end.
Battle Streamers
Any uncontrolled Battlemen must be interrupted if they cast ![]()
Relieve. Certainly, if a solo was allowed, it would be a major setback for your Band.
When they launch ![]()
Acceleration, it must be dispelled to all who have it. ![]()
Mass dissipation is great for this, but dissipating one by one also works.
Elite Steelmasters
The elite Steelmasters are the least complicated. Most of the time, they will just melee the tank. Deal with ![]()
Kor'thik Strike It can be very difficult if all 3 Steelmasters are free, which is just inconvenient and something the healers can take care of.
Because the damage done by Kor'thik Strike is physical, even the highest damage theoretically (with the 3 Steelmasters on the loose) which is 450,000, can probably be survived by a random member careful, due to the reduction damage from his armor. If at least one Blademaster is always kept under control, then this becomes much easier to handle.
{tab = Healing Tips}
Concerns when healing
As is obvious so far, there are many sources of damage in this encounter. The fight is very tough on the healers in general.
The sources of damage are:
- Generally high damage to the tank, and increased damage to Mel'jarak's tank, while the fight continues (with 3 stacks of
Temerity, healers can expect 170k hits on the tank);
- Wide regular damage to the band
- Damage to a single random member, when it is the target of the
- Damage to a single random limb, when affected by the
- Direct damage to a member by
Kor'thik Strike For the Steel Masters, the damage depends on the number of free Steel Masters.
Healers can also sometimes expect heavy damage, if the mobs have ![]()
Finally, there may be cases of ![]()
Wind pumps being accidentally detonated, which can probably cause a wipe.
{/ Tabs}
When to Use Heroism / Bloodlust / Time Warp
The best time to ![]()
Temporal Distortion It will depend on which moment of the encounter is the most problematic for your Band.
For example, if you are trying to kill the Masters of Steel before they use ![]()
Kor'thik Strike, then you should use Heroism / Bloodlust / Time Warp. Similarly if you are trying to kill any other add quickly.
From a DPS Band perspective, the best time to use it is when all the ads have been removed. This is because the boss takes great damage and your raid will have less distraction as there will be no adds to launch their abilities. This proves to be a more use strategy, if the Enrage timing of the fight is rigorous.
Learning the Fight
The encounter with Mel'jarak is difficult, and each different phase of the fight will have challenges for your band.
The first hurdle you will have to overcome is the initial chaos that occurs at the start of the fight. At this point, you will have to take care of the boss (and all his skills except ![]()
Wind pump) and the 5 adds. You shouldn't hesitate to use the defensive and healing CDs in this phase, so that they can survive longer and practice this phase better.
We also don't recommend lowering Mel'jarak to 75% until one type of adds is killed, even if you don't have the added challenge of Wind Bombs.
After all 3 adds die, you will have to deal with a few types of adds. Since Mel'jarak will take 33% more damage, you can use damage over time and bleeds to bring it down to 75%, and start practicing how to better handle Wind Bombs.
The amount of skills and mobs that you will have to deal with at this point is high, and this will undoubtedly cause problems for your raid at first. All they can do is try repeatedly, prioritizing survival by killing the adds, so everyone has more time to use their abilities.
When they kill 6 adds, they will have to deal with the last 3 adds without any mass control. Depending on the adds they have chosen, this could be an extremely stressful time (even more so since Mel'jarak's damage is vastly increased at this time). Most CDs should be ready once more, and you can use them right now.
While this boss will likely have a rigorous Enrage time, they will need to focus first on finishing the fight with everyone alive, and actually arriving at Enrage time. Once you can do it with more confidence, then you can start looking for ways to optimize your DPS (dealing damage over time, etc.).
Rewards
Dispossession / Loot
{tab = Normal}
| Name | Level | Request. | Box | Type |
|---|---|---|---|---|
| Beetle sealed with amber of Korven | 496 | 90 | Neck | Amulet |
| Painful Thorn Ring | 496 | 90 | Finger | Ring |
| Impaling Treads | 496 | 90 | Feet | Plate armor |
| Leaf Rain Cloak | 496 | 90 | Back | Cover |
| Whiplash Pauldrons | 496 | 90 | Shoulder | Mesh armor |
| Claws of Dying Hope | 496 | 90 | Hands | Leather armor |
| Gauntlets of the Shadowy Conqueror Sorcerer, Paladin, Priest | 496 | 90 | Scrap | |
| Gauntlets of the shadow protector Hunter, Shaman, Guerrero, Monk | 496 | 90 | Scrap | |
| Gloomy Vanquisher's Gauntlets Death Knight, Druid, Wizard, Rogue | 496 | 90 | Scrap | |
| Ripped Nightmare Robes | 496 | 90 | Chest | Cloth armor |
{tab = Heroic}
| Name | Level | Request. | Side | Box | Type |
|---|---|---|---|---|---|
| Beetle sealed with amber of Korven | 509 | 90 | Neck | Amulet | |
| Painful Thorn Ring | 509 | 90 | Finger | Ring | |
| Impaling Treads | 509 | 90 | Feet | Plate armor | |
| Leaf Rain Cloak | 509 | 90 | Back | Cover | |
| Whiplash Pauldrons | 509 | 90 | Shoulder | Mesh armor | |
| Claws of Dying Hope | 509 | 90 | Hands | Leather armor | |
| Gauntlets of the Shadowy Conqueror Sorcerer, Paladin, Priest | 509 | 90 | Scrap | ||
| Gauntlets of the shadow protector Hunter, Shaman, Guerrero, Monk | 509 | 90 | Scrap | ||
| Gloomy Vanquisher's Gauntlets Death Knight, Druid, Wizard, Rogue | 509 | 90 | Scrap | ||
| Ripped Nightmare Robes | 509 | 90 | Chest | Cloth armor |
{tab = Normal 25 (10)}
| Name | Level | Request. | Side | Box | Type |
|---|---|---|---|---|---|
| Beetle sealed with amber of Korven | 496 | 90 | Neck | Amulet | |
| Painful Thorn Ring | 496 | 90 | Finger | Ring | |
| Impaling Treads | 496 | 90 | Feet | Plate armor | |
| Leaf Rain Cloak | 496 | 90 | Back | Cover | |
| Whiplash Pauldrons | 496 | 90 | Shoulder | Mesh armor | |
| Claws of Dying Hope | 496 | 90 | Hands | Leather armor | |
| Gauntlets of the Shadowy Conqueror Sorcerer, Paladin, Priest | 496 | 90 | Scrap | ||
| Gauntlets of the shadow protector Hunter, Shaman, Guerrero, Monk | 496 | 90 | Scrap | ||
| Gloomy Vanquisher's Gauntlets Death Knight, Druid, Wizard, Rogue | 496 | 90 | Scrap | ||
| Ripped Nightmare Robes | 496 | 90 | Chest | Cloth armor |
{tab = Heroic 25 (10)}
| Name | Level | Request. | Side | Box | Type |
|---|---|---|---|---|---|
| Beetle sealed with amber of Korven | 509 | 90 | Neck | Amulet | |
| Painful Thorn Ring | 509 | 90 | Finger | Ring | |
| Impaling Treads | 509 | 90 | Feet | Plate armor | |
| Leaf Rain Cloak | 509 | 90 | Back | Cover | |
| Whiplash Pauldrons | 509 | 90 | Shoulder | Mesh armor | |
| Claws of Dying Hope | 509 | 90 | Hands | Leather armor | |
| Gauntlets of the Shadowy Conqueror Sorcerer, Paladin, Priest | 509 | 90 | Scrap | ||
| Gauntlets of the shadow protector Hunter, Shaman, Guerrero, Monk | 509 | 90 | Scrap | ||
| Gloomy Vanquisher's Gauntlets Death Knight, Druid, Wizard, Rogue | 509 | 90 | Scrap | ||
| Ripped Nightmare Robes | 509 | 90 | Chest | Cloth armor |
{tab = Raid Finder (10)}
| Name | Level | Request. | Side | Box | Type |
|---|---|---|---|---|---|
| Beetle sealed with amber of Korven Band finder | 483 | 90 | Neck | Amulet | |
| Painful Thorn Ring Band finder | 483 | 90 | Finger | Ring | |
| Impaling Treads Band finder | 483 | 90 | Feet | Plate armor | |
| Leaf Rain Cloak Band finder | 483 | 90 | Back | Cover | |
| Whiplash Pauldrons Band finder | 483 | 90 | Shoulder | Mesh armor | |
| Claws of Dying Hope Band finder | 483 | 90 | Hands | Leather armor | |
| Gauntlets of the Shadowy Conqueror Sorcerer, Paladin, Priest Band finder | 483 | 90 | Scrap | ||
| Gauntlets of the shadow protector Hunter, Shaman, Guerrero, Monk Band finder | 483 | 90 | Scrap | ||
| Gloomy Vanquisher's Gauntlets Death Knight, Druid, Wizard, Rogue Band finder | 483 | 90 | Scrap | ||
| Ripped Nightmare Robes Band finder | 483 | 90 | Chest | Cloth armor |
{/ Tabs}
Photos


Videos
{tab = Method}
{tab = Nihilum} {tab = Fallen} {/ Tabs}Rewards
Thanks to the sites Wow head y MMO-Champion.