Dungeon Guide End of the days / End of times, located in the Caverns of Time and added in Patch 4.3.0. It is part of the story leading up to the final showdown with Deathwing.

<
{slide = History of the dungeon End of Days / End of Times (click to read)}
History
End of the days
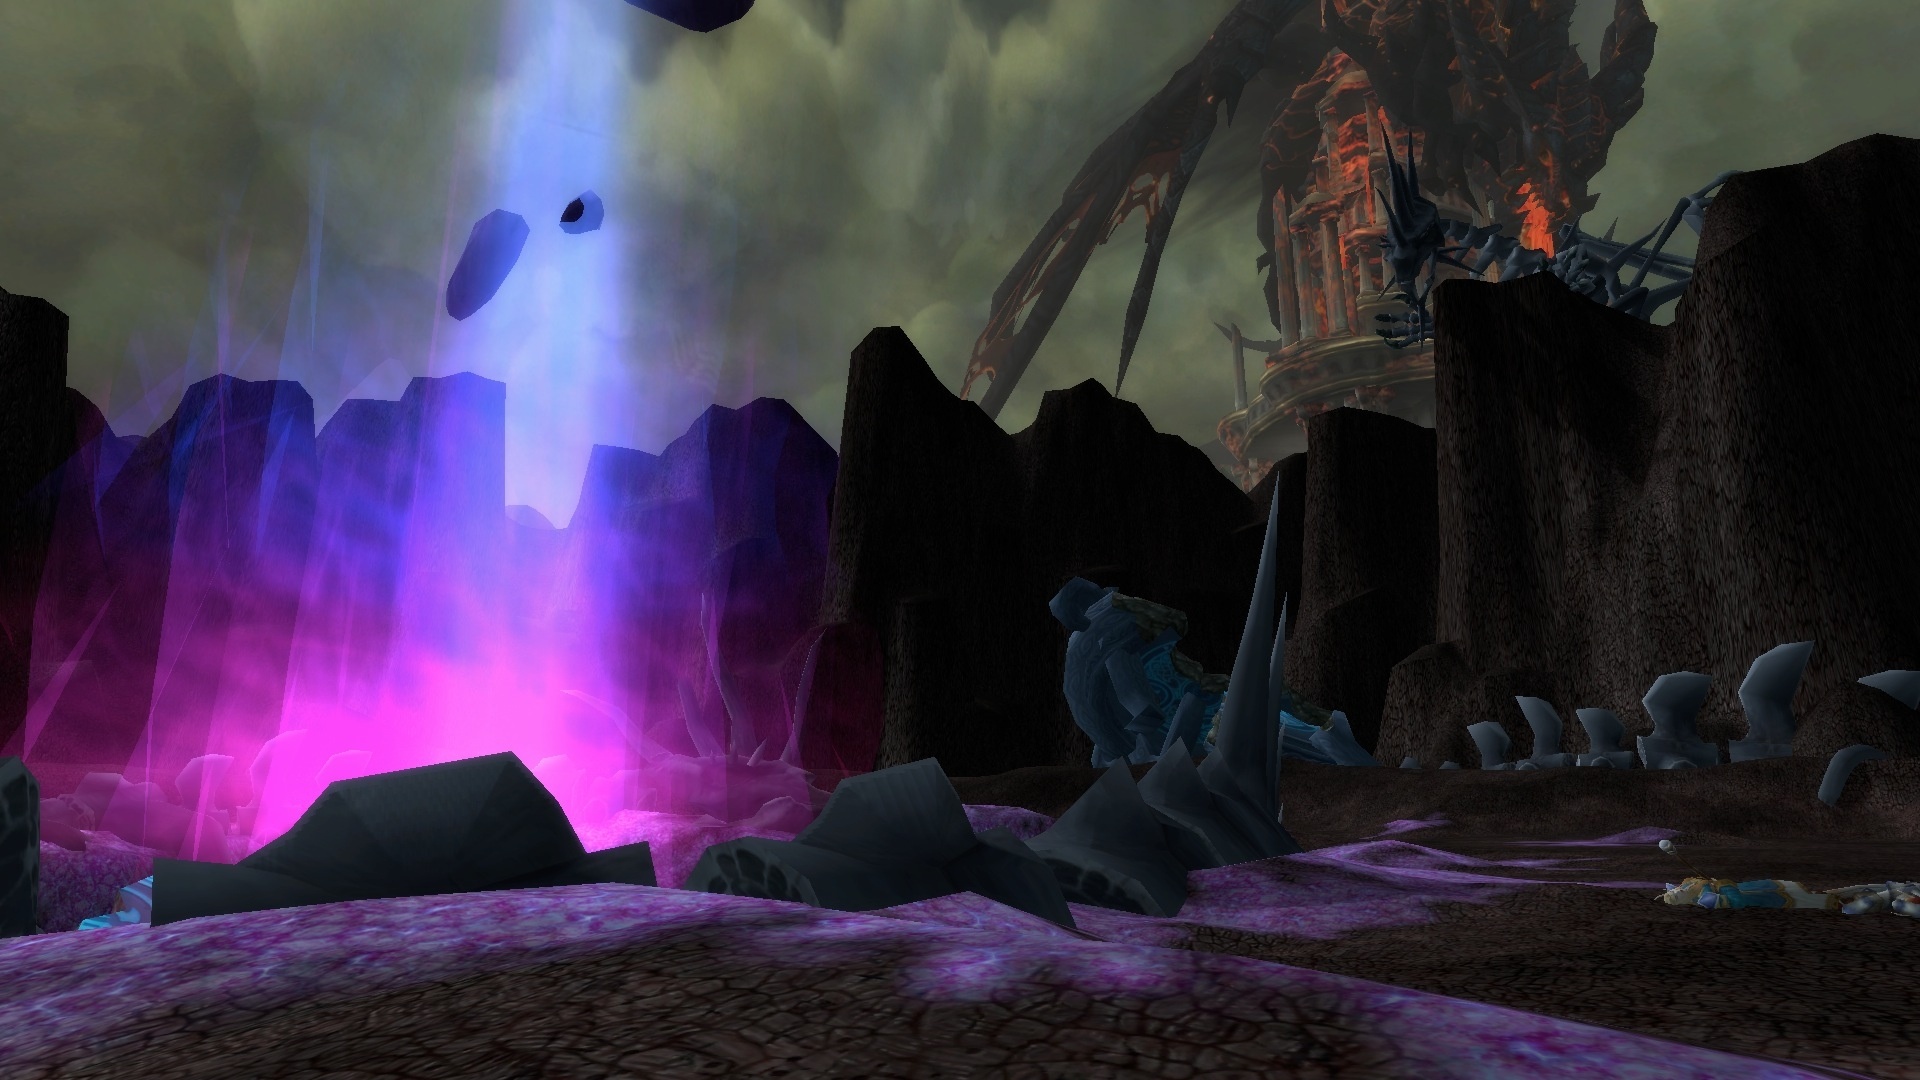
It is one of the infinite number of possible outcomes. This time portal shows the bleak future of Azeroth should its defenders fail in their efforts to stop Deathwing. In this stark future, Nozdormu has discovered an anomaly that prohibits access to both the past and the Dragon Soul: a powerful timeless creature, living alone amid time-distorted echoes of the past.
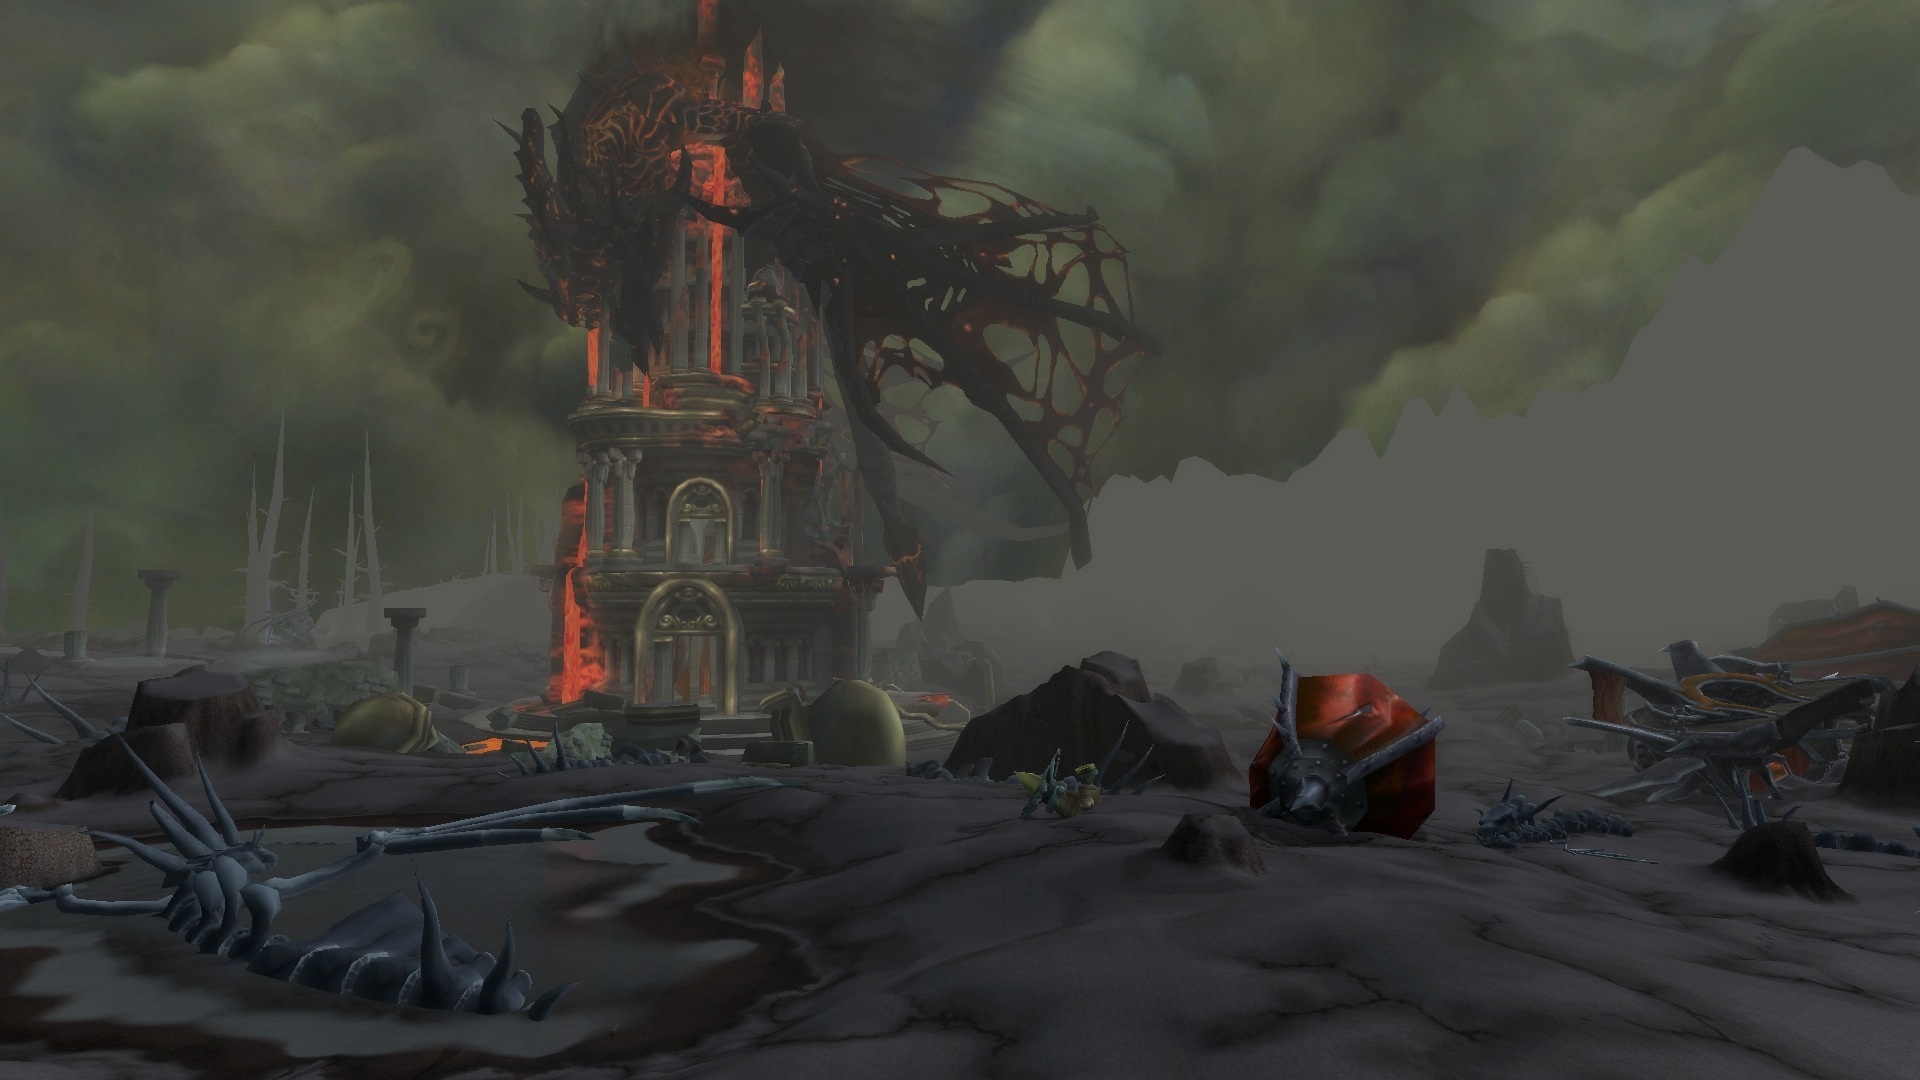
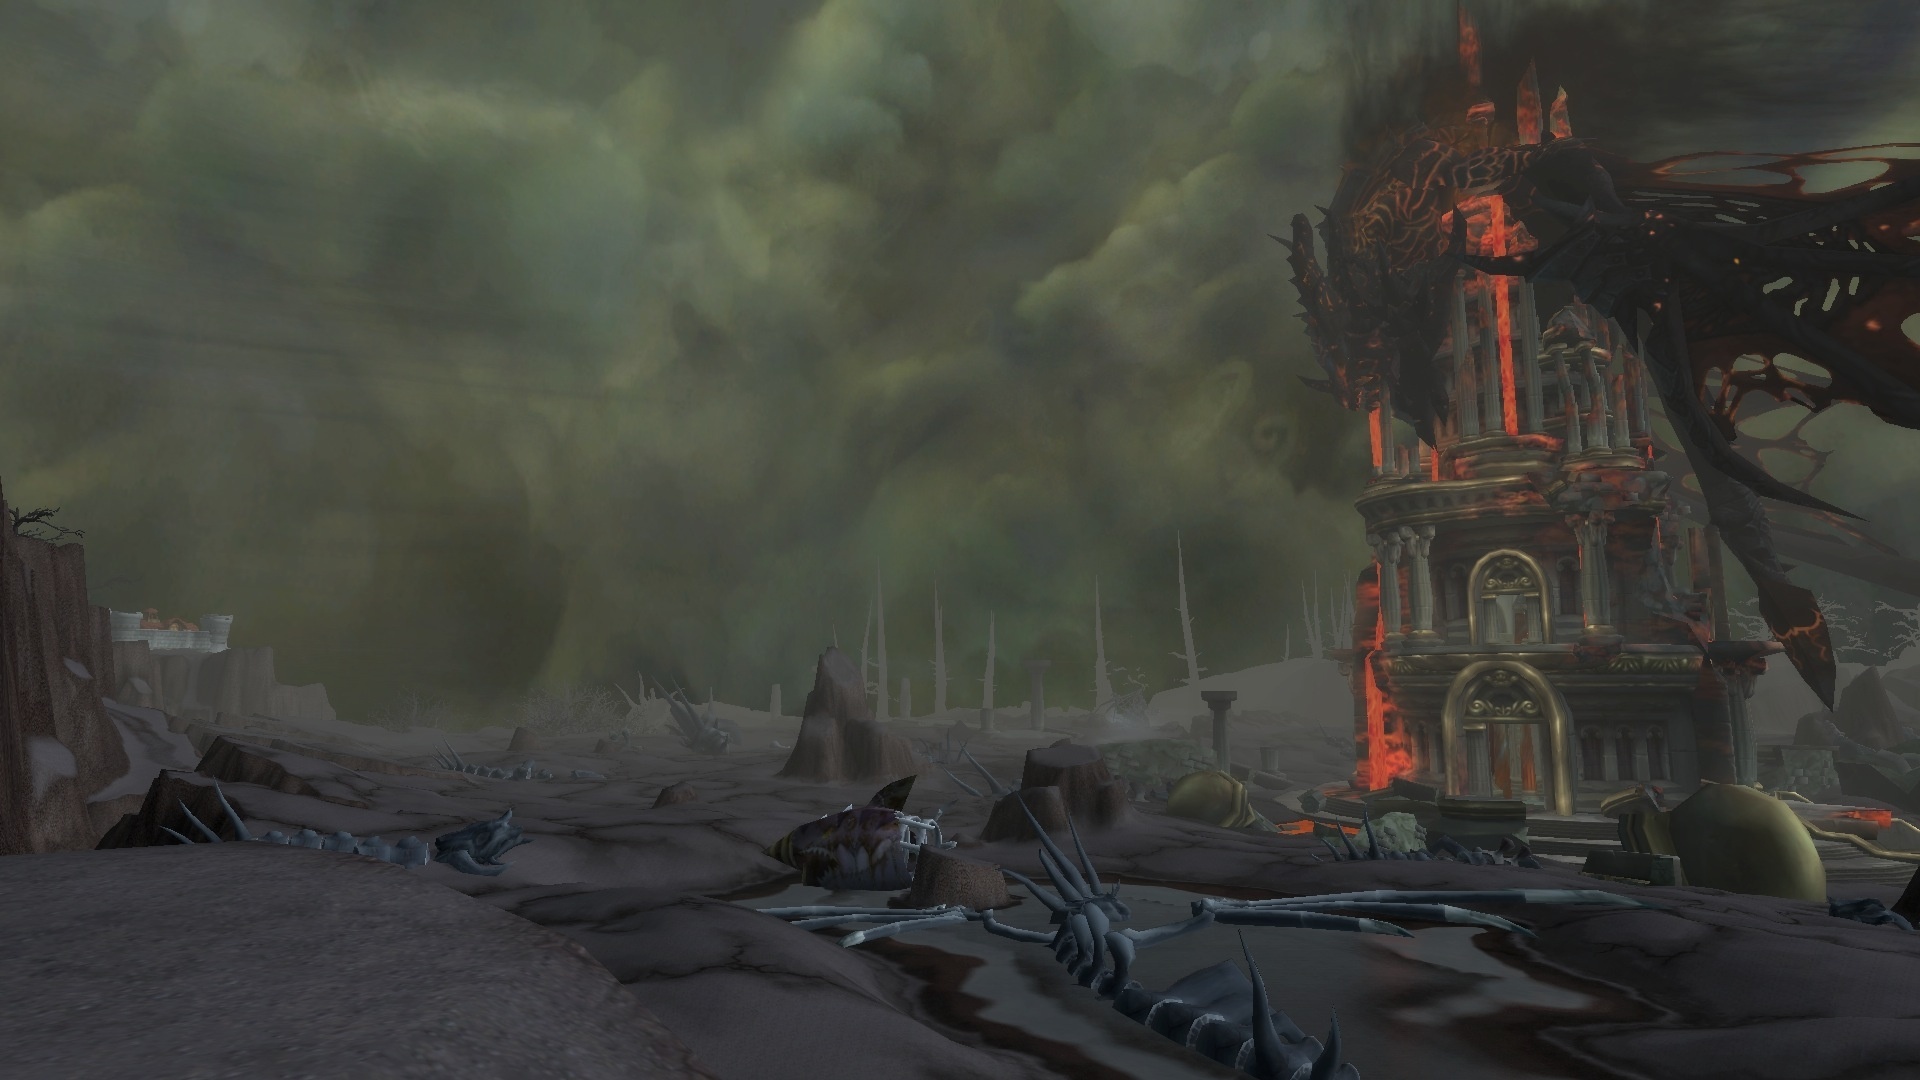
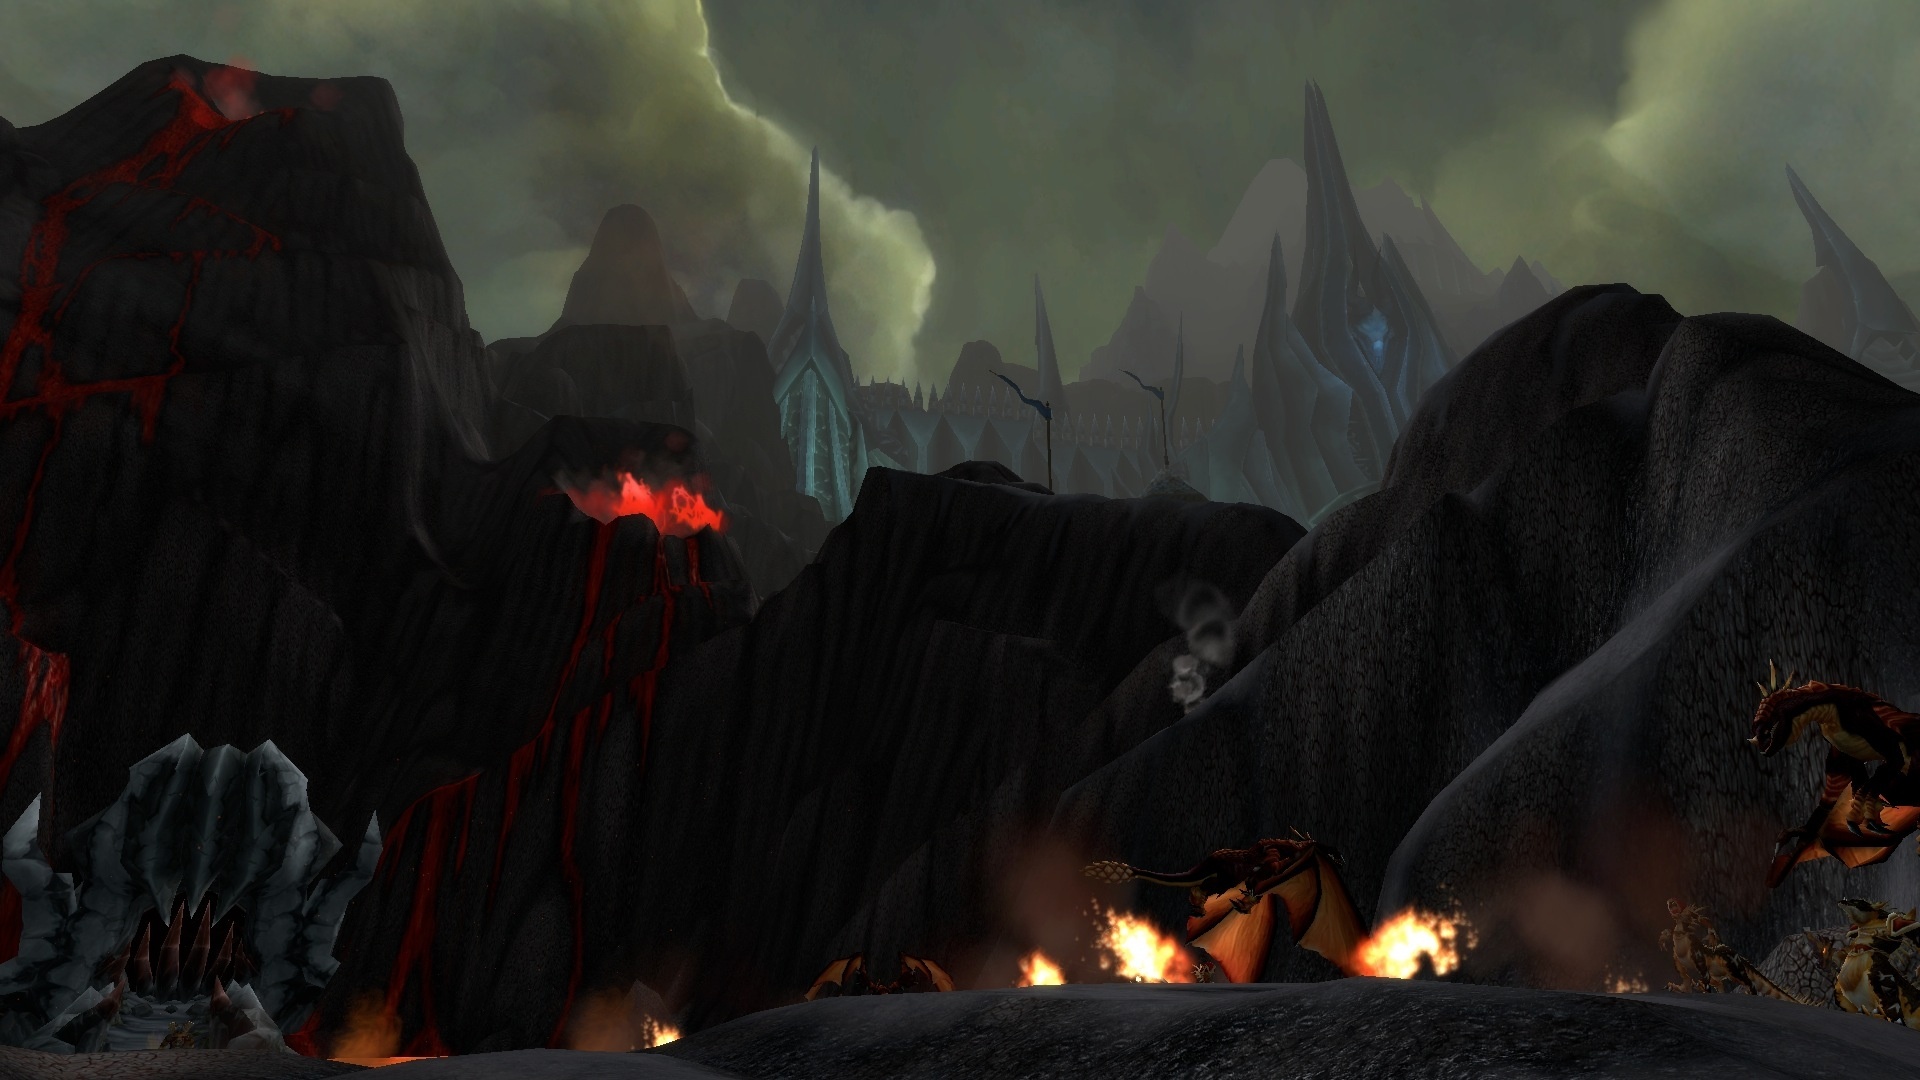
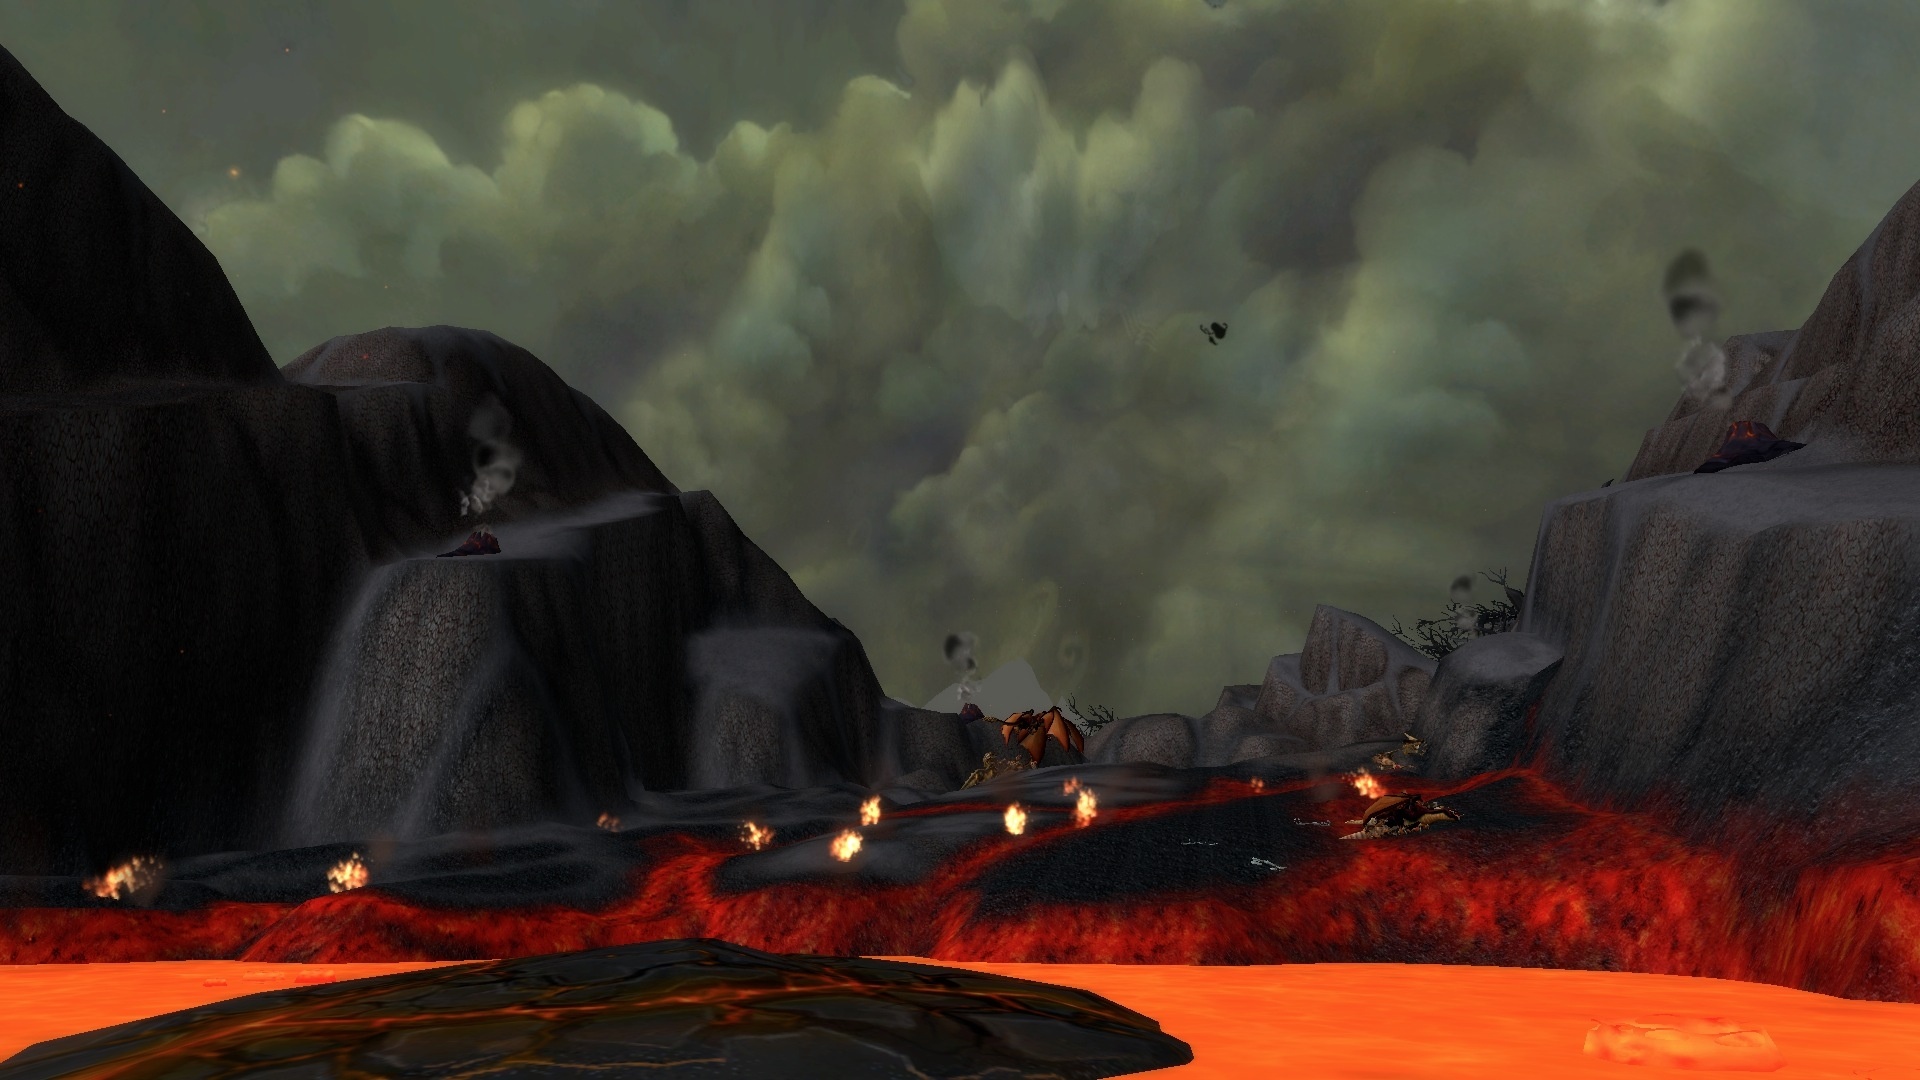
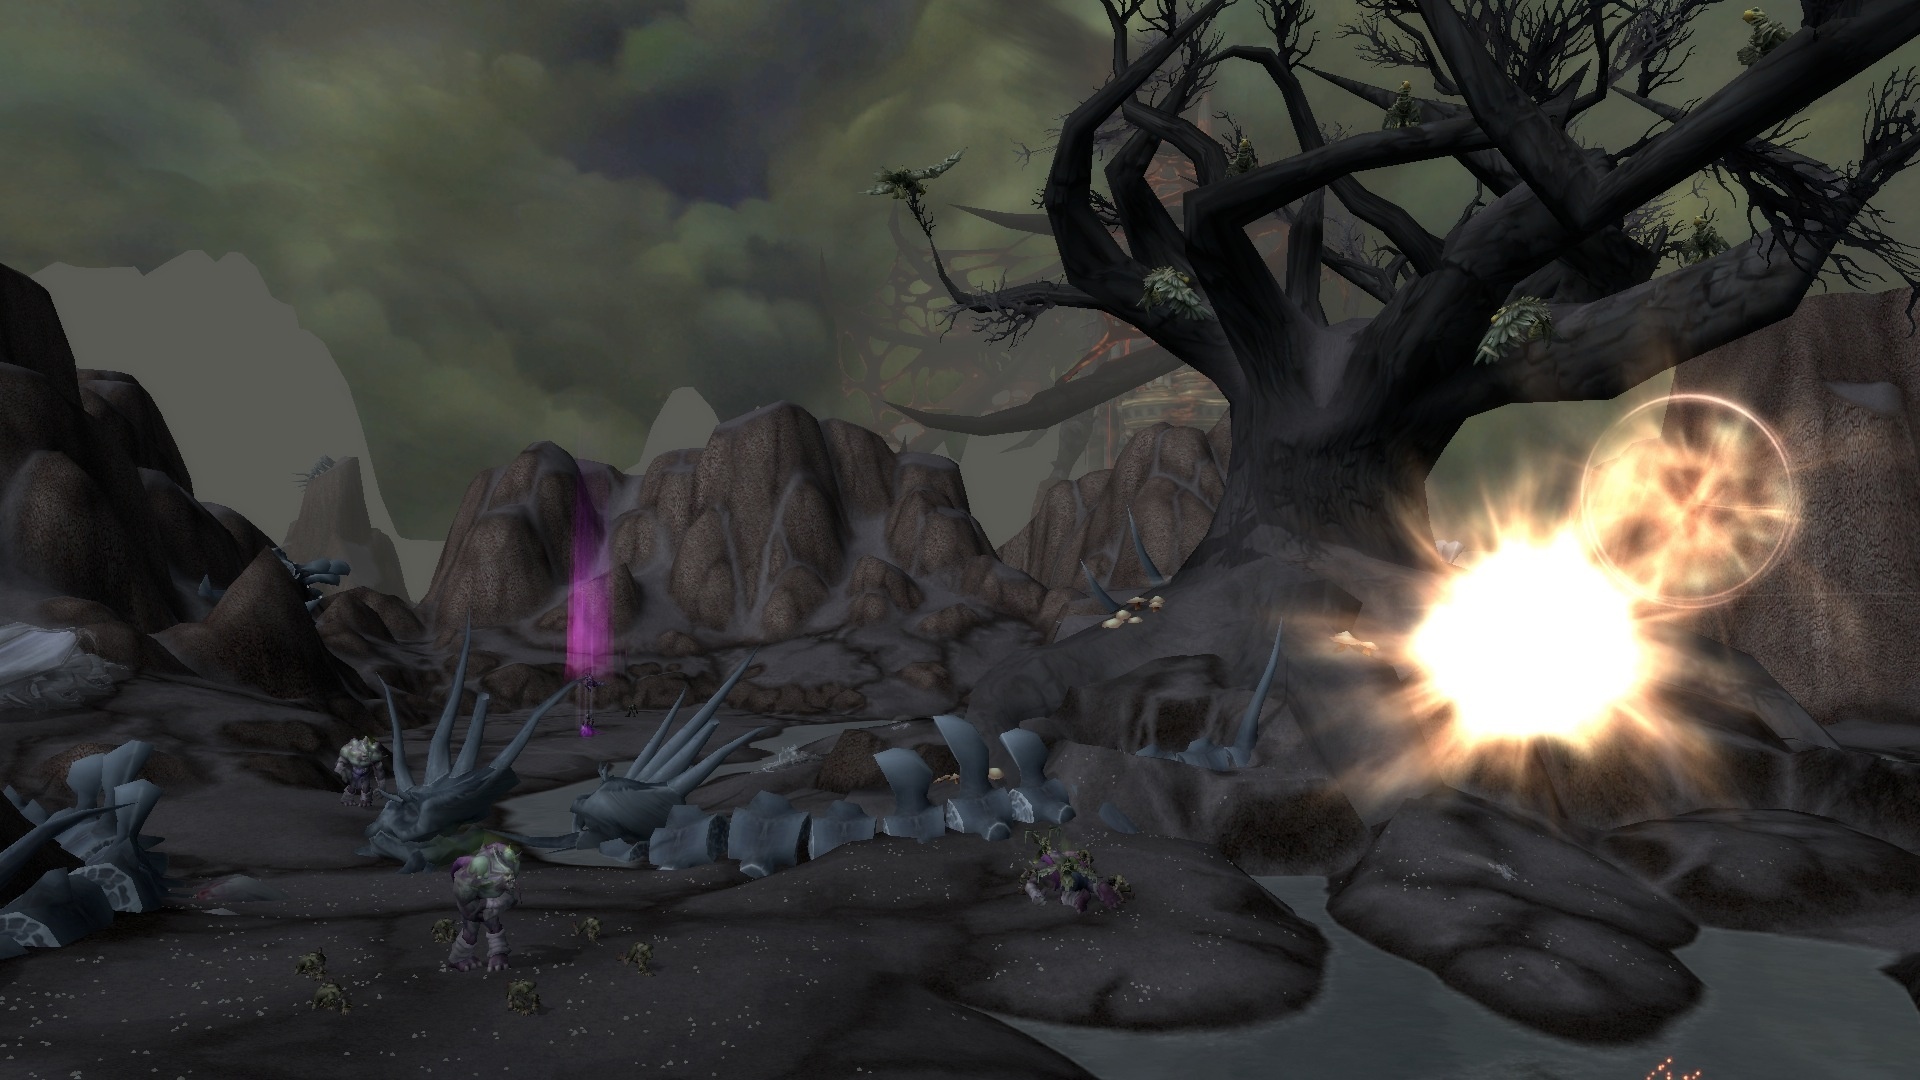
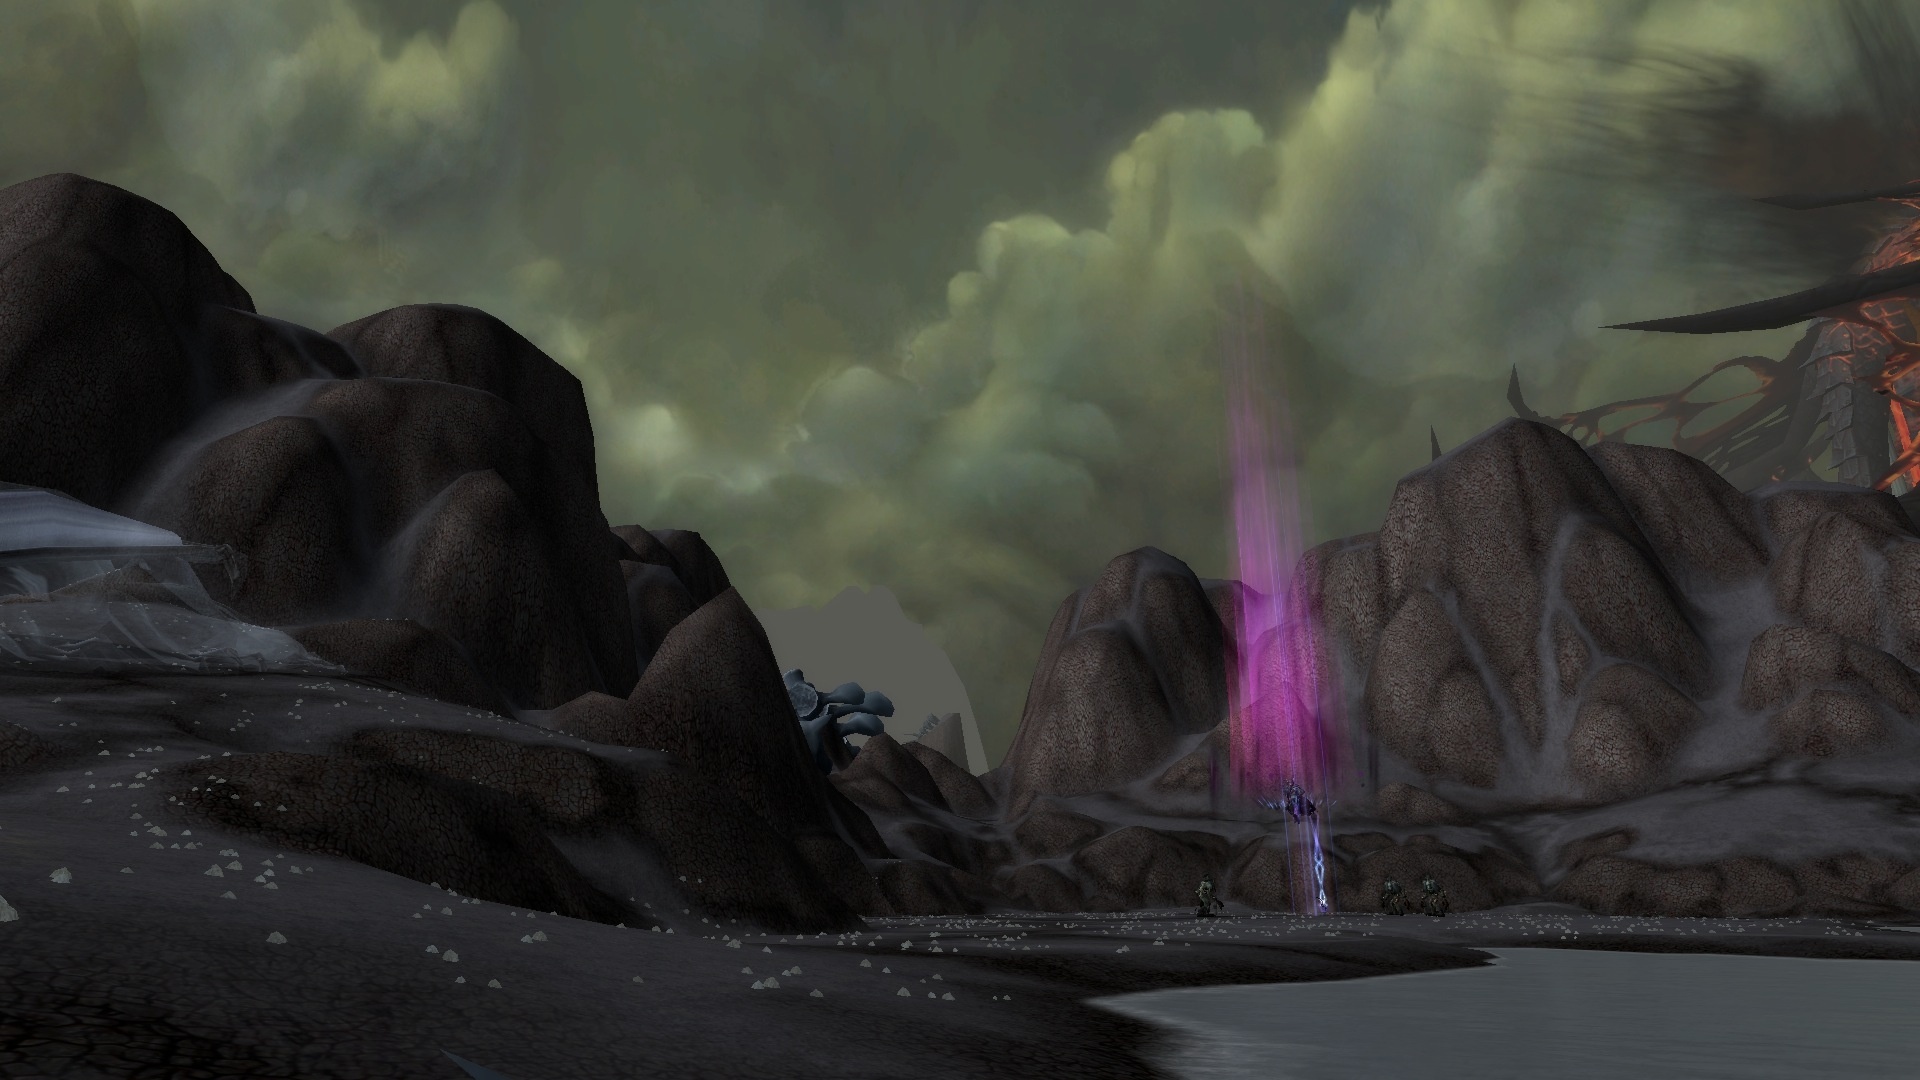
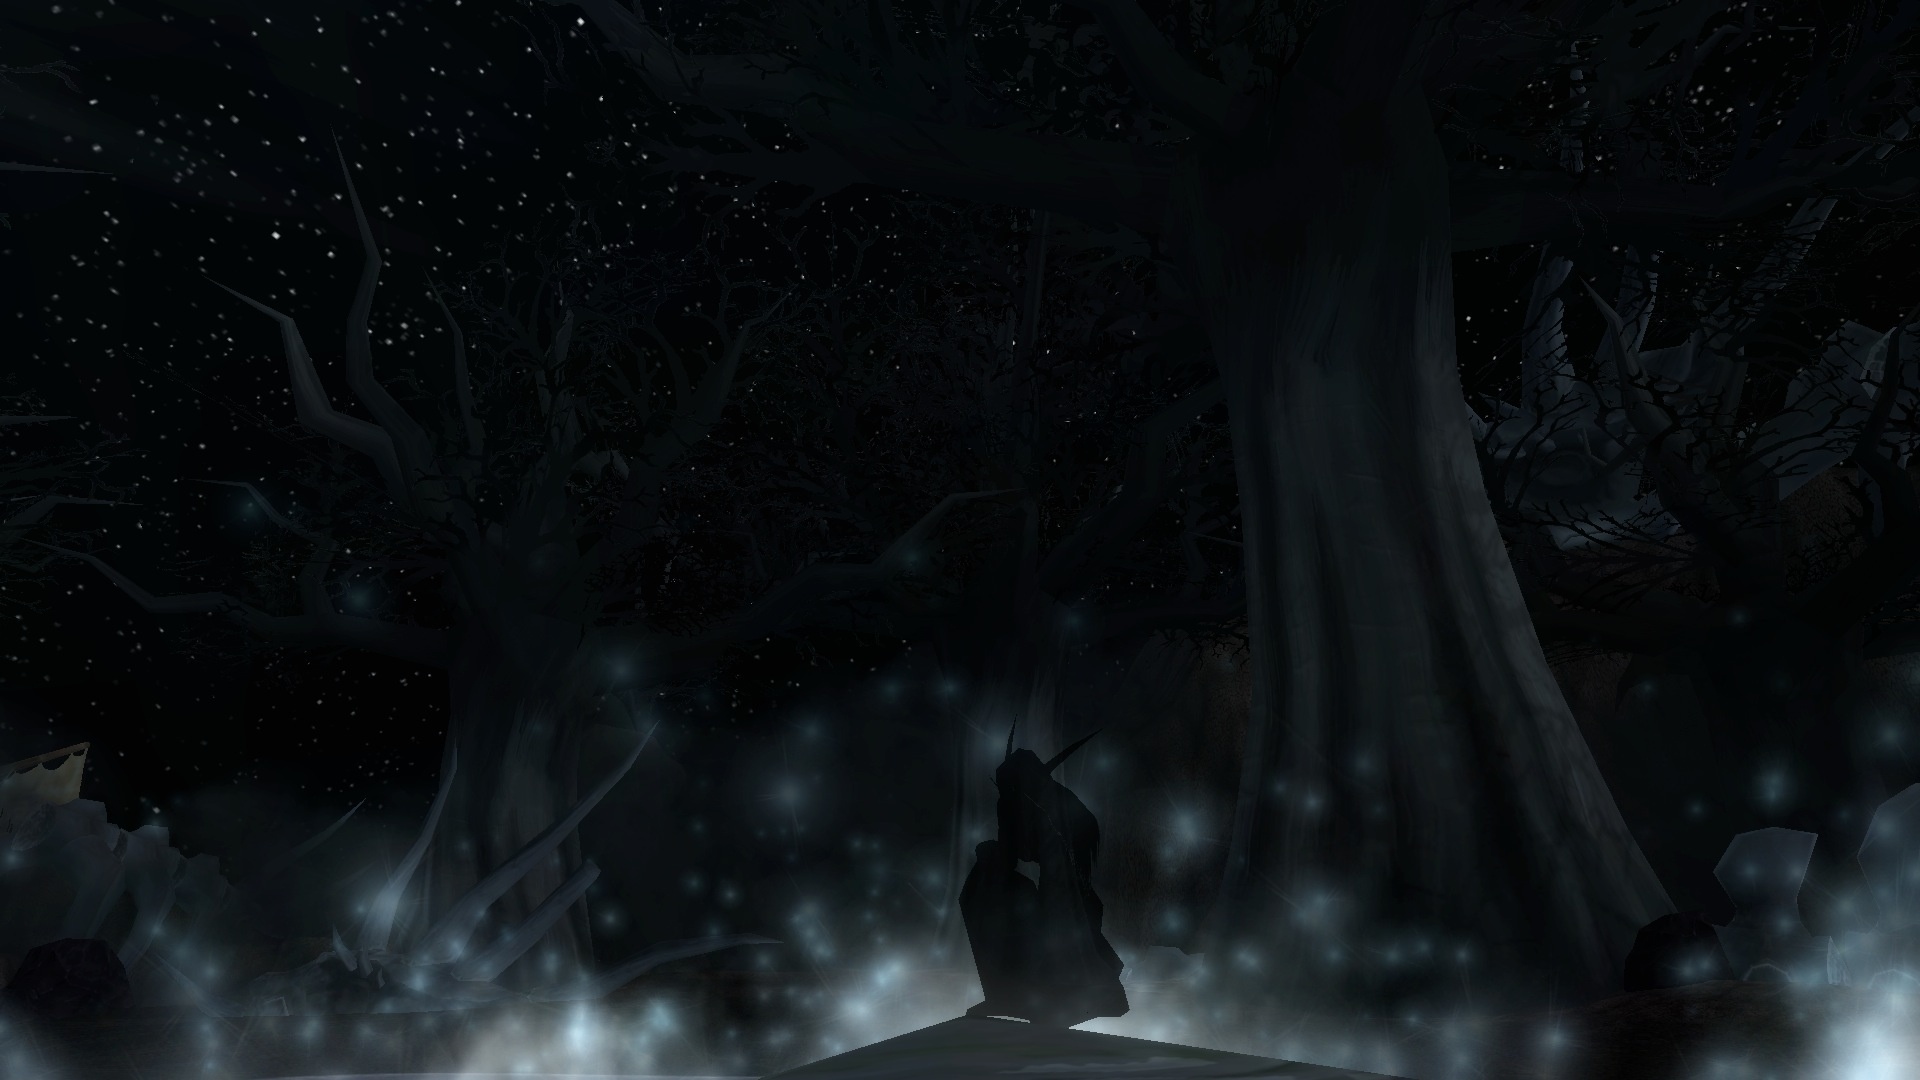
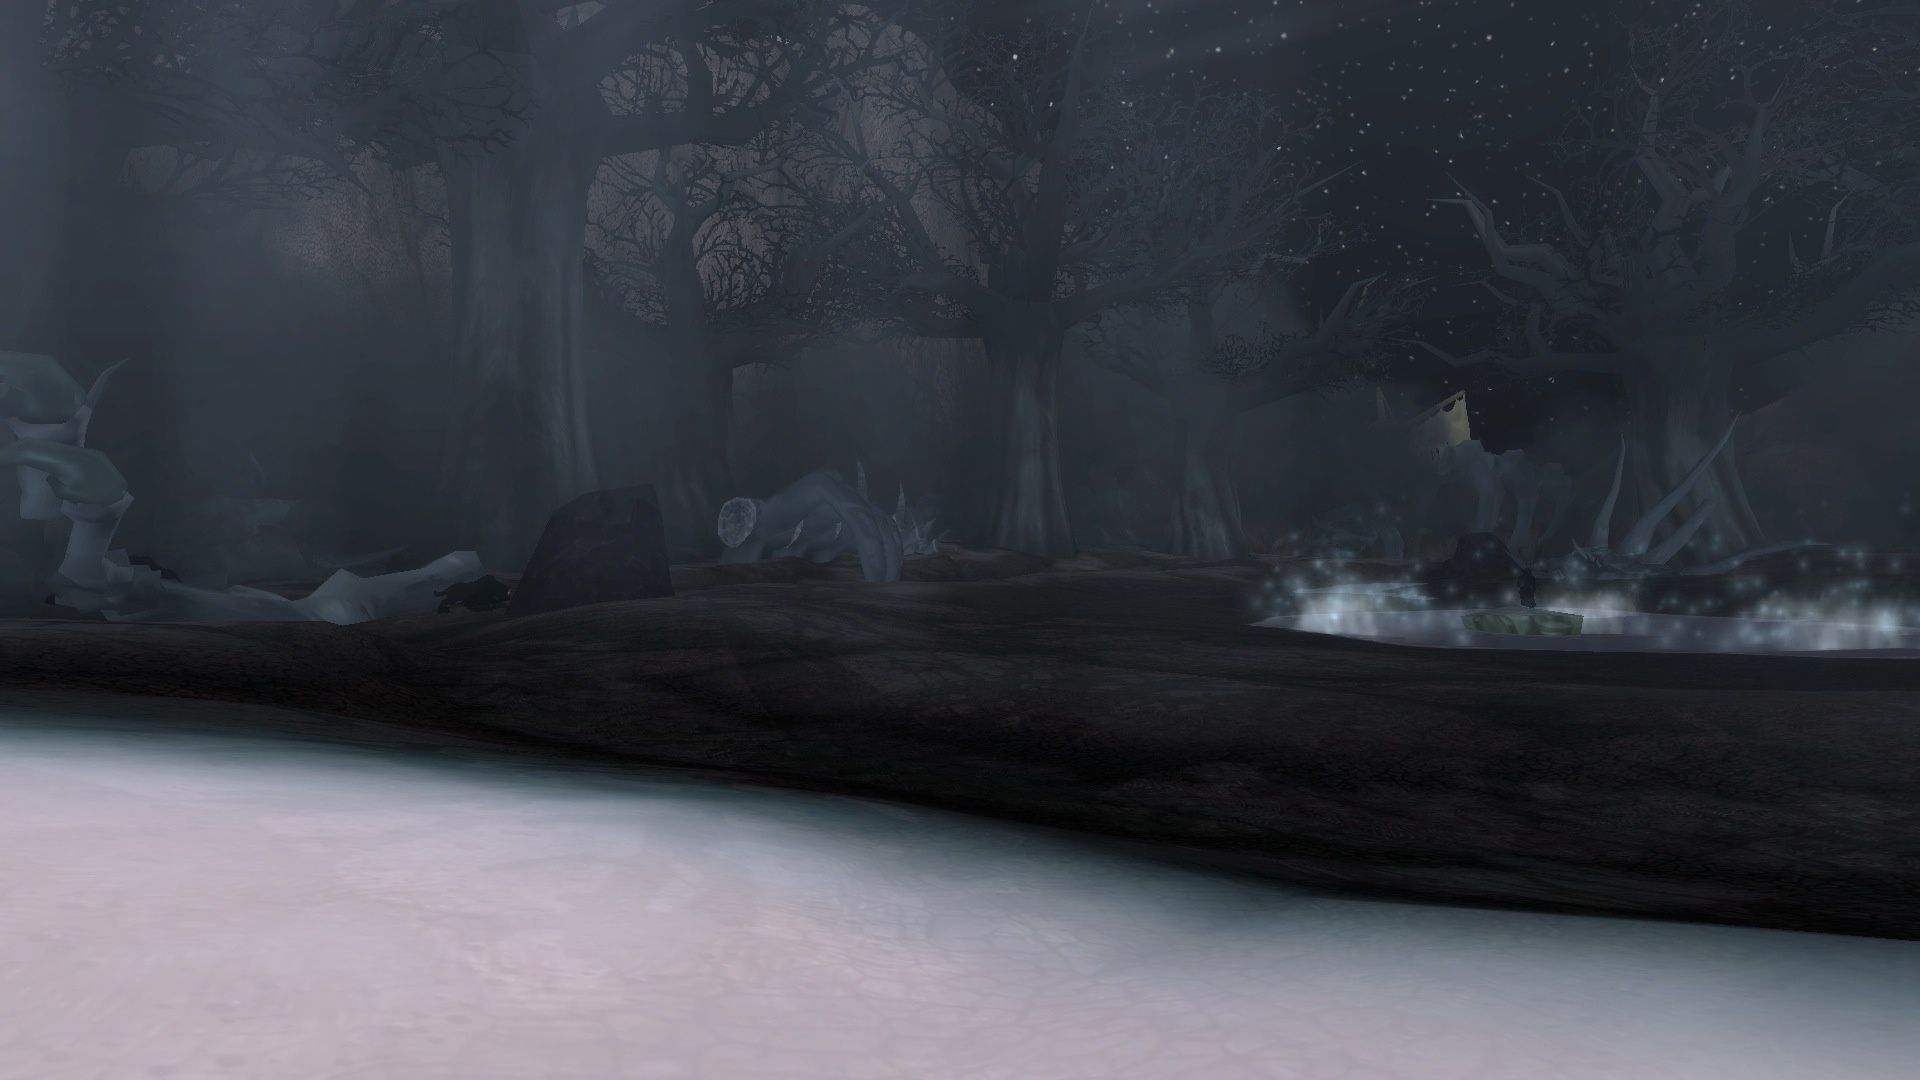
In order for Nozdormu to grant you the ability to travel back in time, to a point where Malfurion Stormrage kept the Dragon Soul hidden from all those who sought its power, you will first have to step into a distant and desolate future to discover the anomaly. that blocks the past. You will find yourself in a very different Dragonblight, stripped of its snowy landscape, and in which little more than the ruins of those glorious dragon shrines of another time remain. The Temple of the Dragon's Rest itself is nothing more than a memento of Deathwing's madness, what remains of its scorched remains is nailed atop the structure.


Before facing the creature that interrupts Nozdormu's access to the past, you will have to fight two of the following four seemingly familiar leaders, chosen at random each time you participate in End of Days.
Dungeon guide passages
Echo of SylvanasA deranged fragment of the Forsaken leader, Sylvanas Windrunner, has emerged from shattered time portals and is cloistered in the Ruby Dragonshrine, waiting impatiently. He has lost everything and is unable to find peace, this tormented echo is willing to unleash his dark fury against all life still present in these wastelands and misplaced in time.
Echo of Tyrande: A former leader of the night elves and high priestesses of Elune, this time-warped shard of Tyrande Whisperwind now roams the wastes of Azeroth's desolate future. Wrapped in a perpetual midnight, she is lacking but has lost sight of the comforting Light of Elune.
Echo of Jaina: Jaina Proudmoore's tormented fragment is split and imbued with the shattered remains of her staff. To restore balance in the portals of time, it is necessary to defeat this echo. But the devastating magical power that the proud leader of Theramore possesses remains almost unscathed on her time spectrum. In this Azeroth of the future, it is only divided and lurking ...
Baine's Echo:Enraged at his failure to protect the world, and more importantly, the Horde, this time-warped shadow of Baine Bloodhoof remains in the ruins of the Obsidian Dragonshrine. While still as powerful as the Great Tauren Chieftain of the present, in this shattered future Azeroth this guilt-driven echo is little more than the jarring host of inexhaustible malice and anger.


These long-deceased heroes are but echoes of their former glory, further deranged by the corrupting force of time. His presence here is a great mystery, even to Nozdormu. When these shadows have been sent to eternal rest, the maniacal figure blocking Nozdormu's vision will reveal himself in the Bronze Dragonshrine. None of the Aspect dragons could have predicted which entity would have such a power to disrupt the Vision of the Timeless… the ability to create a new and infinite Flight. To give the protectors of Azeroth a chance to avoid the potential outcome you are witnessing, you will have to destroy the mysterious dragon known as Murozond.

{/ Slide}
Bosses of the End of Days / End of Times dungeon
Among an infinite number of possible outcomes, this time portal describes the bleak future of Azeroth in the event that Deathwing is not defeated. Nozdormu identifies at that moment a powerful anomaly that prevents access to the past and, therefore, any hope of recovering the Demon Soul. It appears to be a powerful creature from another age that dwells in solitude among the echoes of the past distorted in time.
The dungeon has three bosses, the first two appear randomly from these four:
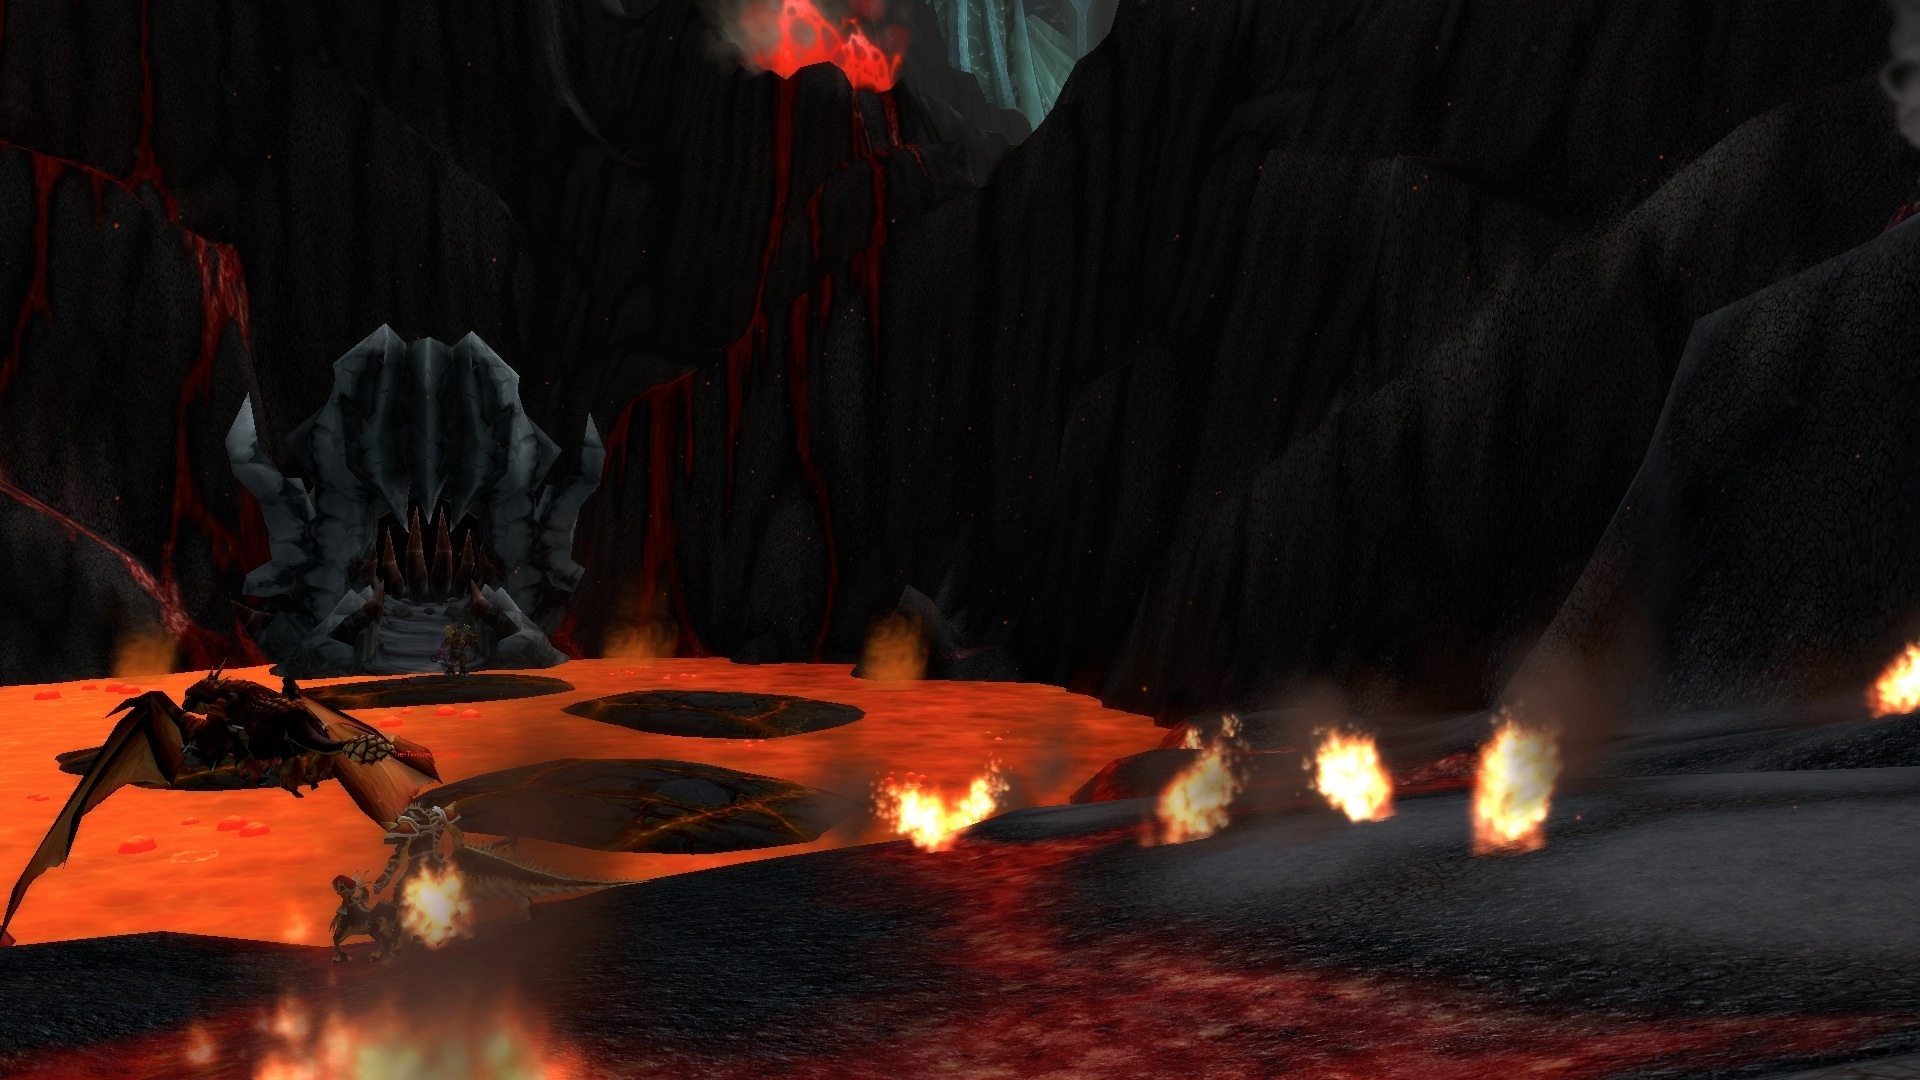
{tab = Echo of Baine}
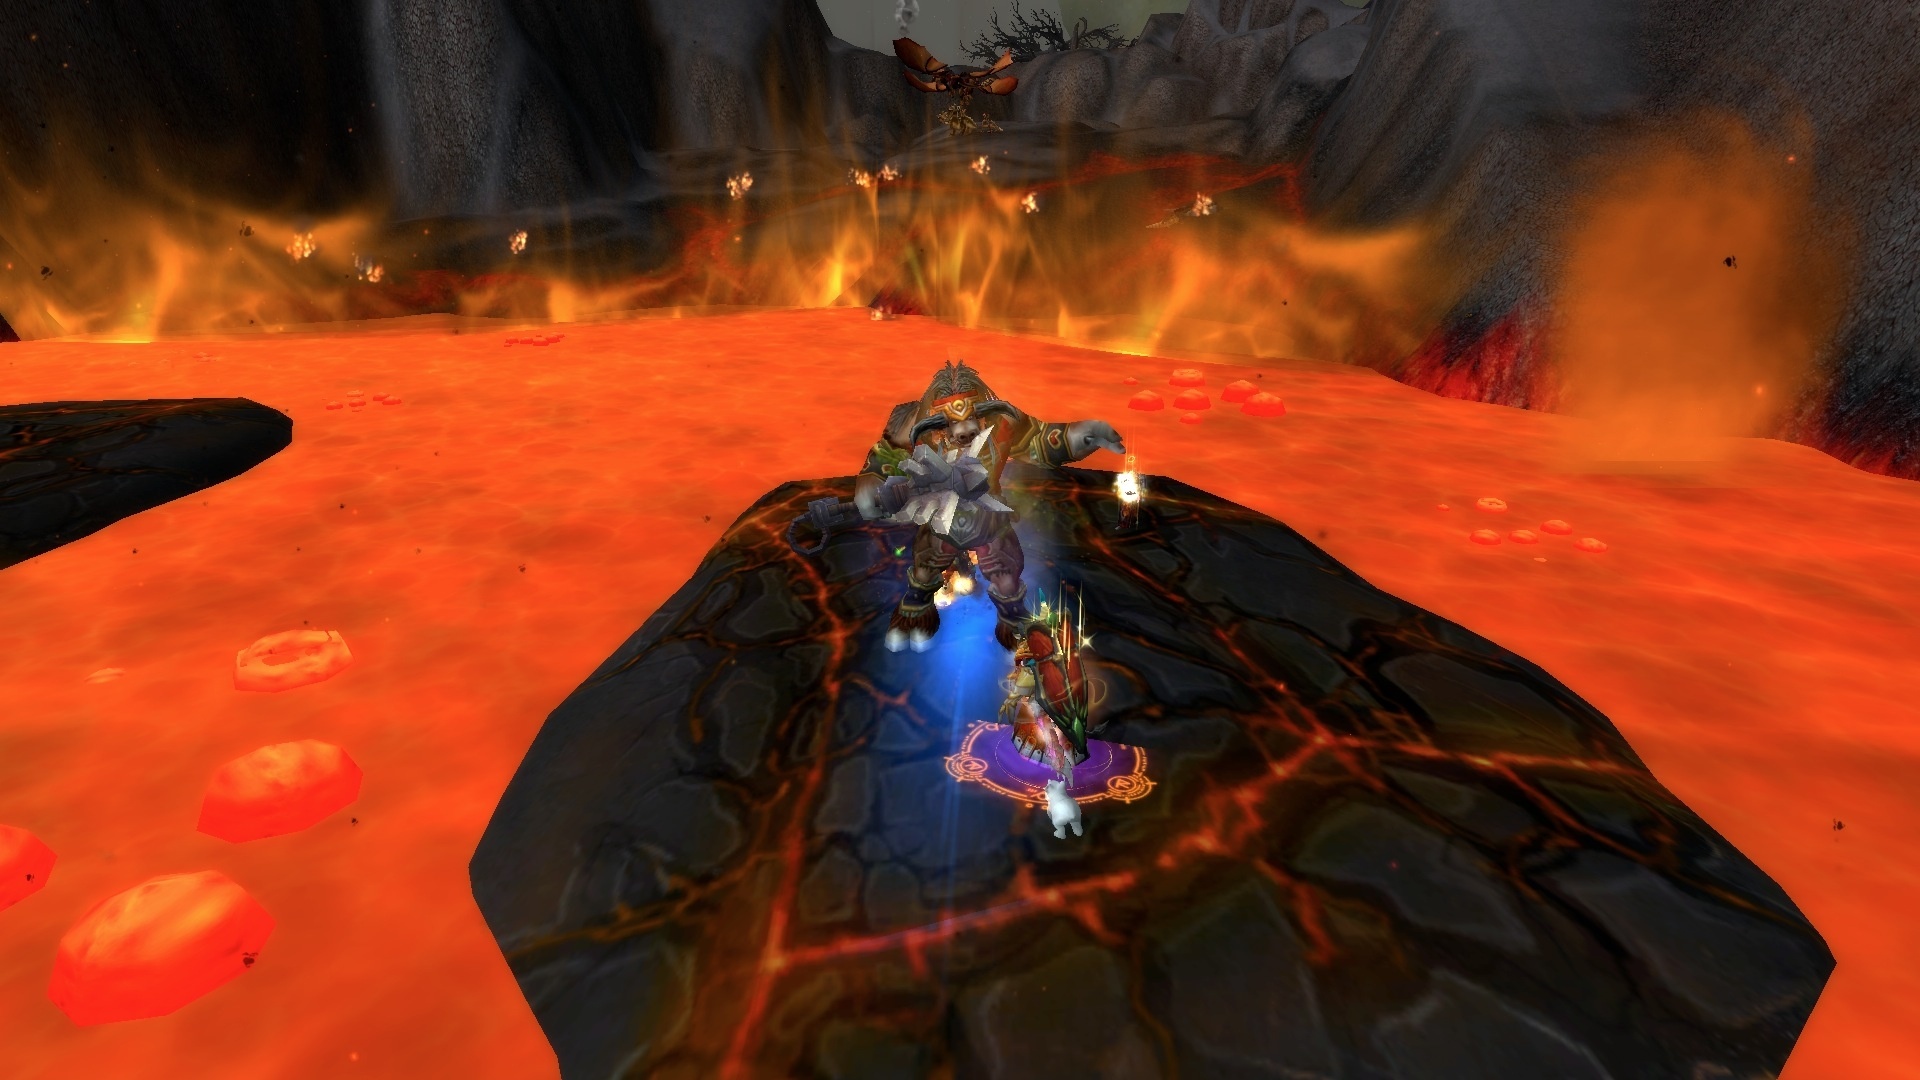
Echo of Baine
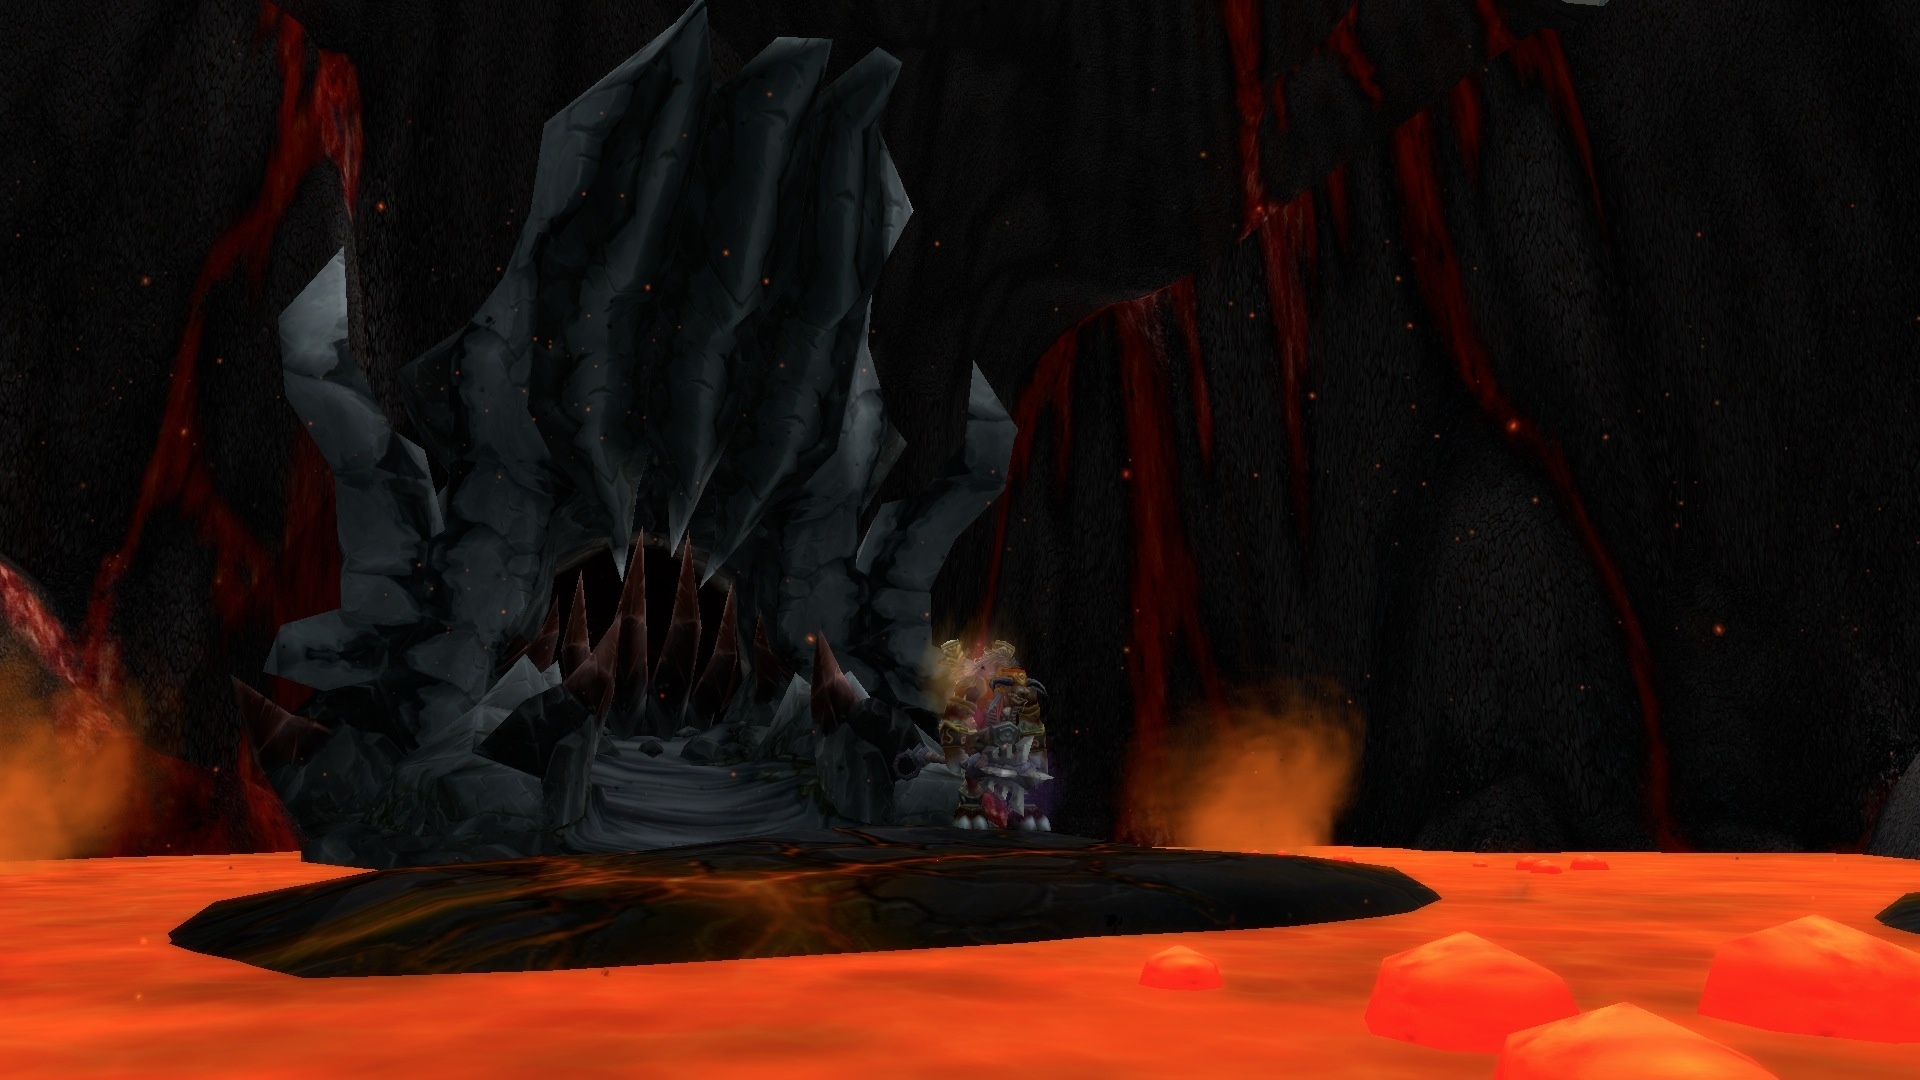
Enraged at his failure to protect the world and, more importantly, the Horde, this devastated shadow of Baine Bloodhoof remains in the ruins of the Obsidian Dragonshrine. While still as powerful as the present tauren chieftain himself, in this devastating future of Azeroth, this guilt-ridden echo is but a vehicle for unbridled malice and hatred.
![]()
Molten Mace- The echo of Baine's mace ignites for 10 seconds when it comes into contact with lava. The fiery mace causes melee attacks to deal 10000 damage. extra Fire damage.

Cast Iron Grips - Players' fists ignite for 20 seconds when they come into contact with lava. Burning fists cause melee attacks to deal 10000 damage. extra Fire damage.
-
Grind up - Baine's echo strikes the ground with his totem, inflicting 30000 damage. Physical damage to enemies within 15 yards and destroy the nearby platform.
-
Throw totem- Baine's echo throws his totem at a random player, inflicting 60000. of physical damage and knocks it down. Baine's totem will remain on the ground at the target location for 20 seconds.
-
Throw totem - A player could attempt to return the totem to Baine's echo. A successful cast deals 10% of Baine's echo's maximum health as Physical damage, stuns him, and increases damage taken by 100% for 20 sec.
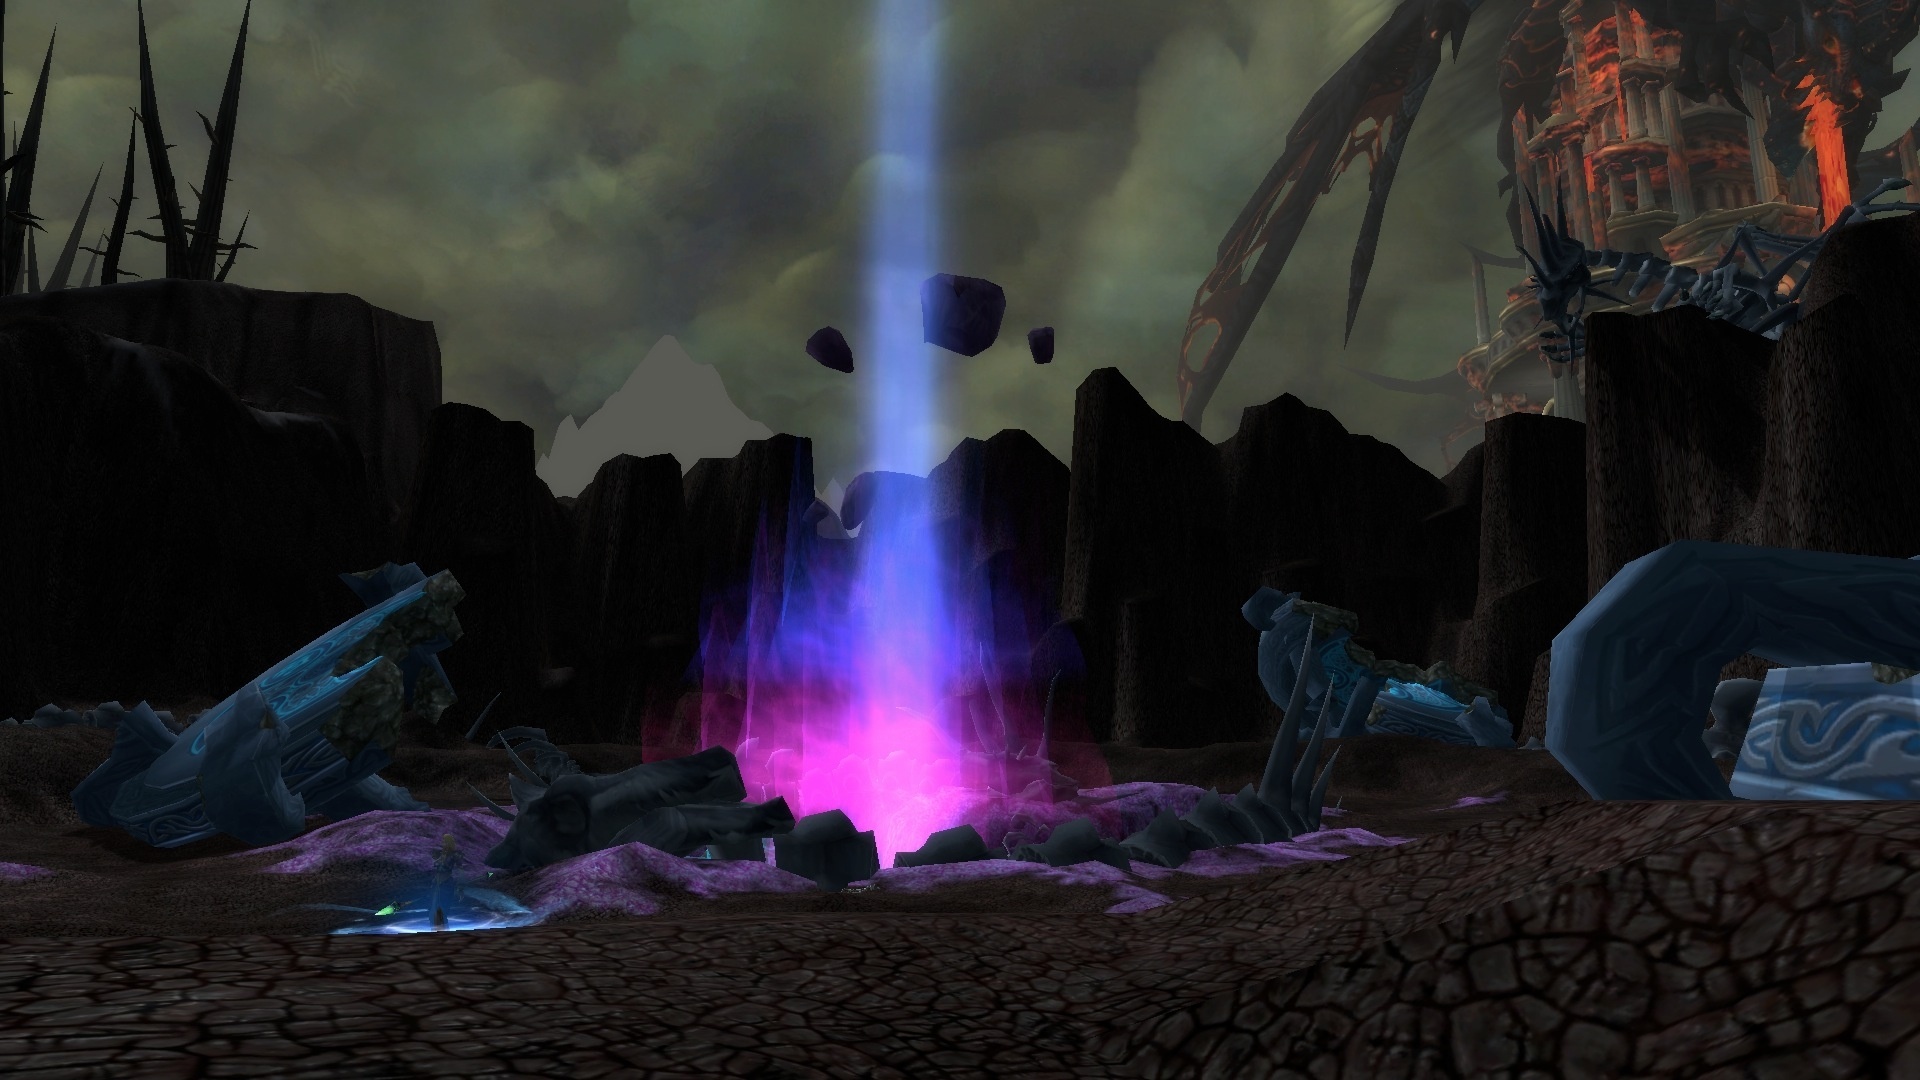
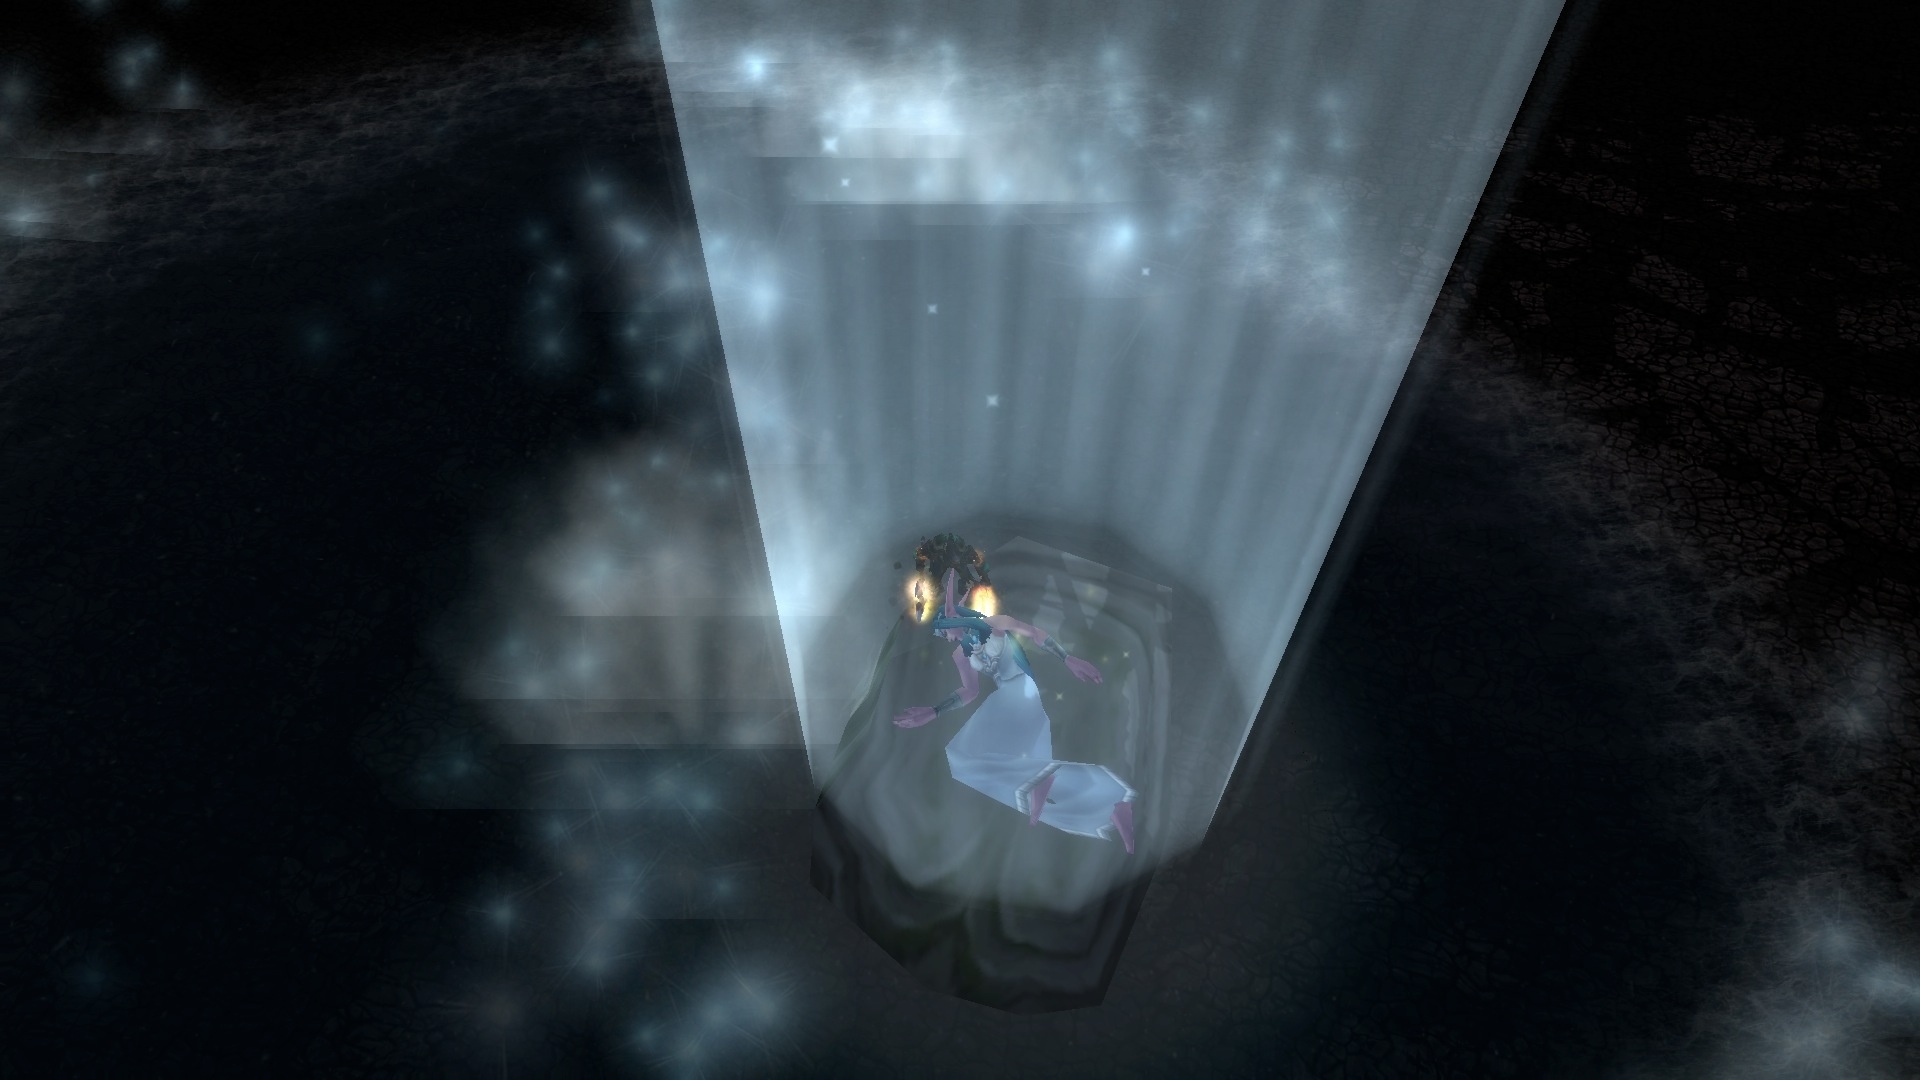
{tab = Echo of Jaina}
Echo of Jaina
Jaina Proudmoore's tormented fragment is split and imbued with the shattered remains of her staff. To restore balance in the portals of time, it is necessary to defeat this echo. But the devastating magical power that the proud leader of Theramore possesses remains almost unscathed on her time spectrum. In this Azeroth of the future, it is only divided and lurking ...
![]()
Translation- Jaina's echo teleports to a nearby location.
-
Nucleus Flare - Throw a Crescent Core Flare Ember to the ground near an enemy. The ember explodes when touched, inflicting 5000-50000 damage. Fire damage to enemies within 5 yards. If it does not explode within 10 sec, the ember detonates for 94500. Fire damage to all enemies.
-
Frost Blades - Jaina's echo creates three ice sheets and throws them forward. Enemies hit by the blades are trapped in a block of ice, stunning them for 5 seconds.
-
Save from Frost - Inflicts 15000 p. Frost damage to nearby enemies within 65 yards and slows their movement speed by 25% for 4 sec.
-
Pyroblast - Inflicts 45000 p. Fire damage to your current target over 3000. Fire damage every 3 seconds for 12 seconds.
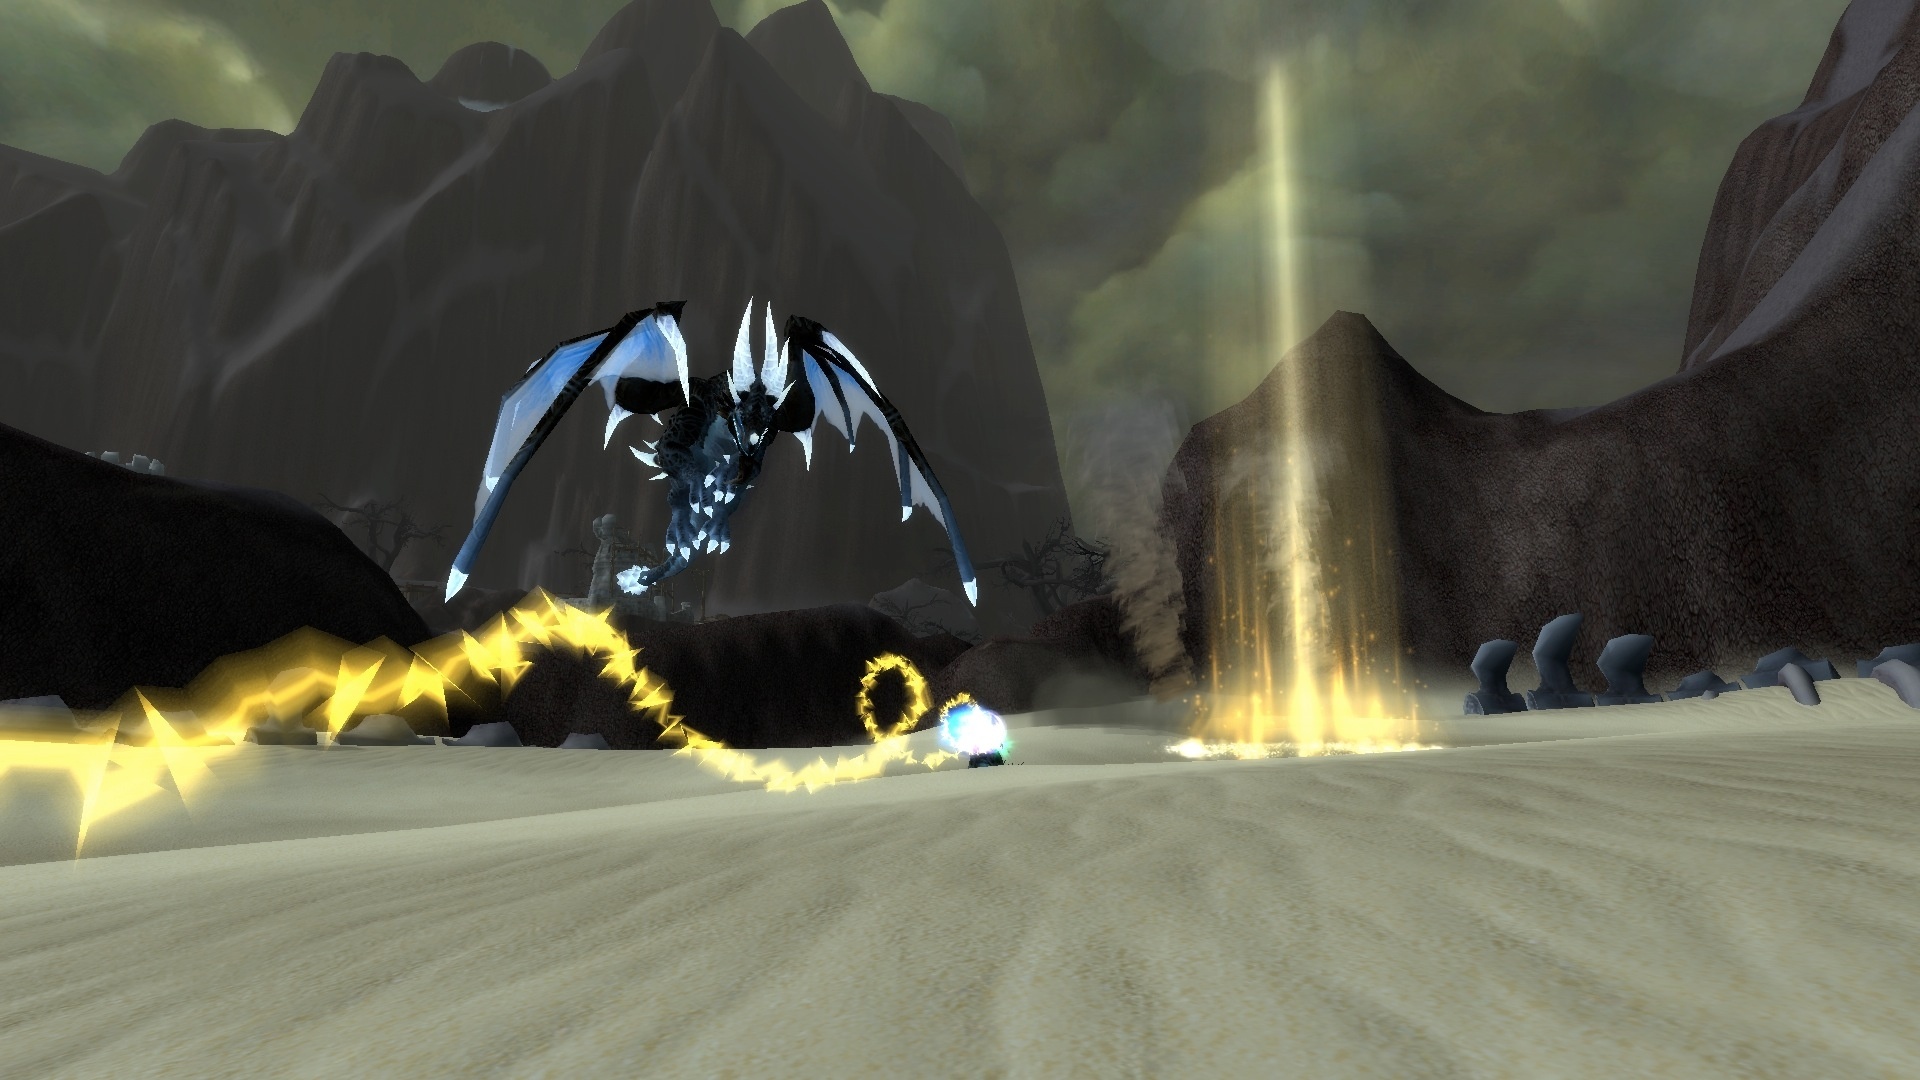
{tab = Echo of Sylvanas}
Echo of Sylvanas
A deranged fragment of Forsaken leader Sylvanas Windrunner has emerged from shattered time portals and finds herself cloistered in the Ruby Dragonshrine, waiting impatiently. He has lost everything and is unable to find peace, this tormented echo is willing to unleash his dark fury against all life still present in these wastelands and misplaced in time.
![]()
Call of the Highborne
Sylvanas ascends into the sky, drawing all the enemies below her. Then her call raises 8 resurrected ghouls in a circle around her. A dark bond is created between each ghoul and the area behind each one is filled with shadows. The ghouls then march blindly towards Sylvanas. When a resurrected ghoul reaches Sylvanas, it casts the Sacrifice spell.
Crossing any of the bonds between the ghouls or entering the shadows behind each one inflicts Excruciating Pain on the player every second. Destroying a resurrected ghoul will break the bond with nearby ghouls and remove the shadow area behind it.
-
Excruciating pain - Crossing any of the bonds between the resurrected ghouls or entering the shadows behind each one inflicts Excruciating Pain on the player every second. Excruciating Pain inflicts 35000 damage. Shadow damage.
- Risen ghoul- When a resurrected ghoul reaches Sylvanas, cast the Sacrifice spell. Destroying a resurrected ghoul will break the bond with nearby ghouls and remove the shadow area behind it.
-
Sacrifice - Sacrifice inflicts 300000 damage. Fire damage to players within 10 yards of Sylvanas.
-
Screech of the Highborne - Sylvanas lets out a cry of anguish, inflicting 50000 damage. Shadow damage to a random player and their movement speed reduced by 50% for 30 sec.
-
Black arrow - Sylvanas fires an explosive black arrow at a random player, inflicting 50000 damage. Shadow damage to players within 10 yards of the target.
-
Unholy shot Sylvanas fires a barrage of missiles at a random player, hitting up to 3 players within 10 yards of the target. Each missile inflicts 50000. Shadow damage plus 20000. Shadow damage every 2 seconds for 10 seconds.
-
Infected arrows - Sylvanas spreads the ground in a circle of 3m radius under a random player and leaps into the sky. The plague inflicts 35000 points. damage every 1 sec and reduces the movement speed of any player within the circle by 50%. At the top of his jump, he fires a salvo of deadly arrows against the infected ground. Arrows inflict 50000 damage. Shadow damage and knock down those who remain on the plague.
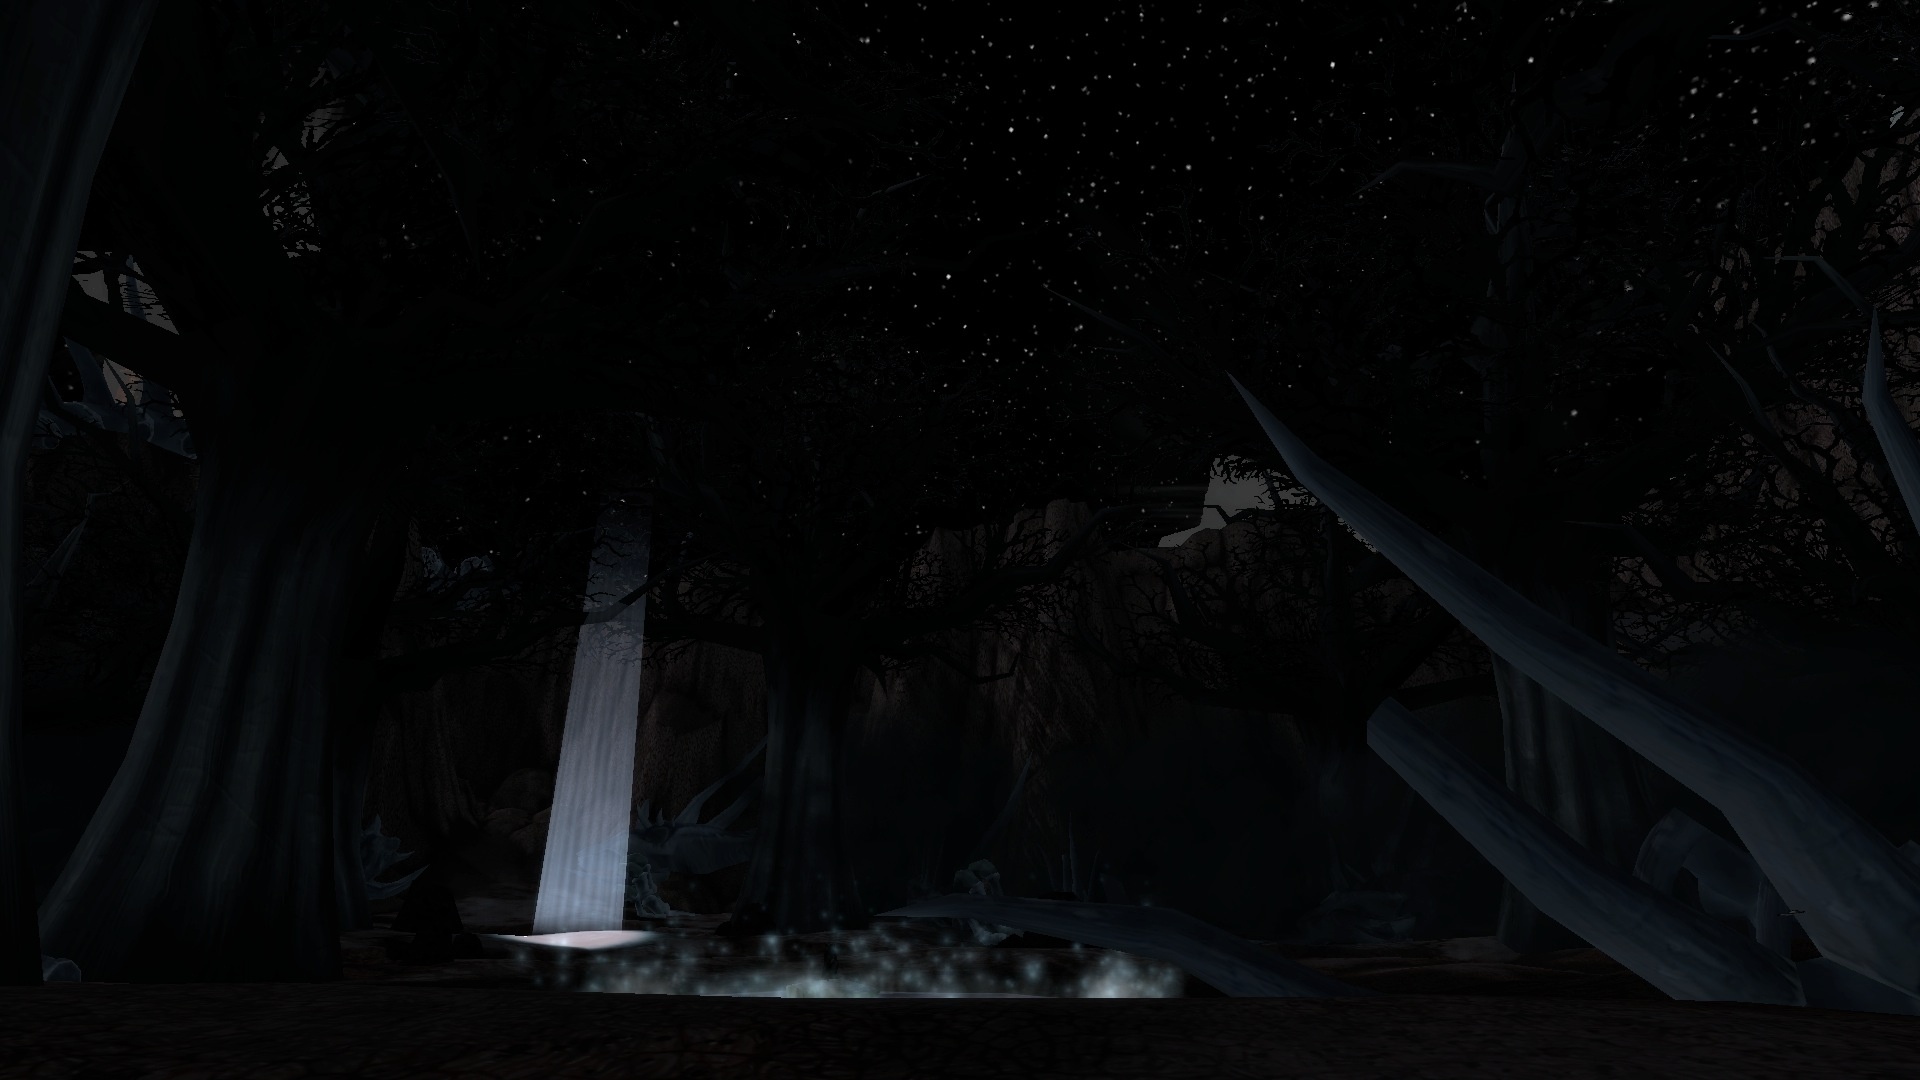
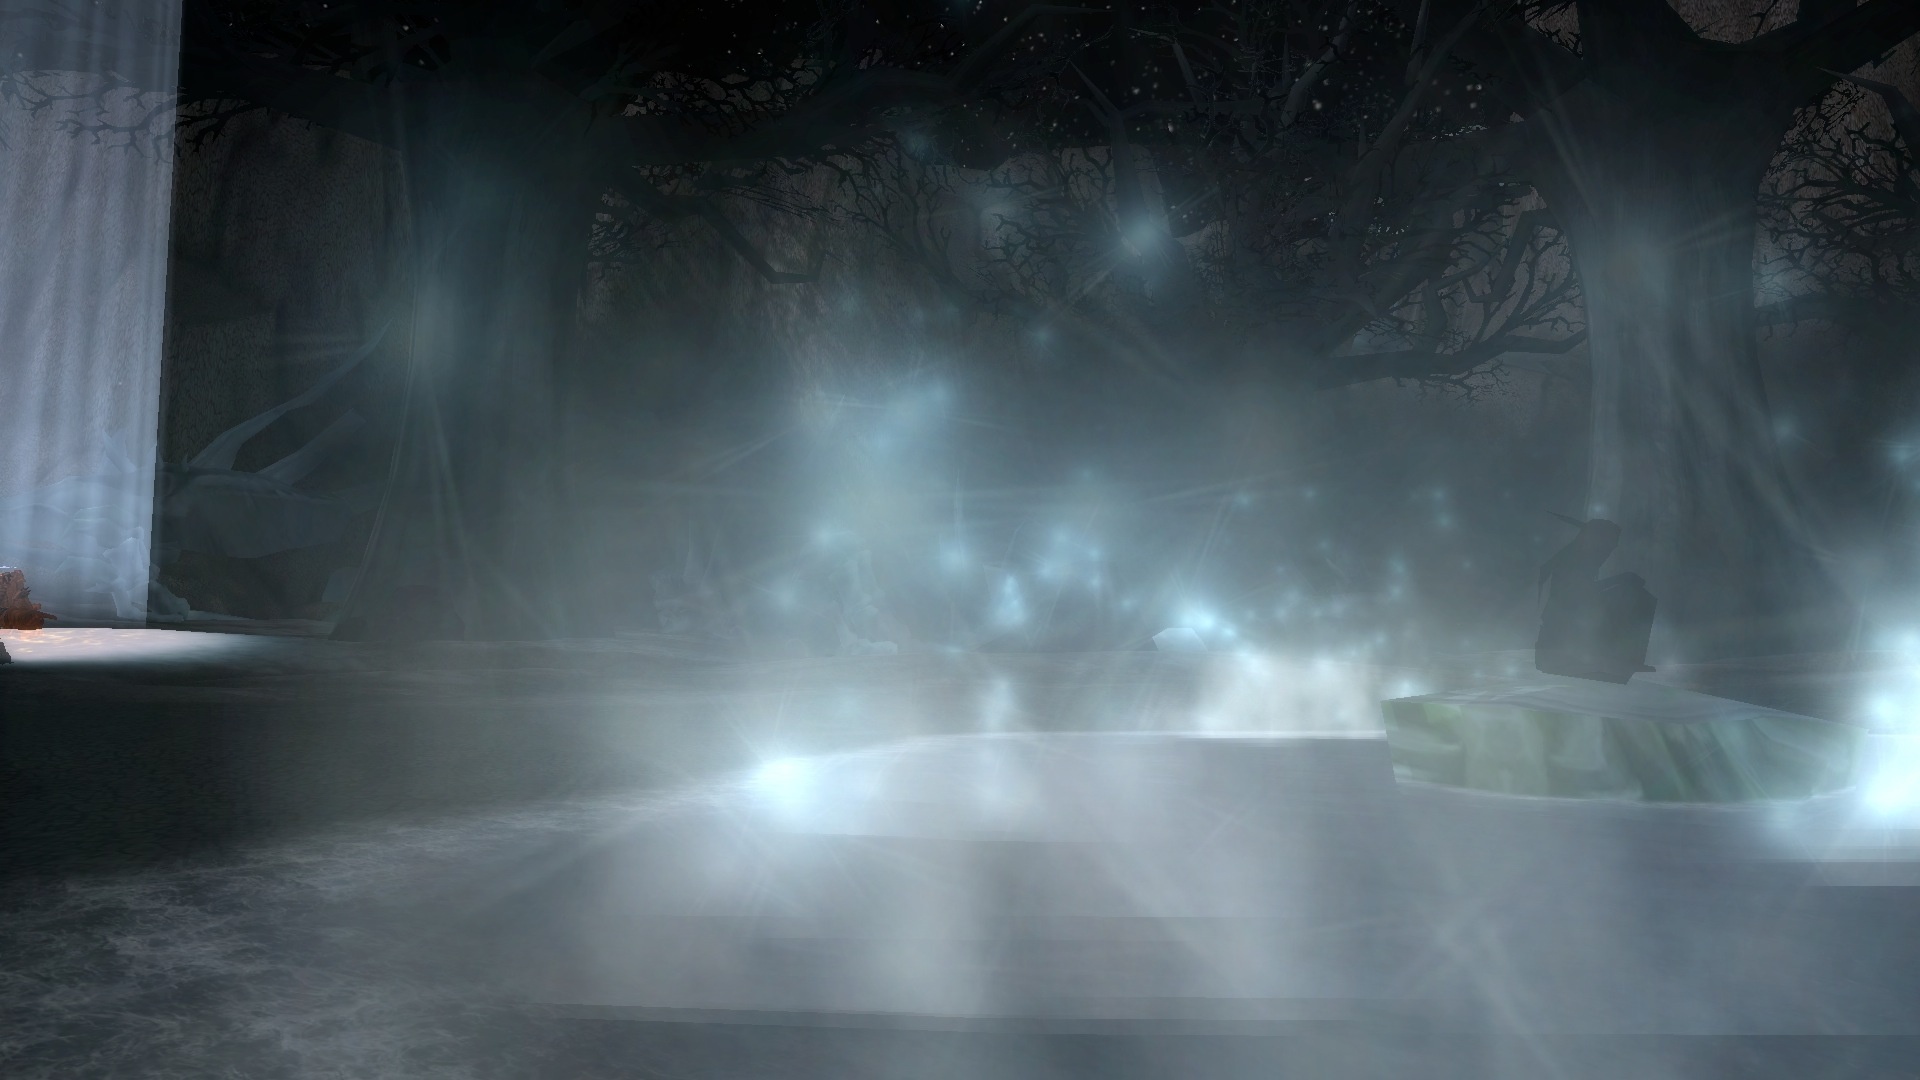
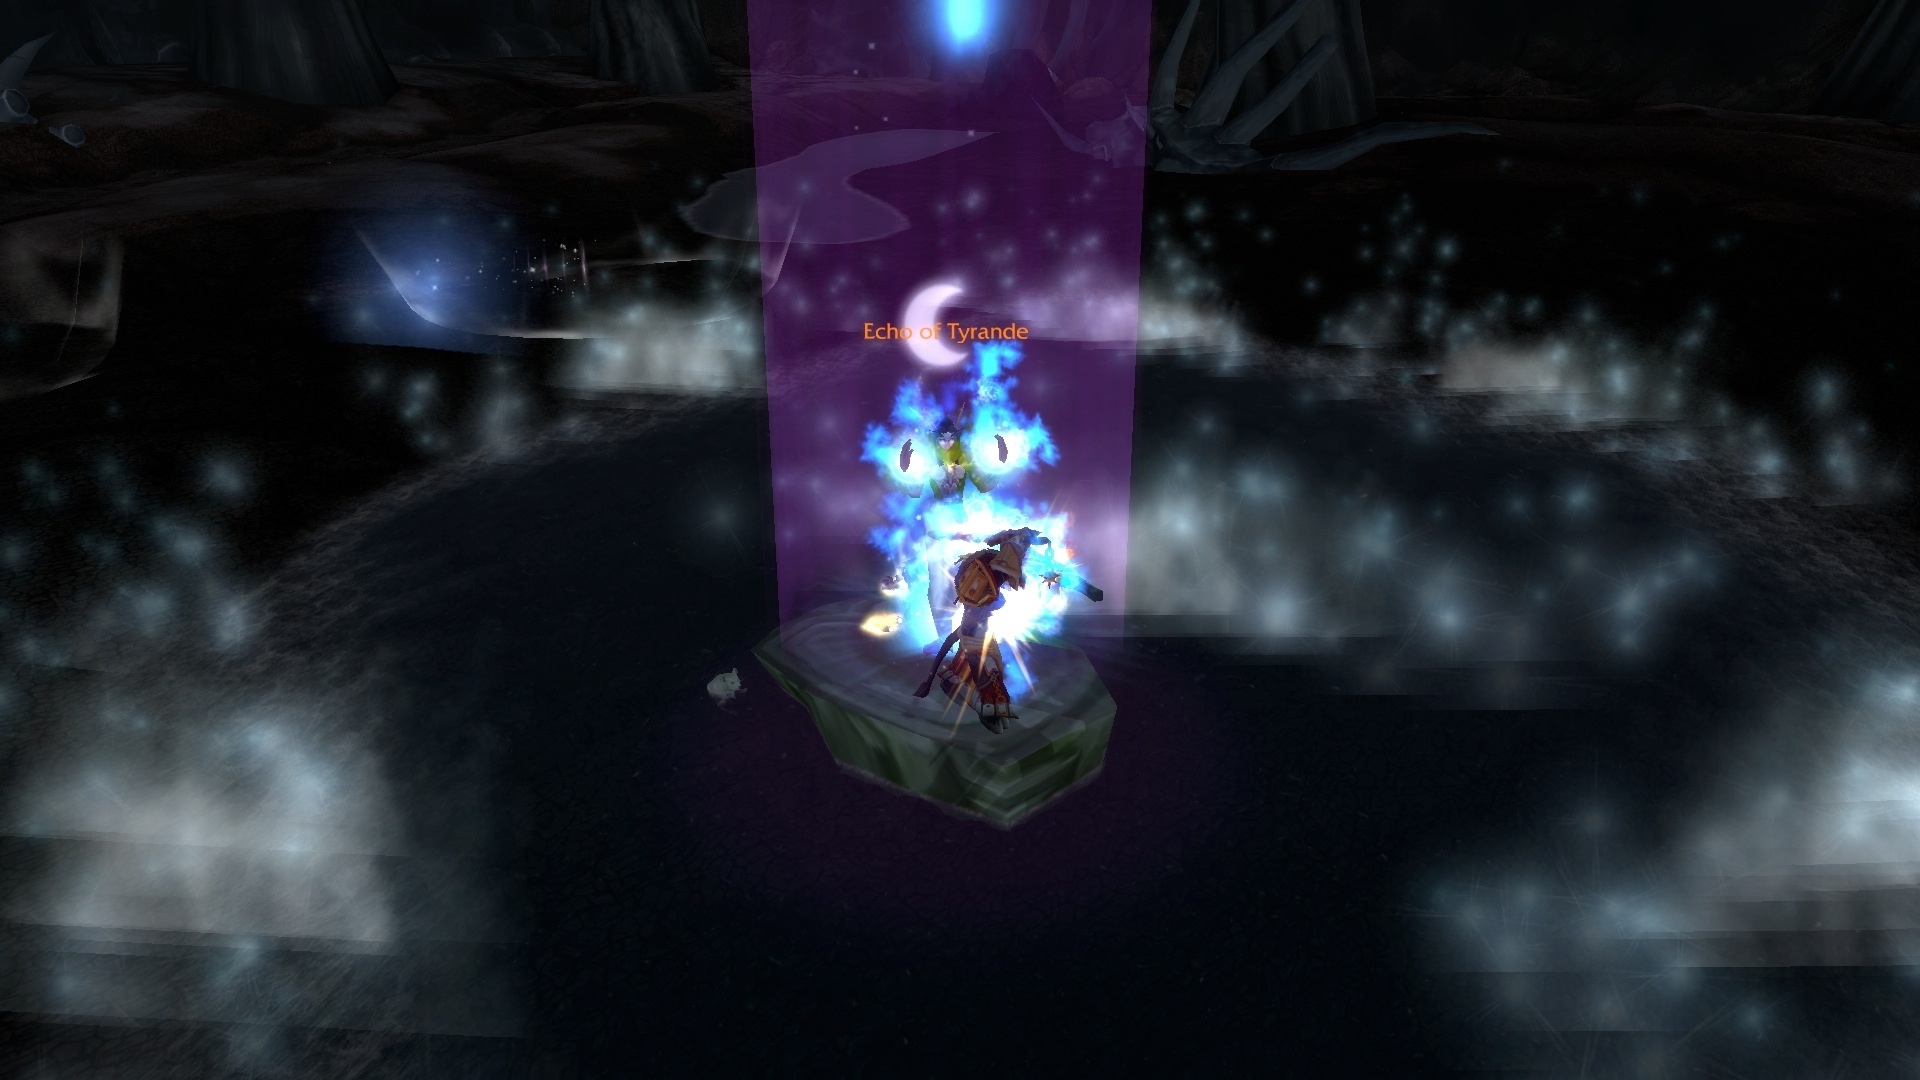
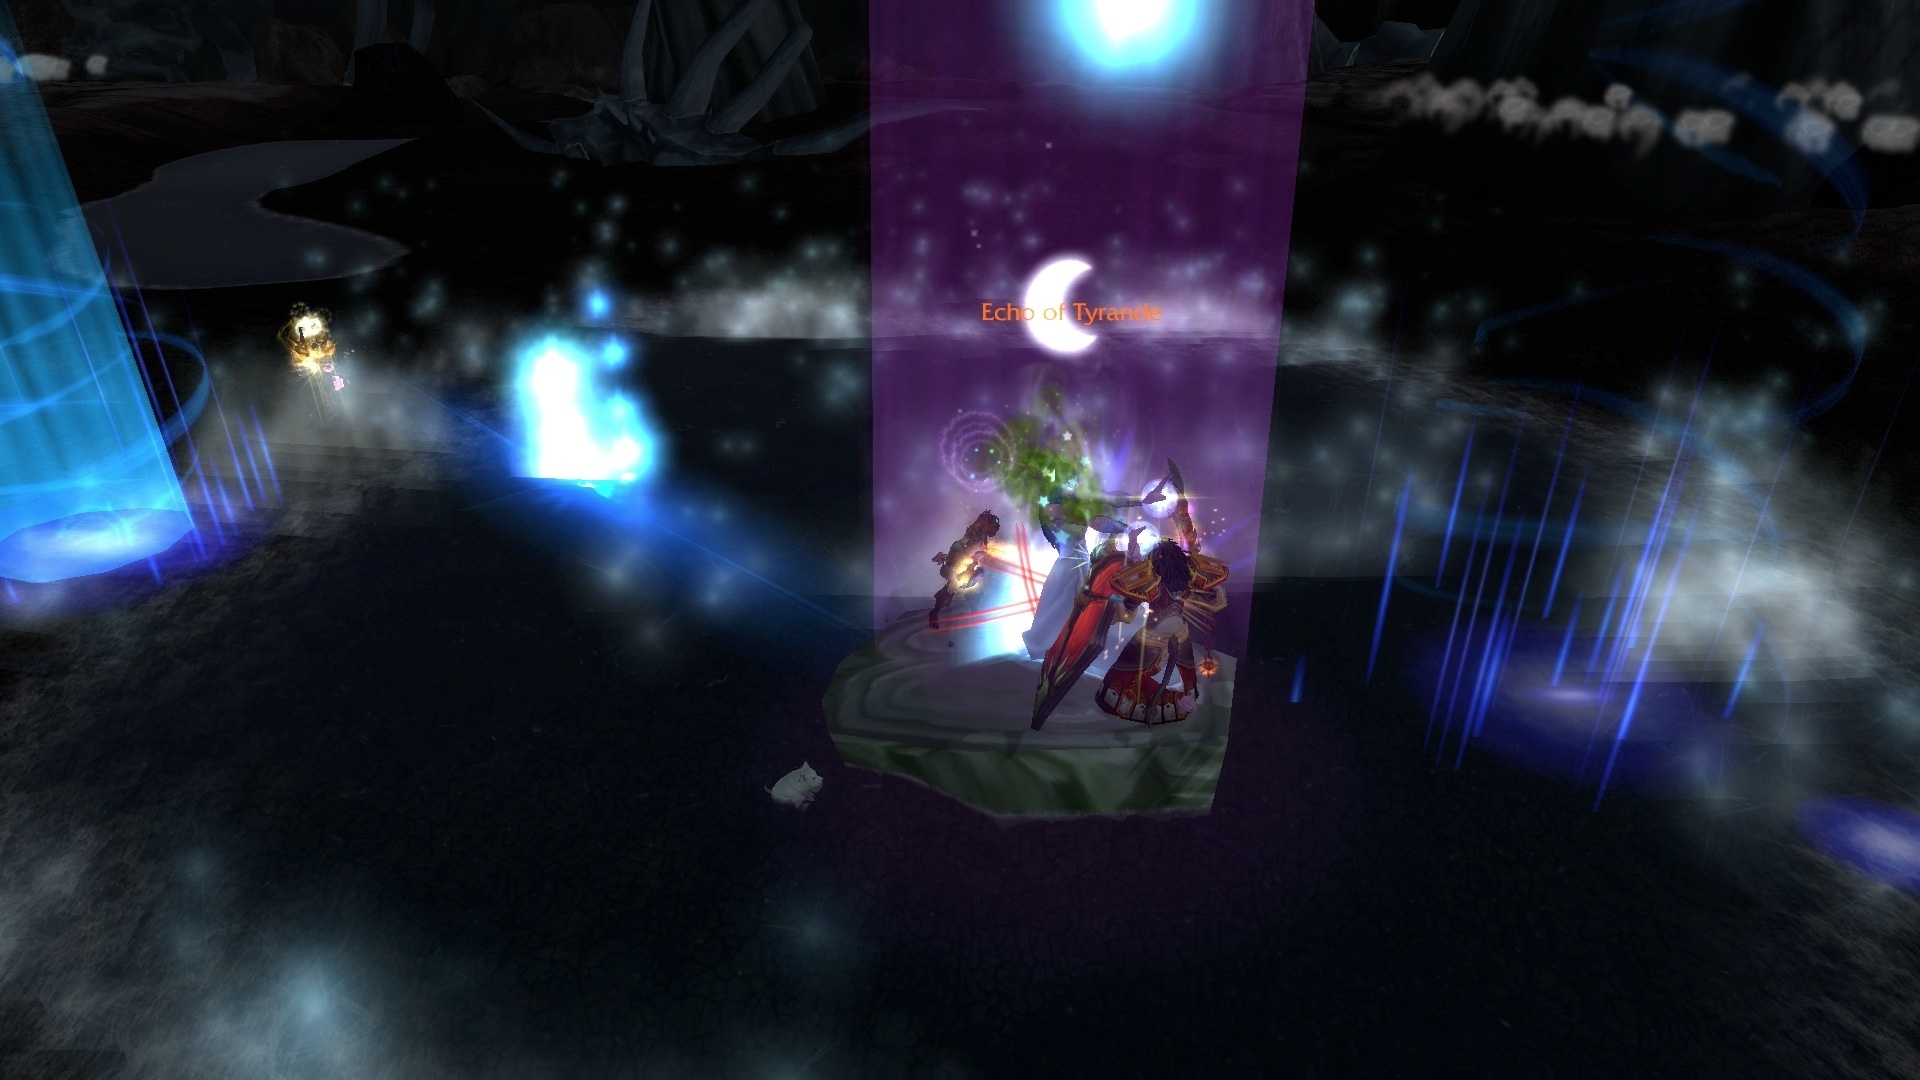
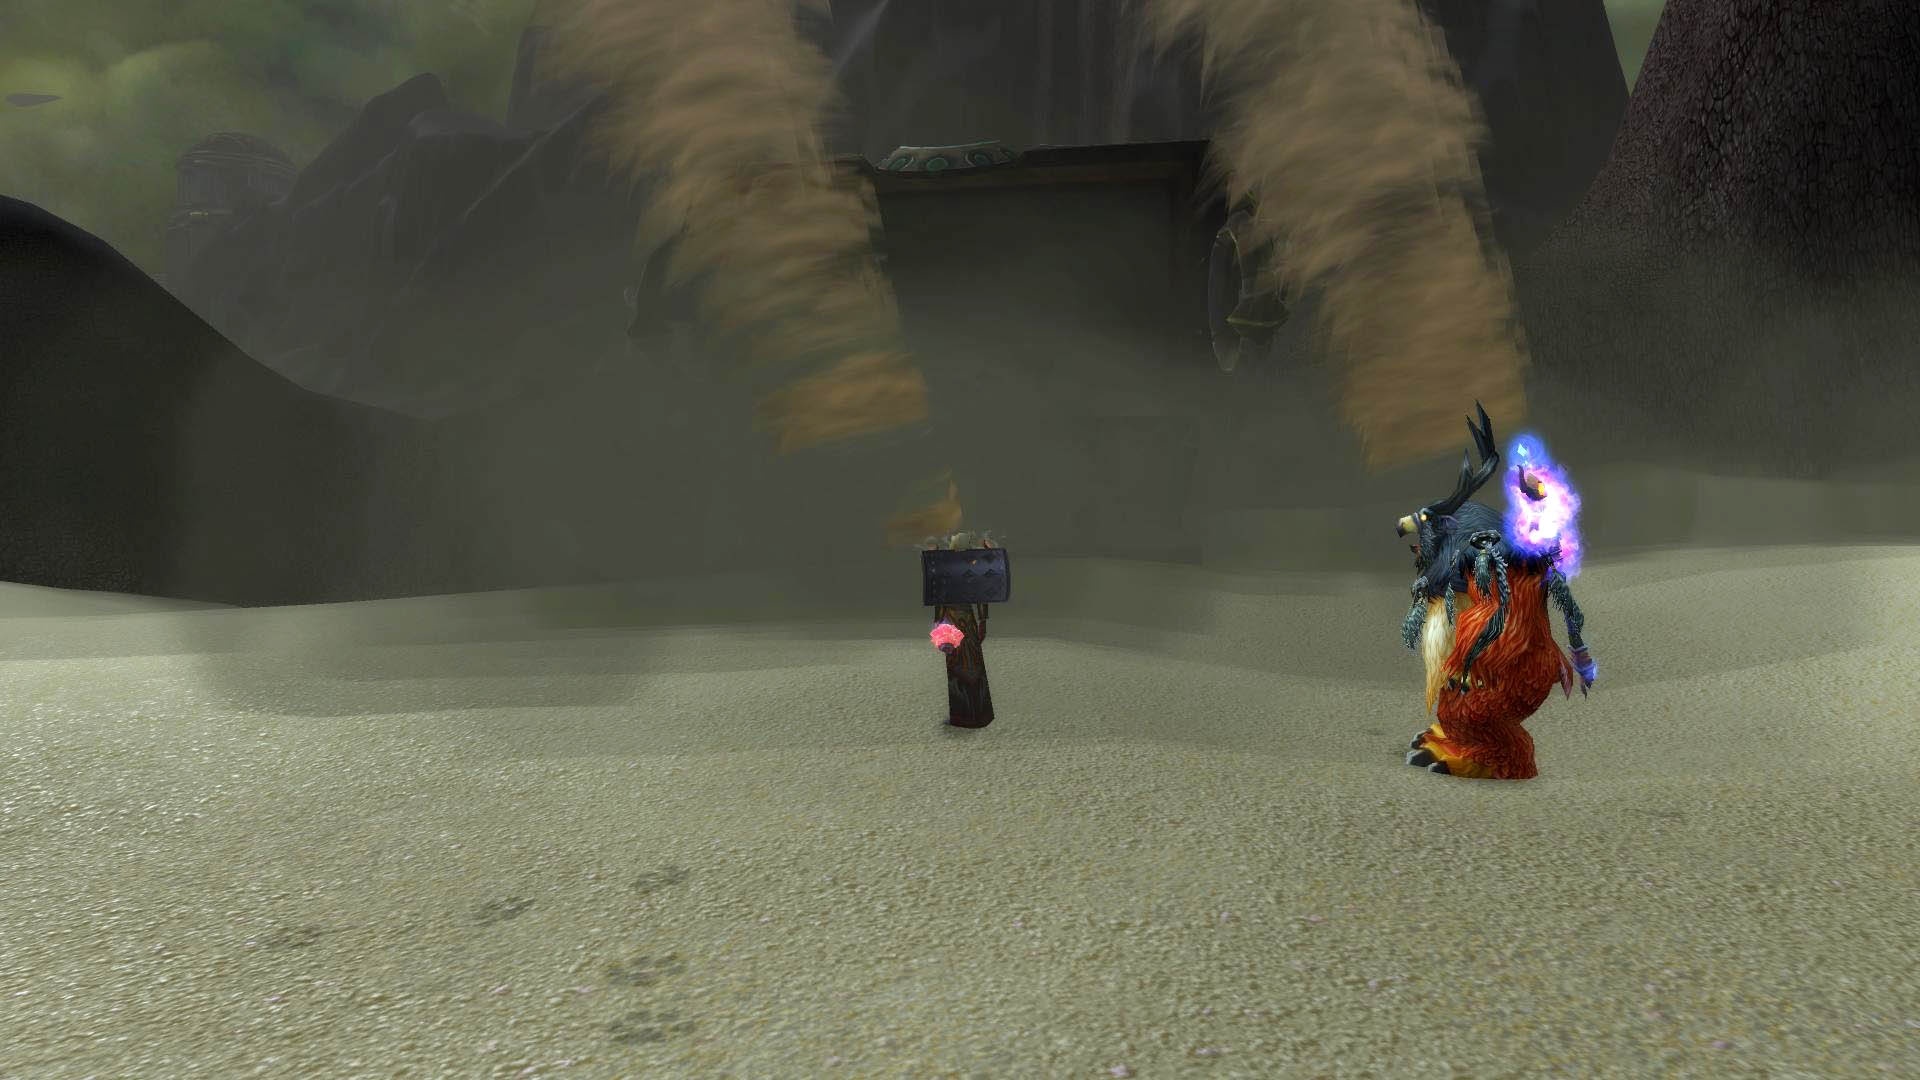
{tab = Echo of Tyrande}
Echo of Tyrande
Former leader of the night elves and high priestesses of Elune, this time-warped shard of Tyrande Whisperwind now roams the wastes of Azeroth's desolate future. Wrapped in a perpetual midnight, she is lacking but has lost sight of the comforting Light of Elune.

Lunar discharge: Tyrande unleashes a powerful bolt of lunar energy at her current target, inflicting 40000. Arcane damage.
-
Stardust: Tyrande blows a diffuse trail of stellar energy into the wind, inflicting 50000 damage. Arcane damage to all players.
-
Moonpick: Tyrande summons a powerful spear of lunar energy that travels across the ground and splits into three parts after several seconds. Each Moonpick inflicts 50000. Arcane damage to all players within 2 yards, stunning them for 5 seconds.
Goddess eyes
- Tyrande invokes the twin eyes of Elune, the goddess of the moon. Players cannot attack the Eyes of the Goddess.
-
Elune's Piercing Gaze: Elune's Eyes circle around Tyrande, casting Elune's Piercing Gaze every 1 sec. Elune's Piercing Gaze inflicts 50000. Arcane damage to all players within 6 yards and Silences them for 5 seconds.
-
Moon Guide: When her health is 80%, Tyrande asks Elune to guide her. Tyrande imbues herself with Guidance of the Moon, allowing her to cast her spells 25% faster. Tyrande gains a second stack of Guidance of the Moon when her health reaches 55%.
-
Tears of Elune: When her health is at 30%, Tyrande screams for help from the moon goddess. Tears of Elune rain down for the remainder of the battle, inflicting 30000 damage. Arcane damage to players within 4 yards.
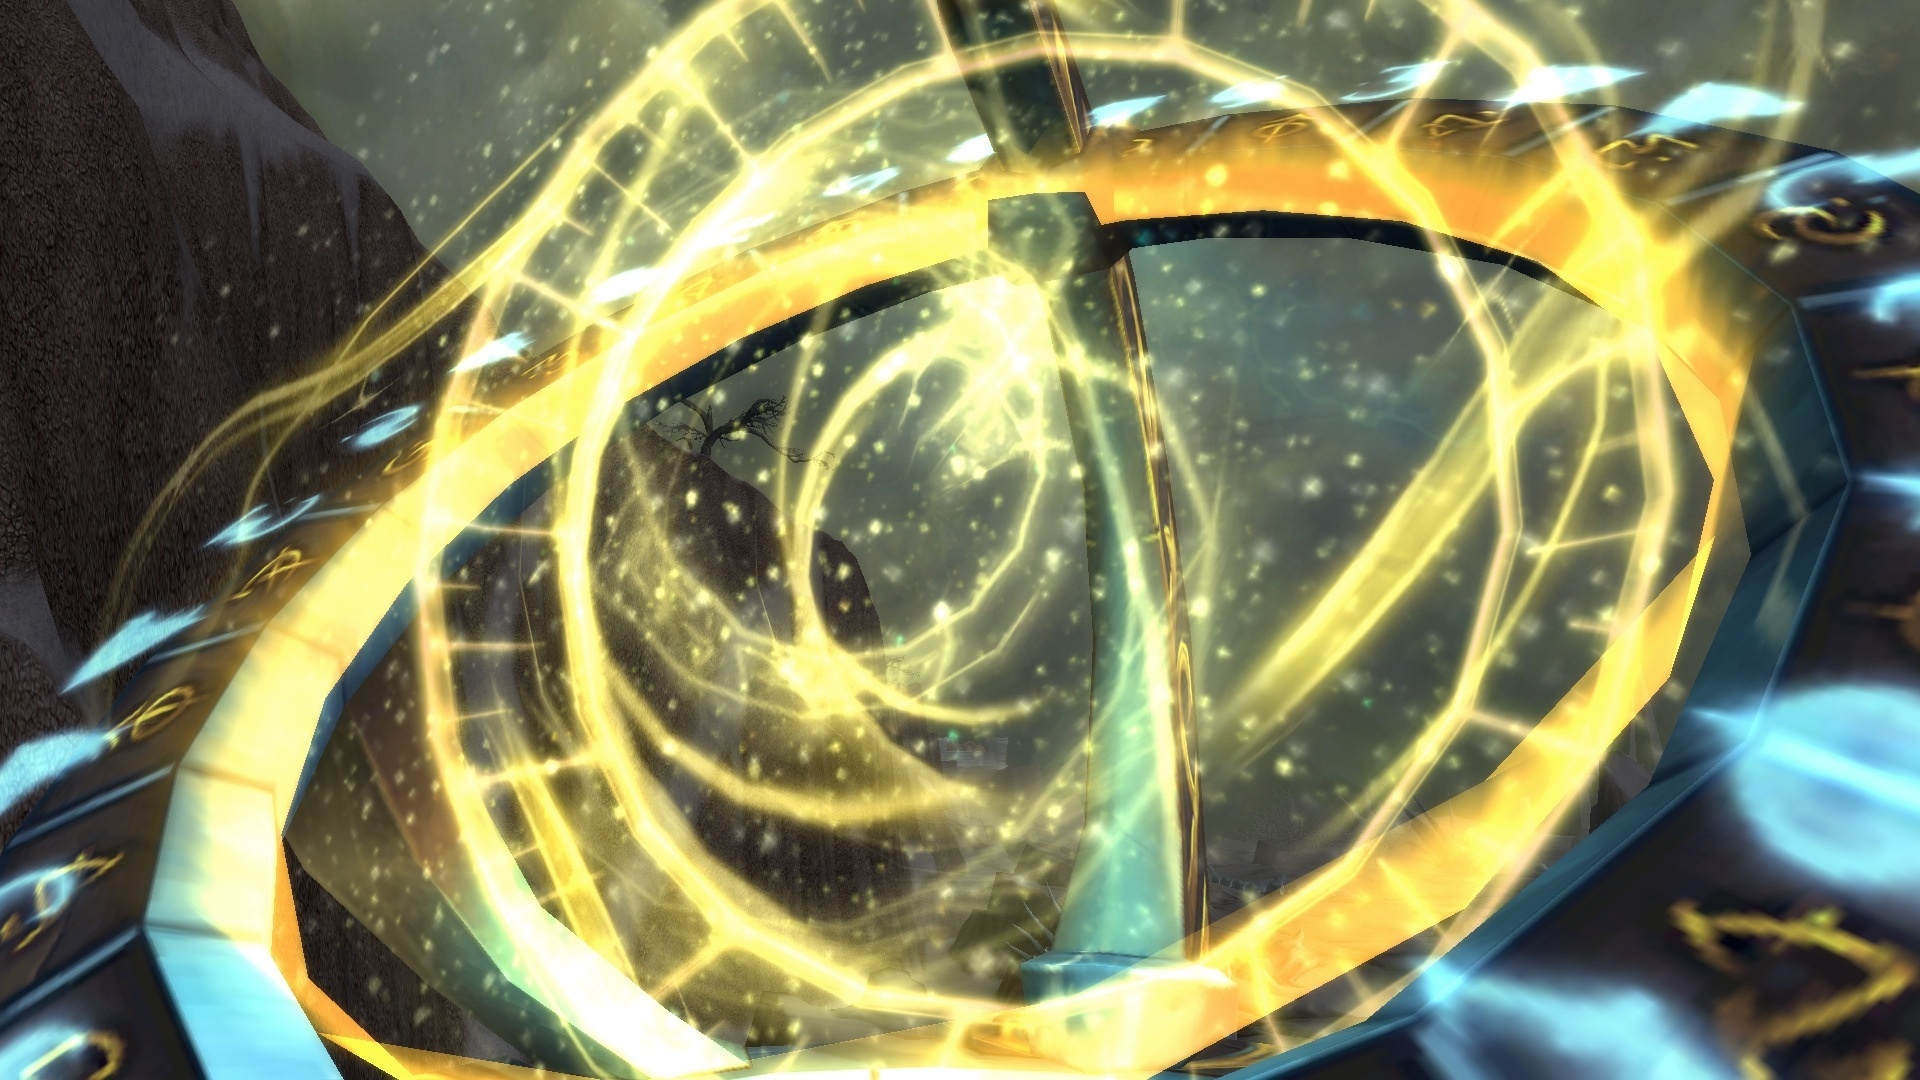
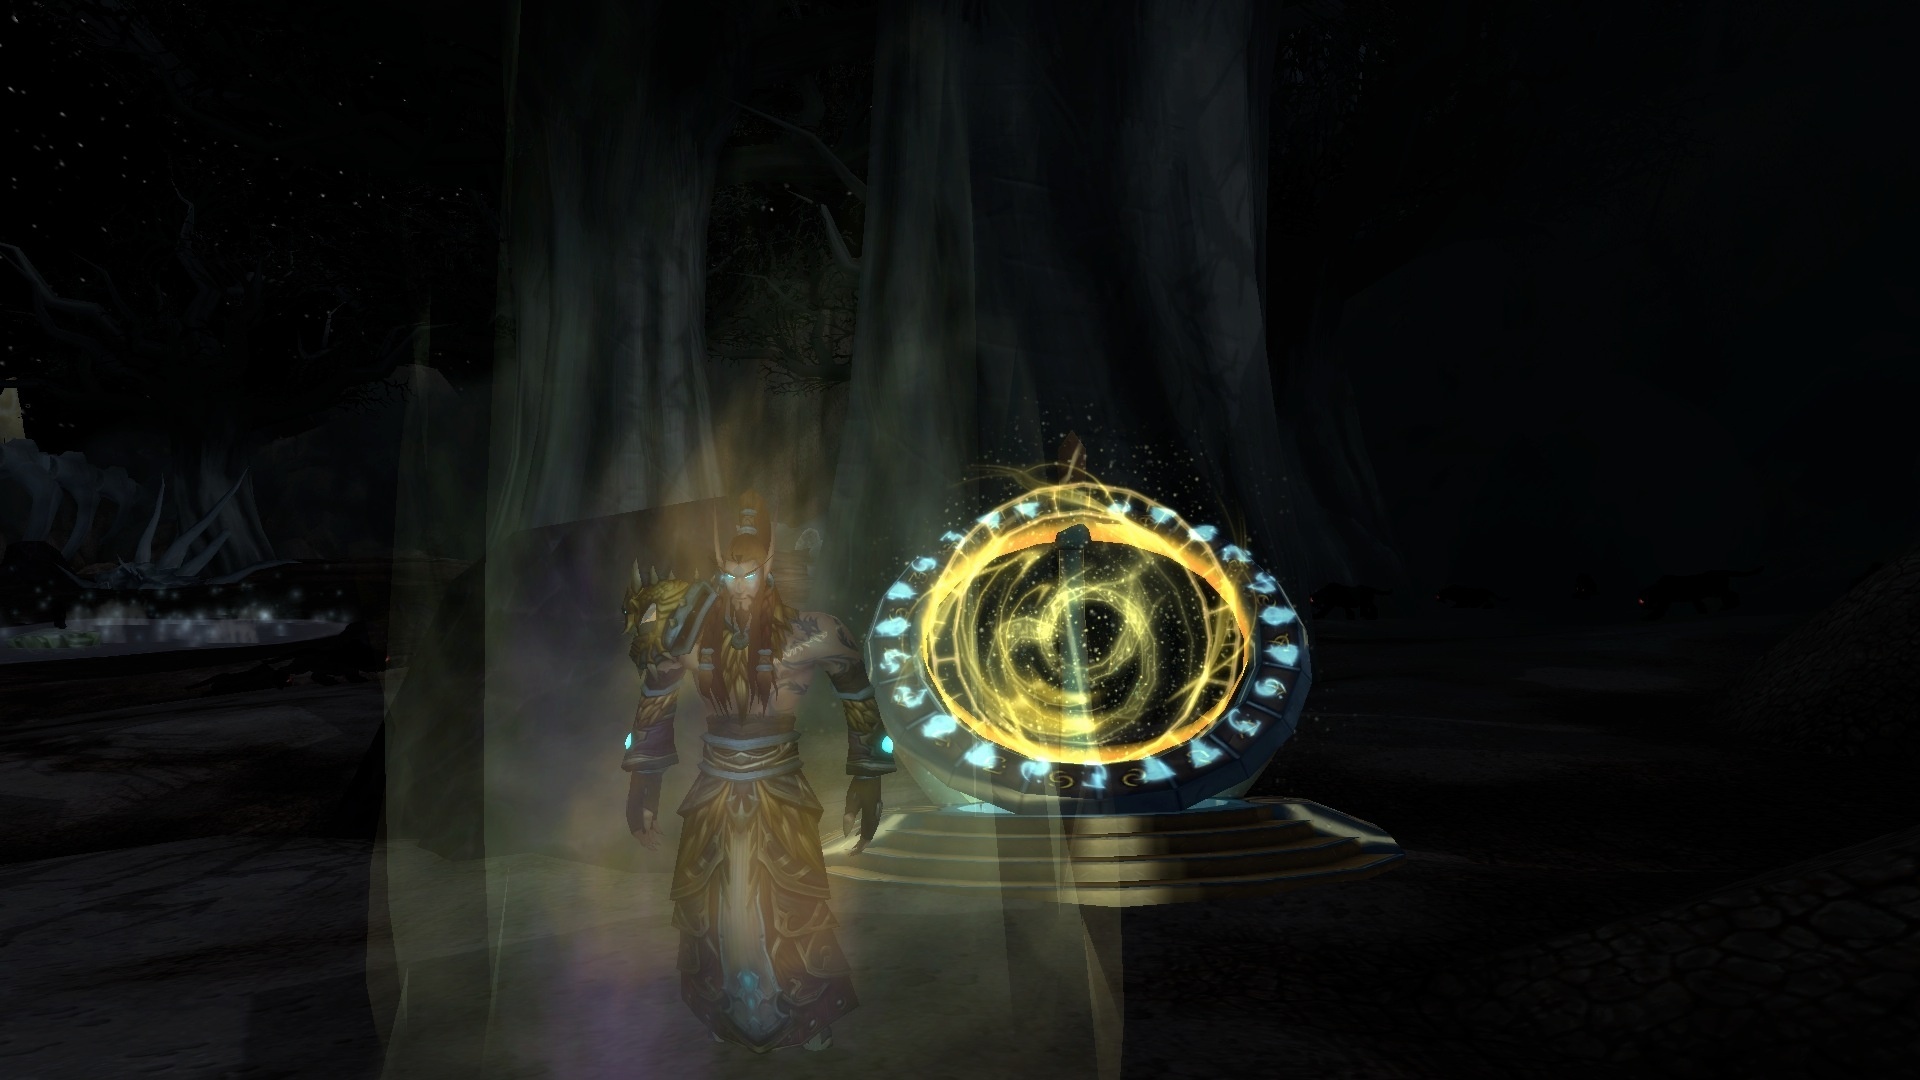
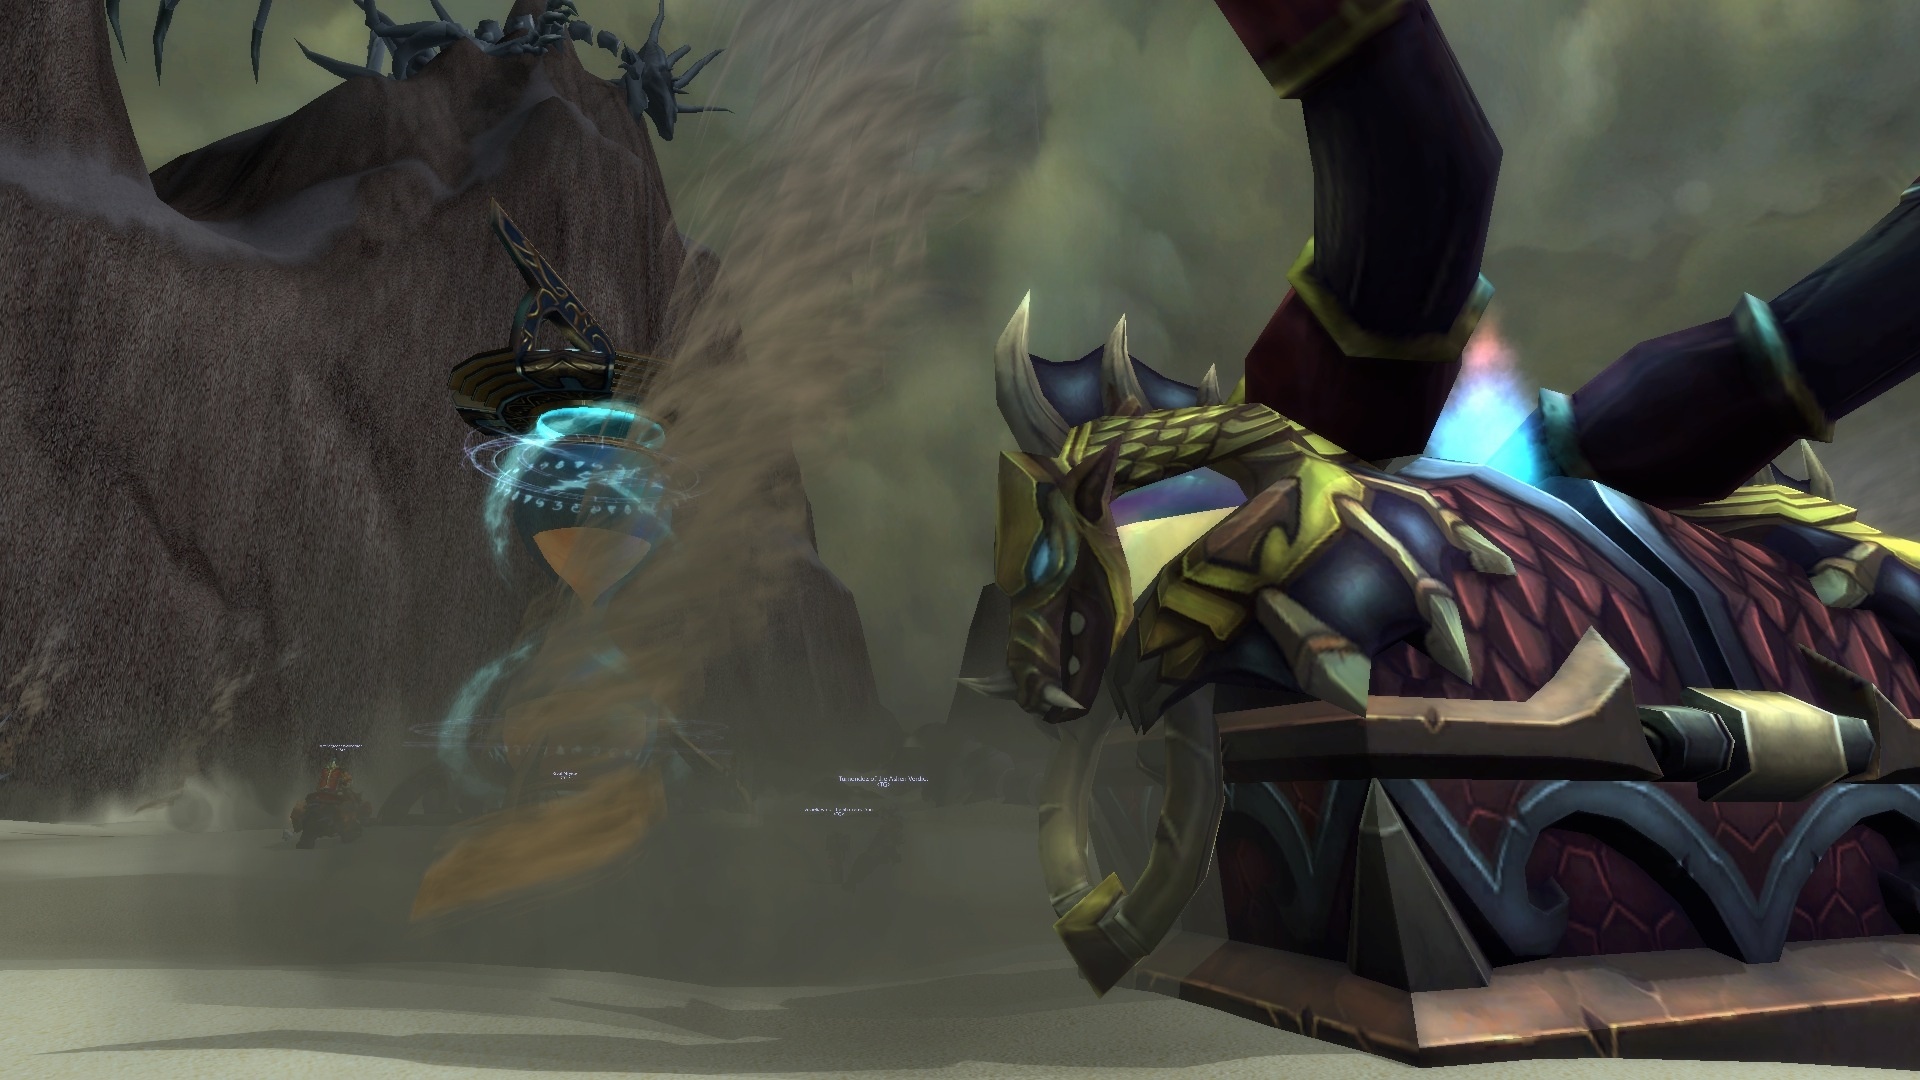
{/ tabs} After defeating the two fallen heroes, the party must face Murozond, the final boss of the Bronze Dragonshrine. The sanctuary is accessed through a transport device.
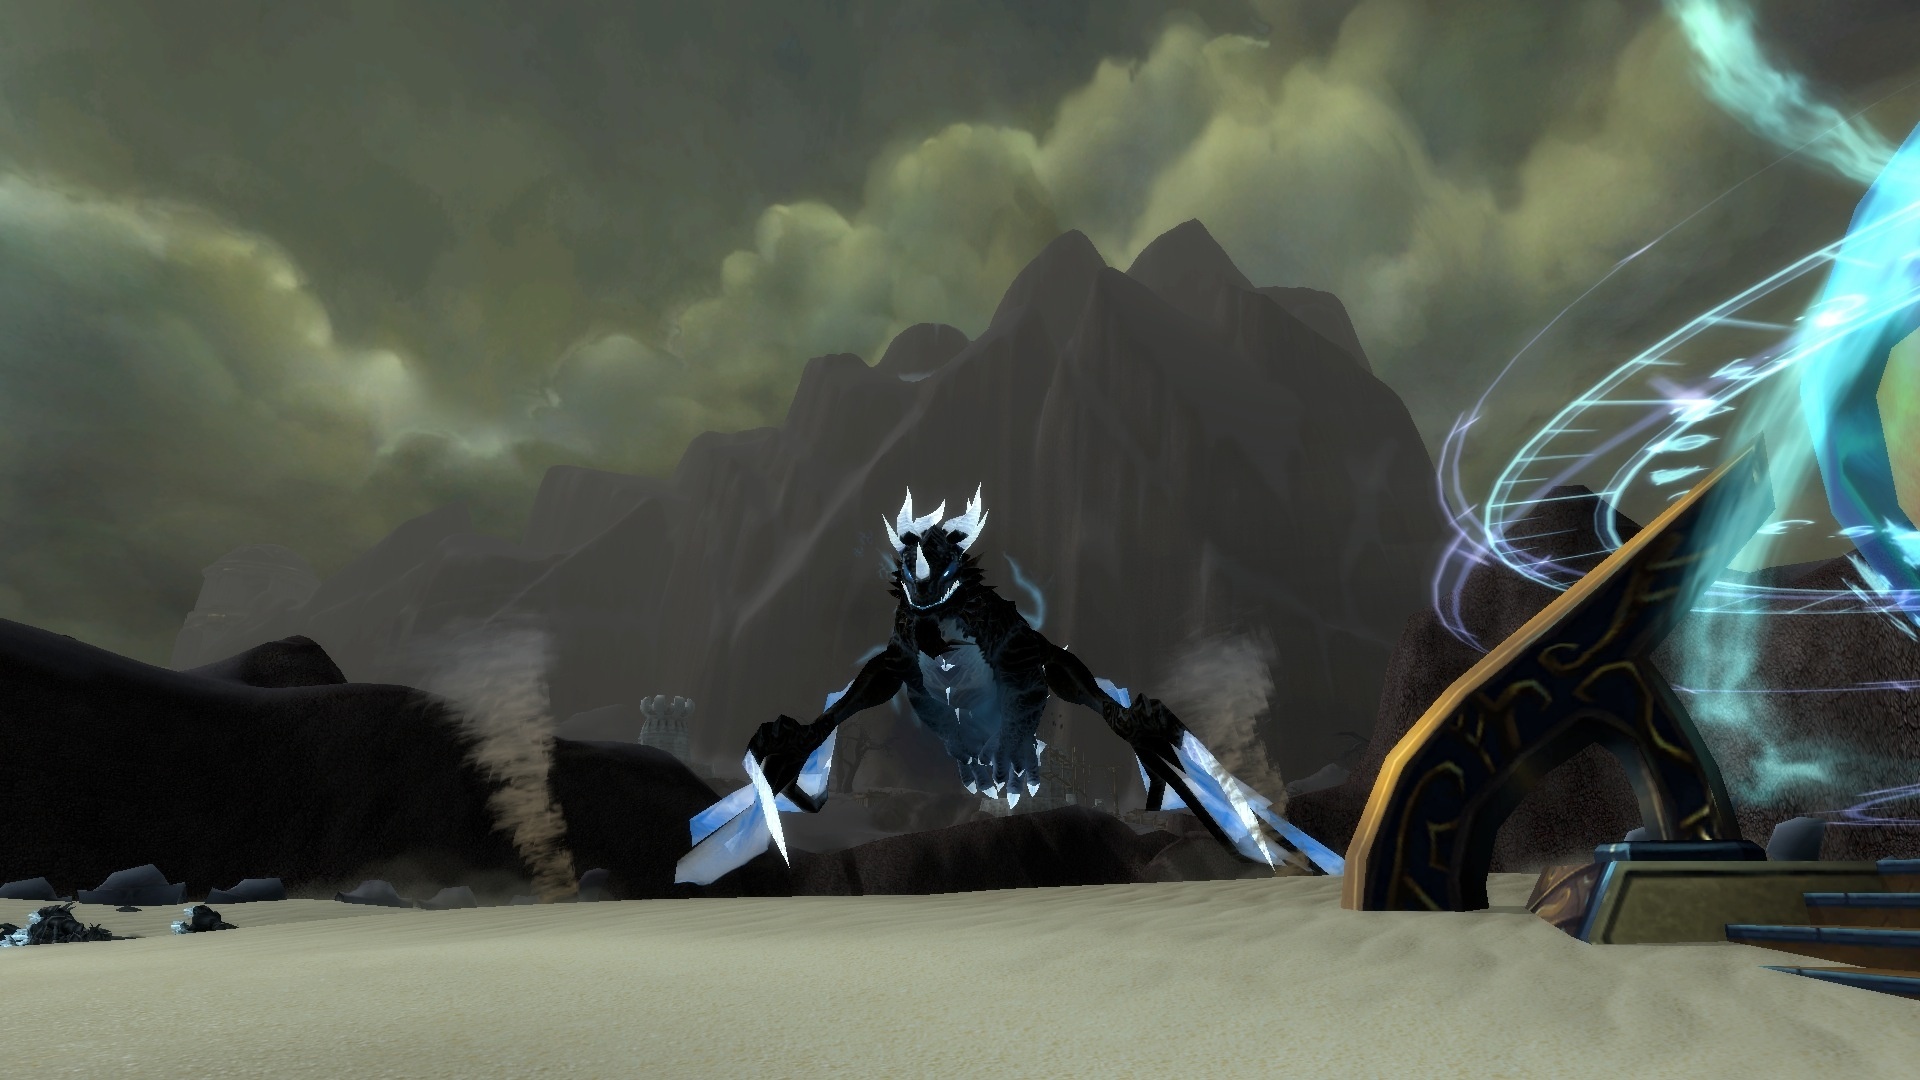
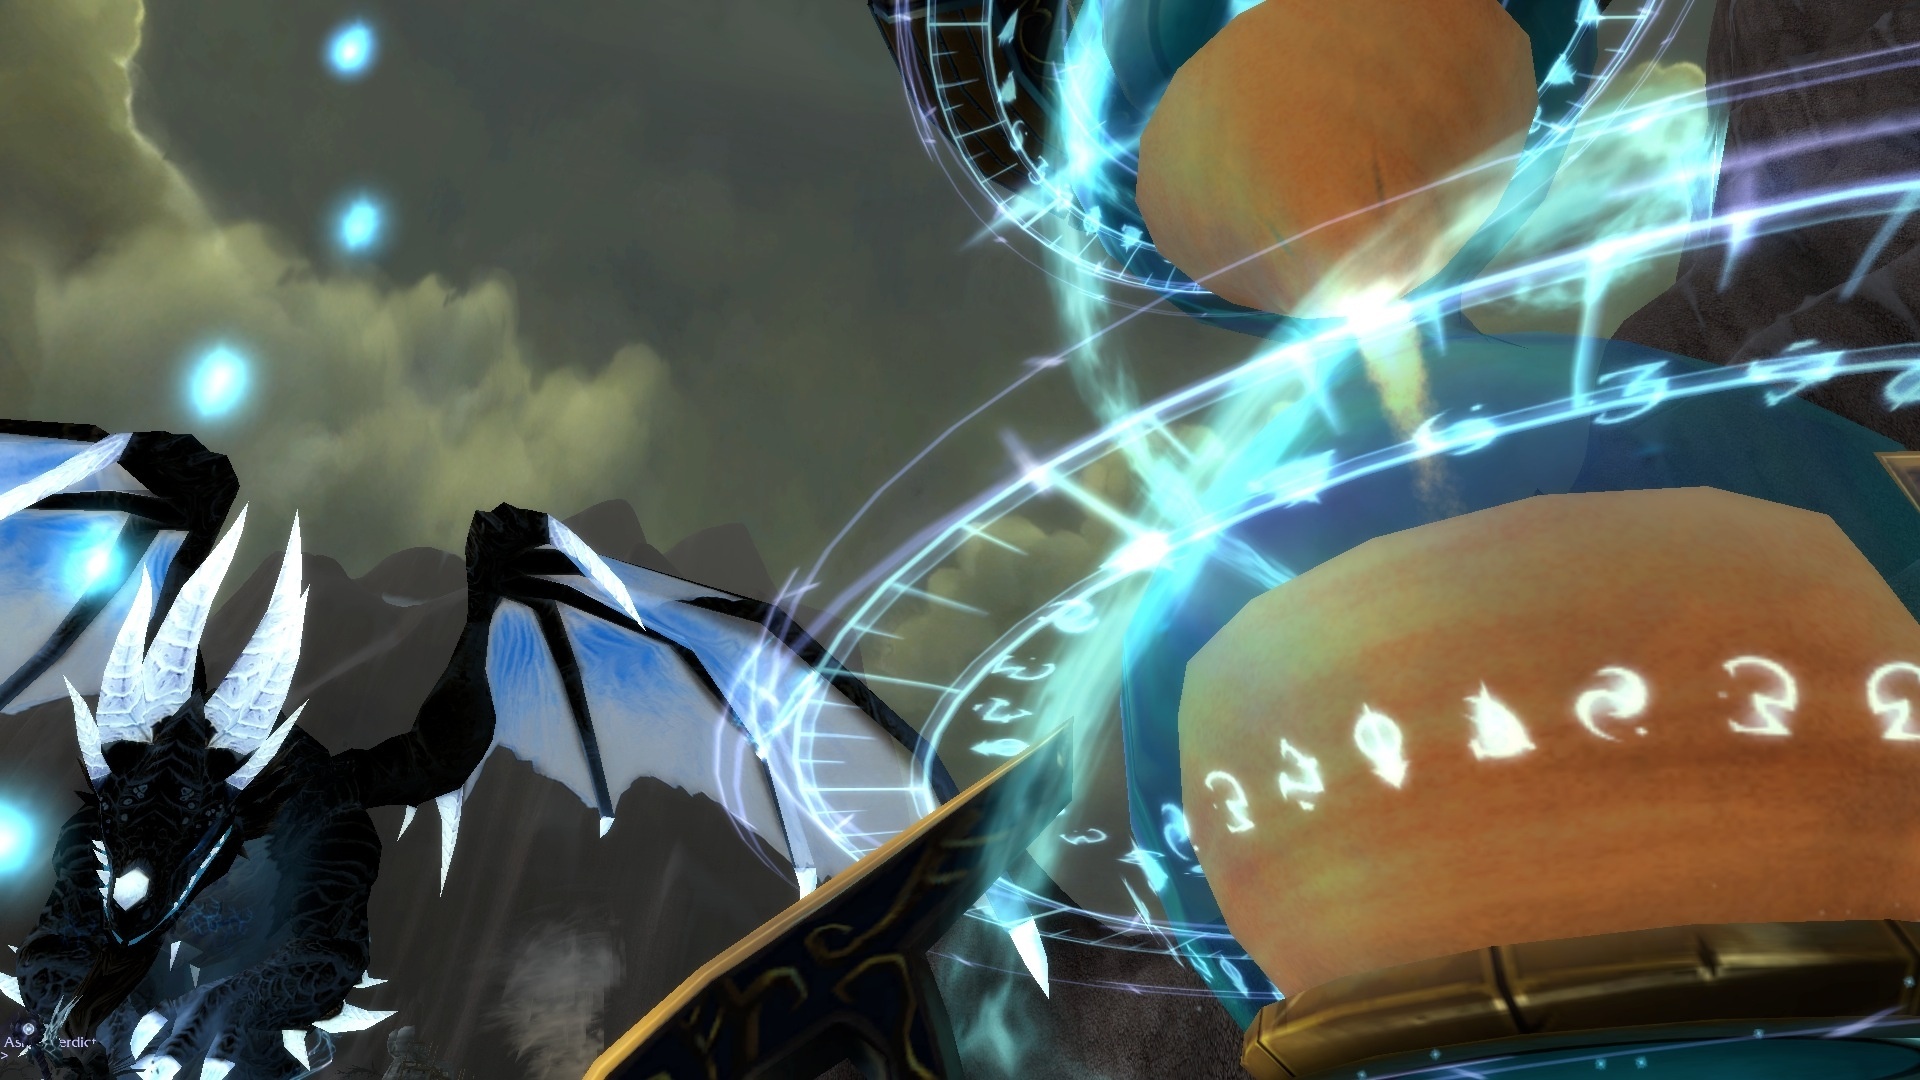
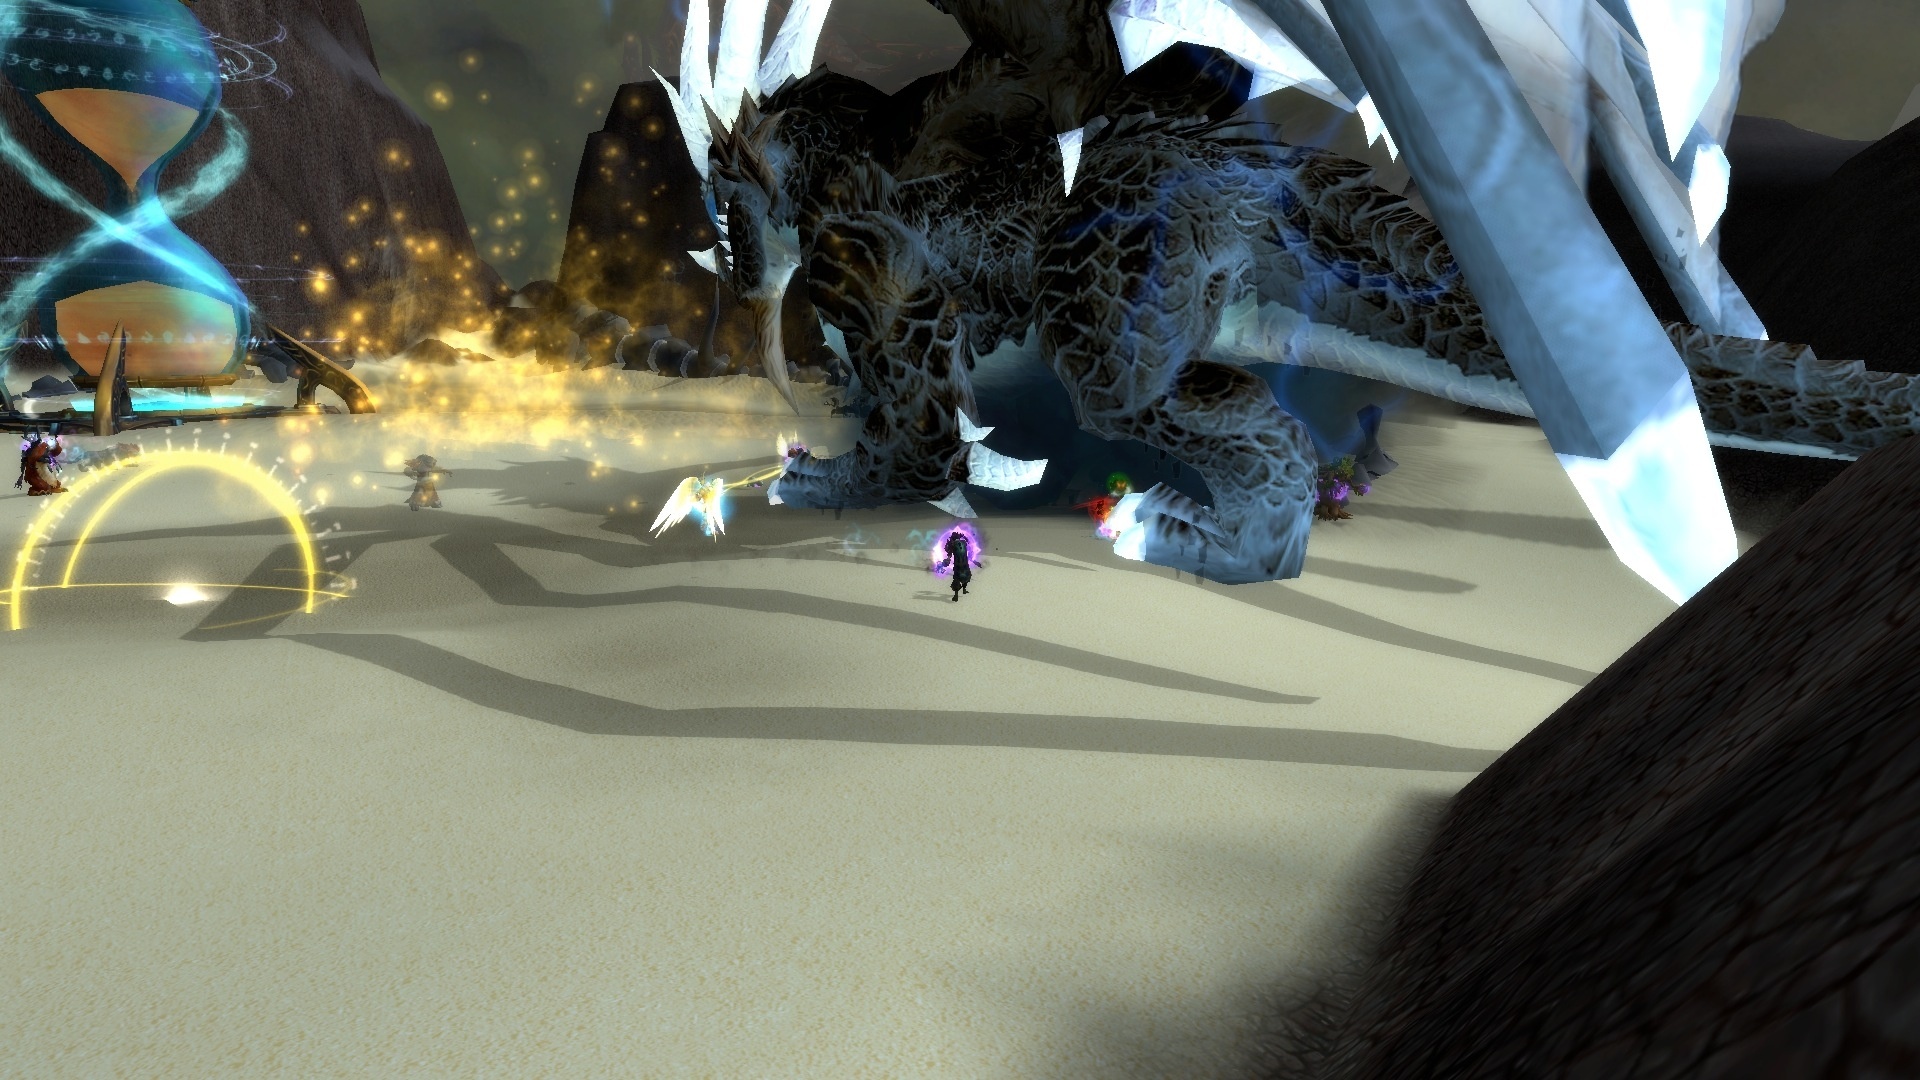
Murozond
Today he lives oblivious to time, but once Murozond was the great dragon Aspect Nozdormu the Timeless. After the Titans allowed him to see his own death, the old gods tricked the tormented Nozdormu into trying to alter his mortality. As a consequence, Nozdormu shattered the time portals and created Infinite Flight… thus ending the future of Azeroth.
-
Temporary explosion- Murozond deals 25000 Arcane damage to all nearby enemies and increases their Arcane damage by 10% for 15 sec.
-
Distortion bomb: Murozond launches a temporary energy sphere at a random player's position. When the orb reaches the location, it explodes and leaves a zone, 8 yards in radius, with a temporary distortion. The warp area deals 25000 Arcane damage every second to all enemies within the area.
-
Infinite breath: Inflicts 75000 p. Shadow damage to all enemies in front of the caster.
Nozdormu
Nozdormu cannot help players directly, but grants them the Blessing of Bronze Flight.
-
Blessing of the Bronze Flight: Bless the target with the power of the Bronze Flight. Increases the speed of melee, ranged, and spellcasting attacks by 40%. Movement speed increased by 40%.
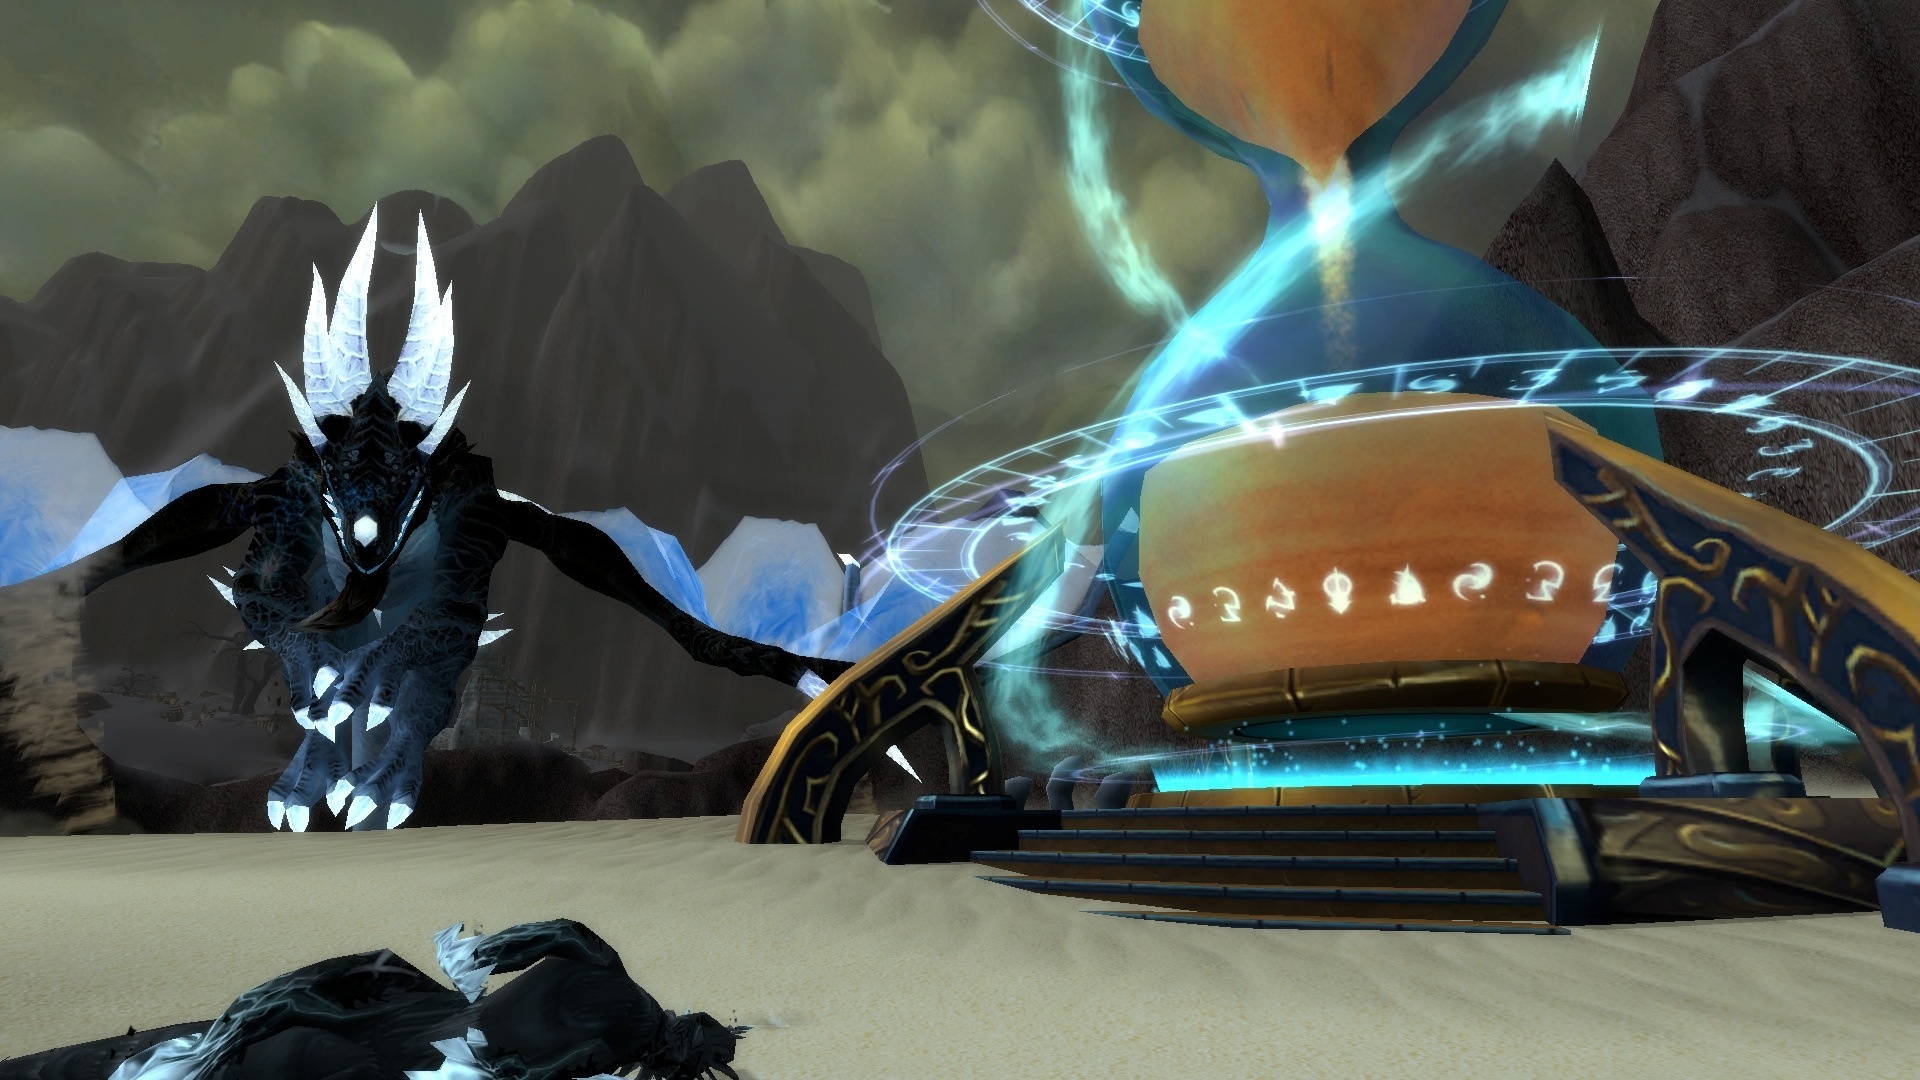
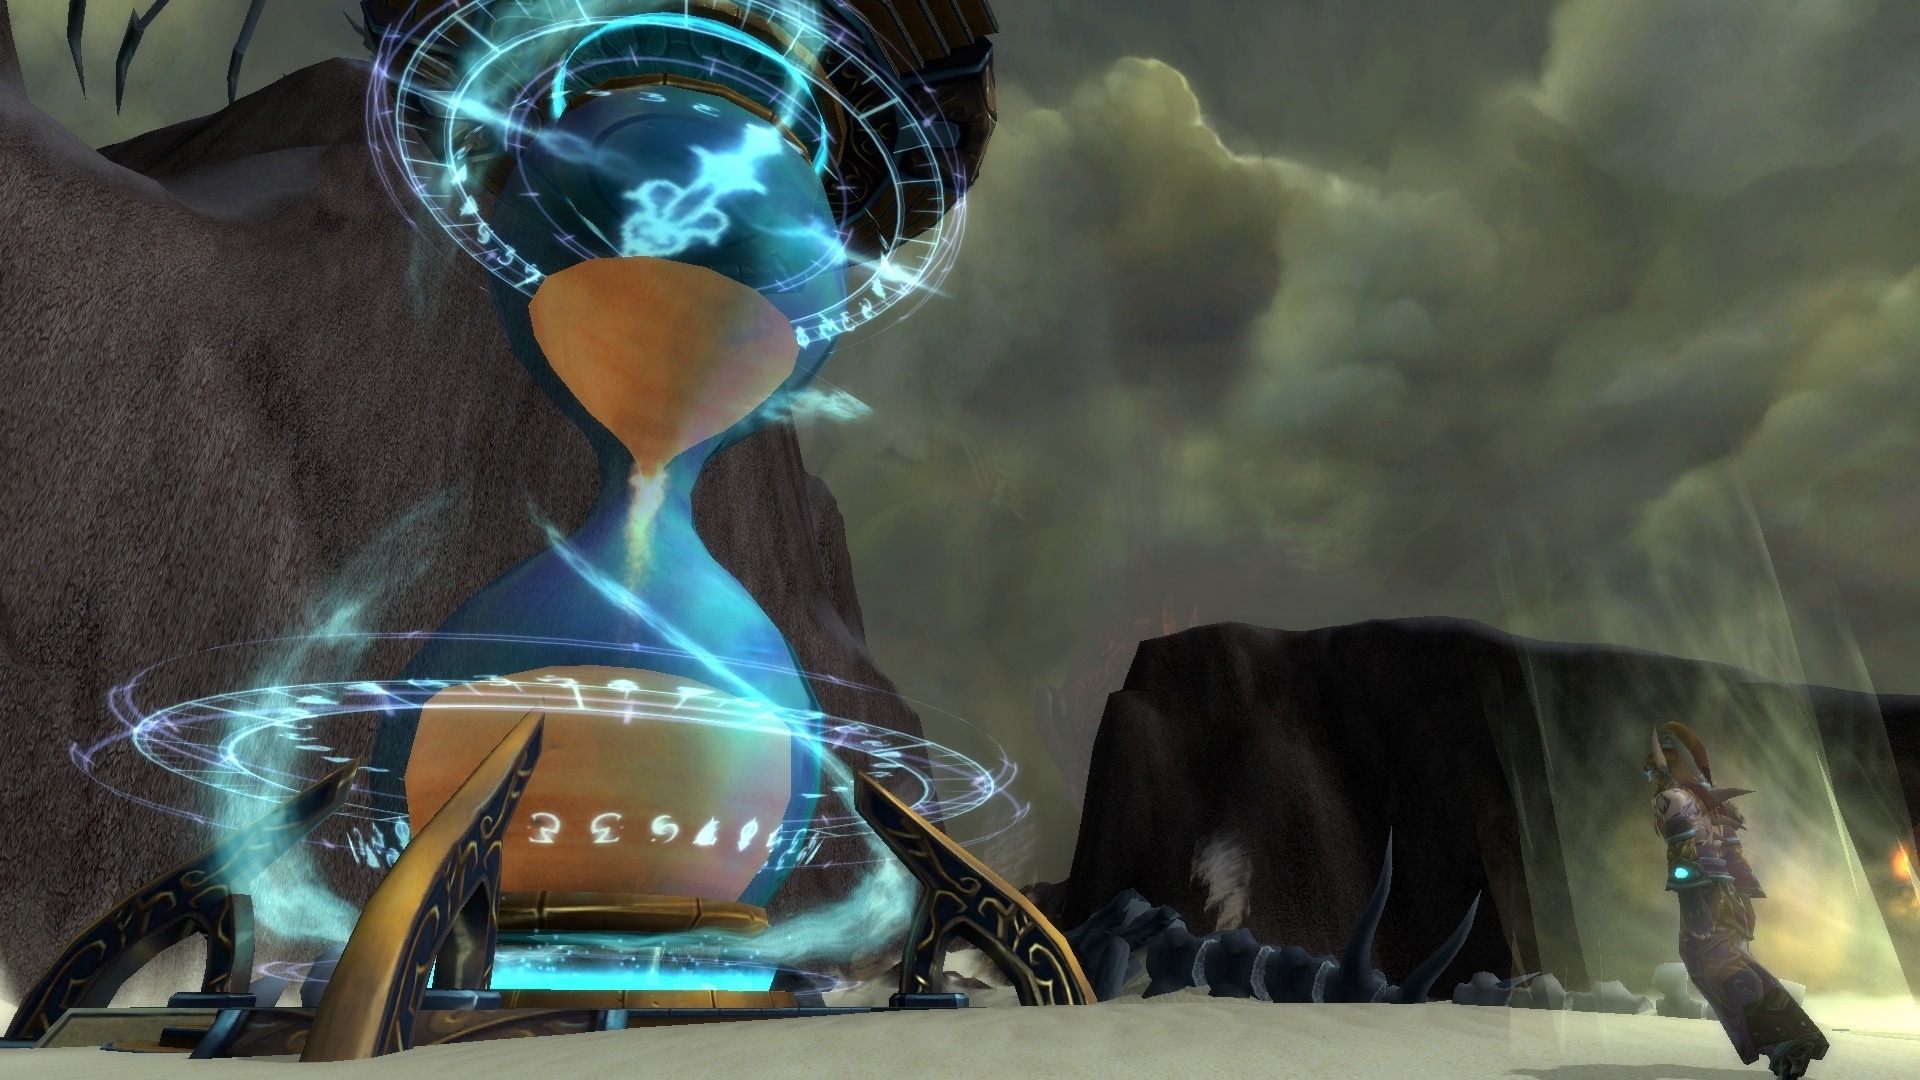
Time hourglass
Murozond stole the Hourglass of Time, and has trapped Azeroth's End of Time there. The Time hourglass rewinds time when a player interacts with it. but the Time Clock can only be used 5 times.
-
Go back in time: The effect of Go Back in Time, returns the players to the start of combat. Players will revert to their original mana and energy rating. Going back in time also removes the Distortion Bomb.
Strategy
{tab = Spanish}
This is a guide to End Times, a 5 person dungeon opened in the PTR of patch 4.3. Please note that the material in this guide is from the first stage of the PTR and the dungeon may receive changes in the future.
End of Times is located in Caverns of Time, and represents a rather macabre alternate reality in which Deathwing did not stop at destroying Azeroth. This dungeon has a total of 3 encounters - the first two are randomly selected from a group of four possible, the last will always be Murozond in the Bronze Dragon Shrine.
Let's review the four changing encounters.
Echo of Jaina will welcome you to the Azure Dragonshrine. In this vision you have to collect the 16 green fragments scattered around the place, then Jaina will show up in the blue circle near the entrance. Minion Priests will generate wells of light that must be destroyed, which heal in enormous quantities. Other than that, it is advisable to kill the minions near Jaina's location, the others can be avoided if you have a good group.
Jaina is a fairly easy opponent - every now and then she will move around and launch a blast of ice that will require healing, but none of these abilities require special measures. However, there are two things to keep in mind. Frost Blades, which are very easy to see and avoid. If you are in that position it will paralyze you for 5 seconds, so you have to avoid. His most devastating ability is Bengal, which is a fireball that shoots at a random location. Once this is done one of the group has to go and stay in that location until it detonates.
If there is no one in the Flare, it will detonate in 10 seconds, explode on its own and do a lot of area damage to all party members. Assign someone who can go to the location of the Flare. Damage in the tank is very low in this encounter.
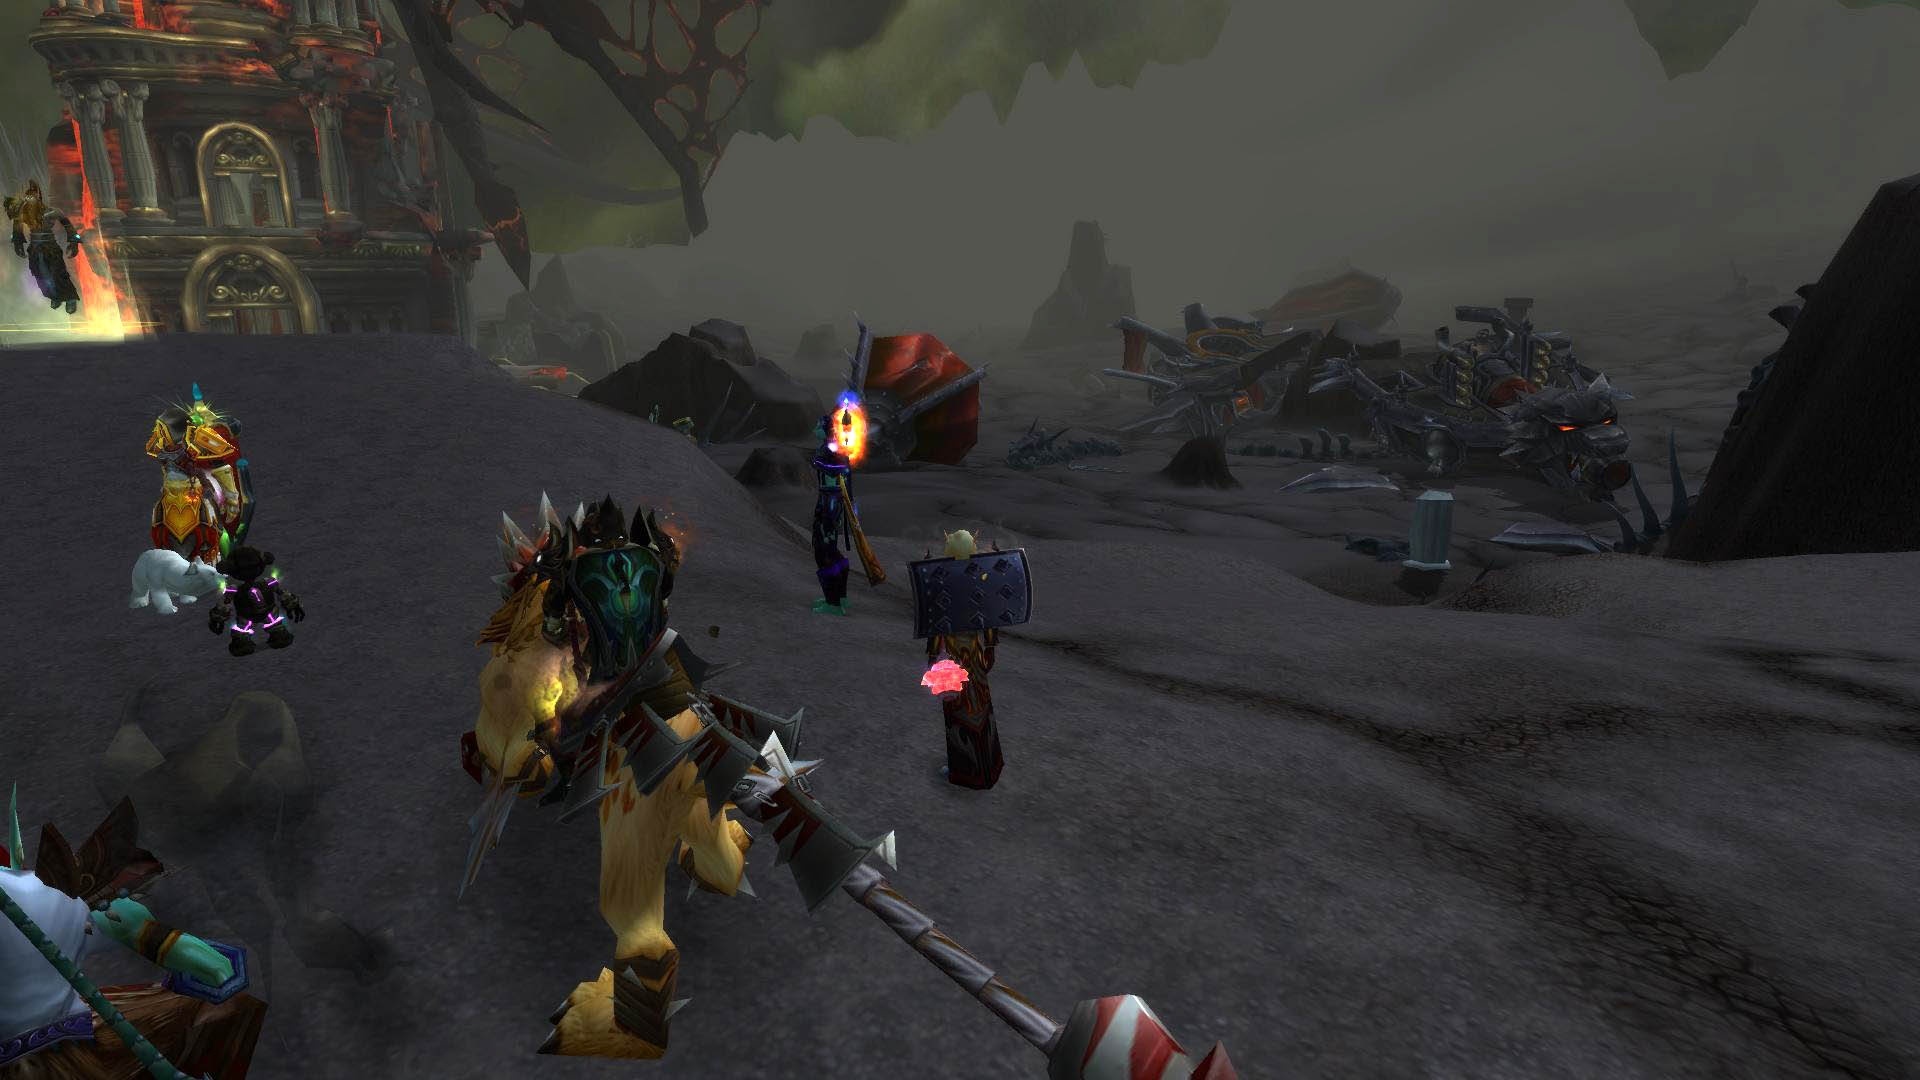
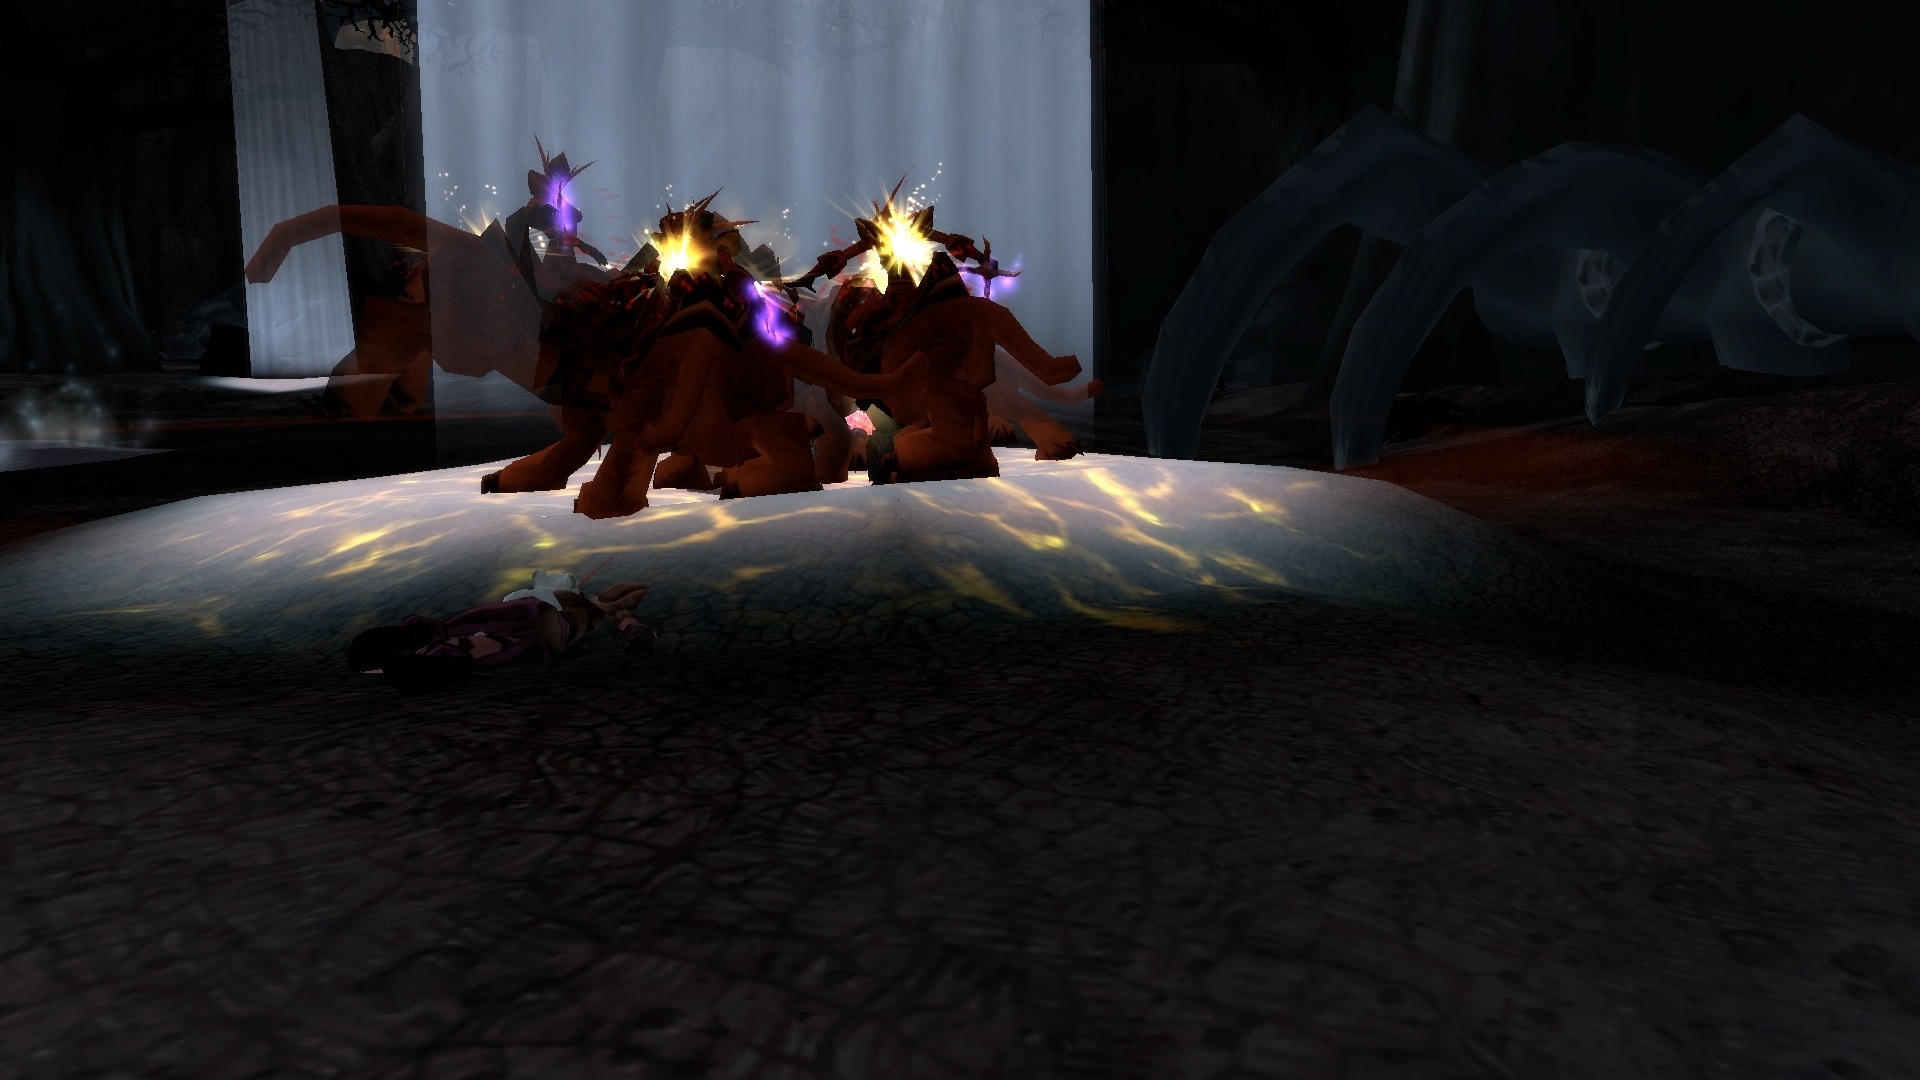
Echo of Baine will welcome you to the Obsidian Dragonshrine. The minions in this dungeon are pretty devastating, but easy to dodge. It is not necessary to kill any group of minions, but if you decide to do it, the tank will catch all the dragons and you will have to dispel all the magical debuffs. Many of the magics can be interrupted, but I haven't been able to look closely enough at what the abilities do in detail.
Baine will be on one of the four platforms in the lava. Before starting, divide the group in two, the ranged dps and the heal on one platform, the melees and the tank on the Baine platform. Keep Baine from touching the lava as little as possible because he gains a temporary buff. Melees also get a buff if they touch lava, so it tanks near it and they would have to go in and out.
From time to time, Baine will throw a totem at a random group member, if you are hit by the totem it will throw you off the platform, you have to quickly return to the totem, pick it up and throw it at Baine before it disappears, it will take away the 10 % of your health and will stun you for several seconds and take double damage.
If you don't kill him fast enough, Baine can jump onto a platform and pulverize it, damaging everyone on the platform and destroying it. If that happens, group members are to go to the tank platform and continue as usual. It's worth spreading yourself across multiple platforms in case this happens.
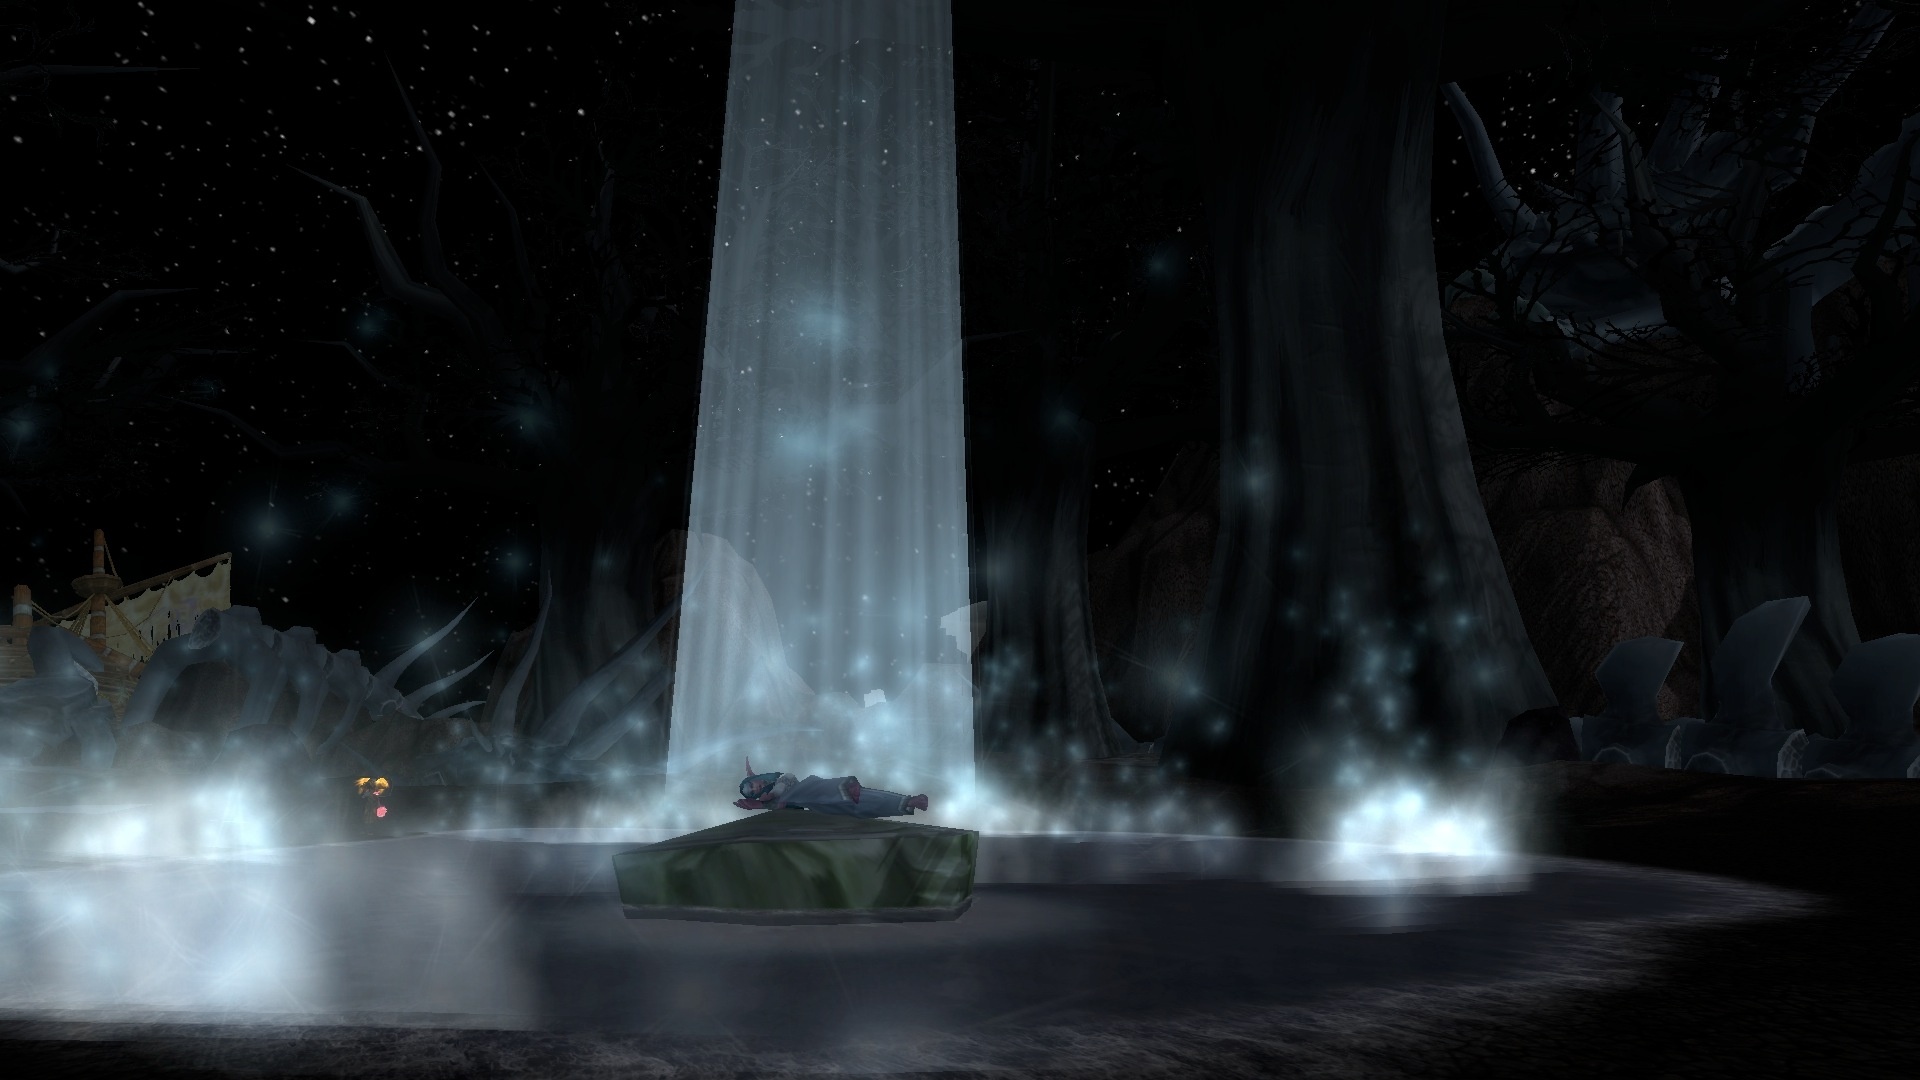
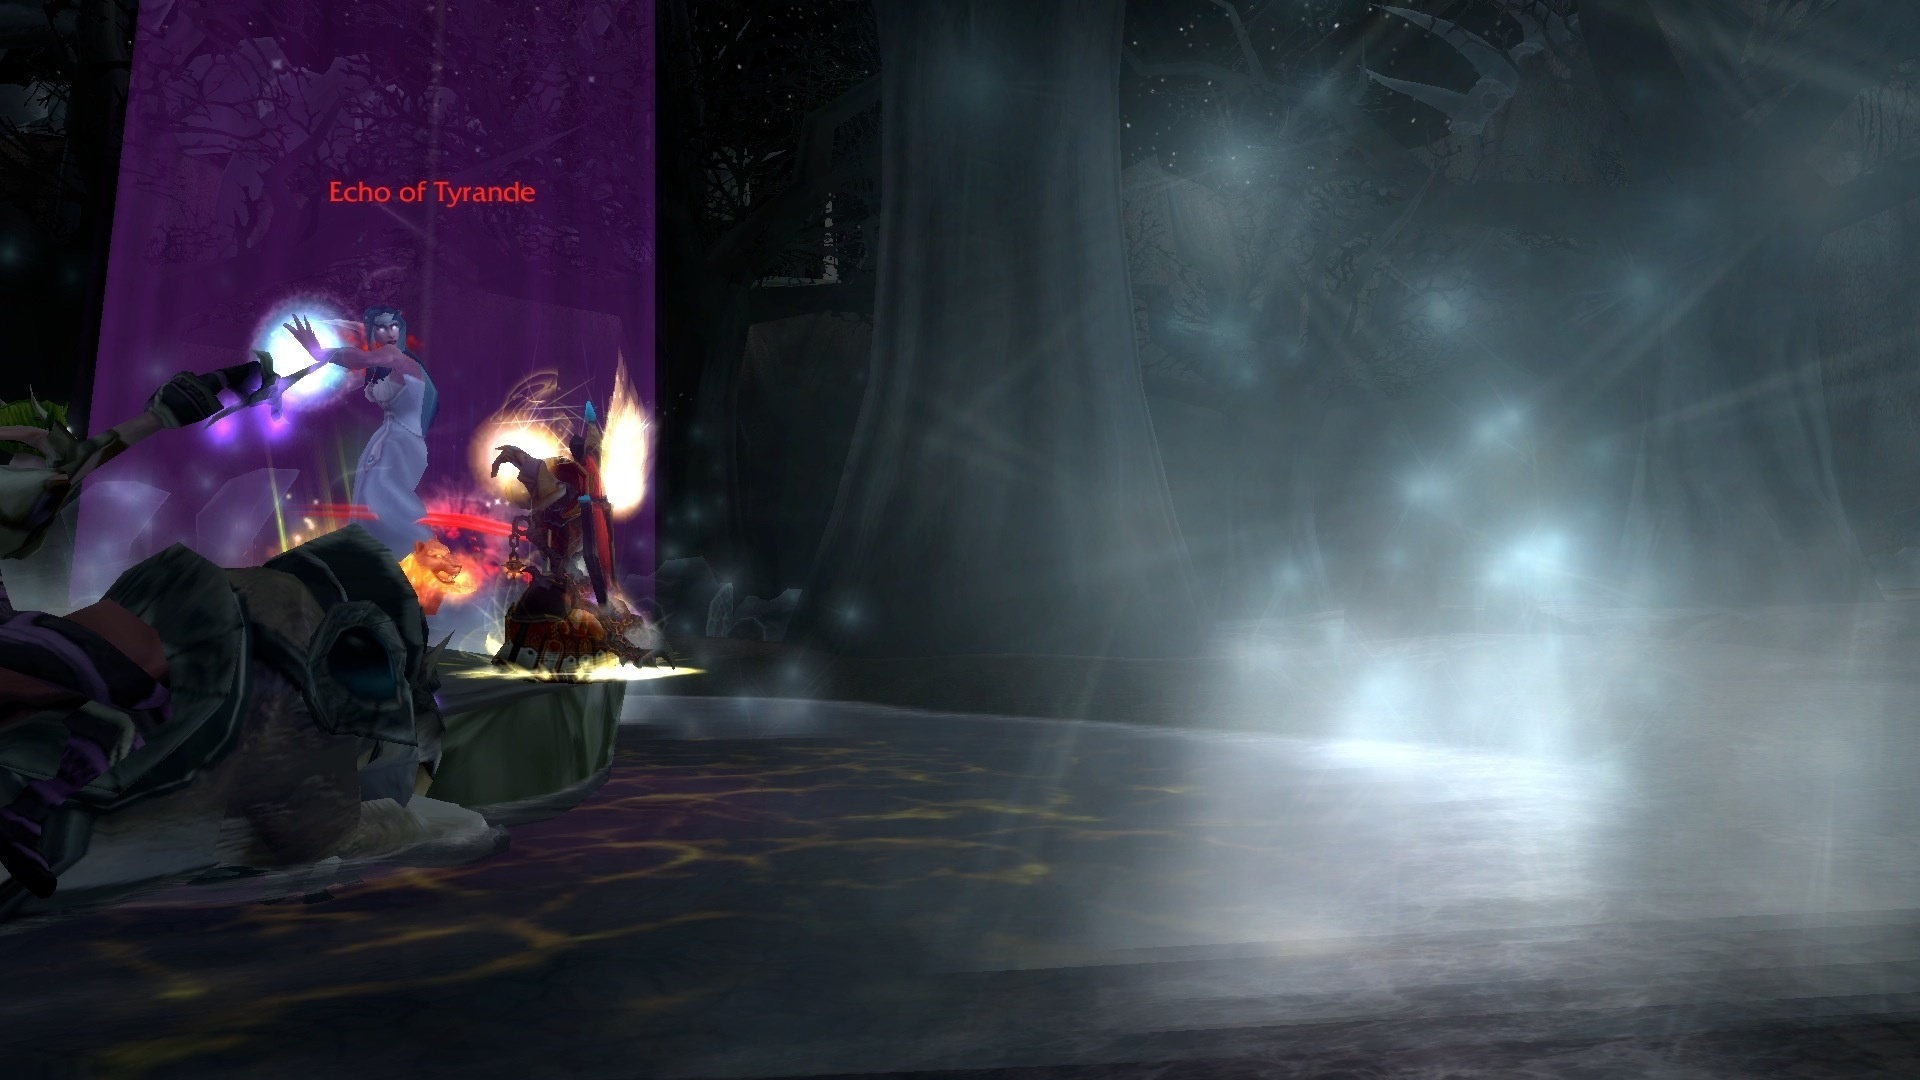
Echo of Tyrande will welcome you to the Emerald Dragonshrine. As you enter this area, you will see many night sabers and a source of light. You have to get to the light source, if a saber is chasing you, get to the source and kill it there. Once the source is gone, move on to the next one (make sure no group member is left behind) and then repeat the process. After five sources, Tyrande appears.
This is a very simple encounter. Basically, you have to prevent Tyrande from reaching you. His basic attacks, Lunar Bolt and Stardust are unavoidable. He will start by pulling Moonpick, which starts at his spawn point and goes straight out. If it hits you, it will stun you for 5 seconds and deal damage.
Her Elune's Piercing Gaze ability should be avoided, they are small balls of white light that move in circular motion. If it hits you, it deals significant damage and silences for 5 seconds. They are like the Alysrazor cyclones, except they are less deadly.
When she's at 30% health, Tyrande will launch Tears of Elune, which are blue missiles falling from the sky. Put the camera up and the zoom makes it easier to avoid them. They don't do much damage, so if they hit you it's not the end of the world.
At 80% and 55% health, Tyrande gains the Guide of the Moon buff for 50% spell casting speed. This should not be a problem.
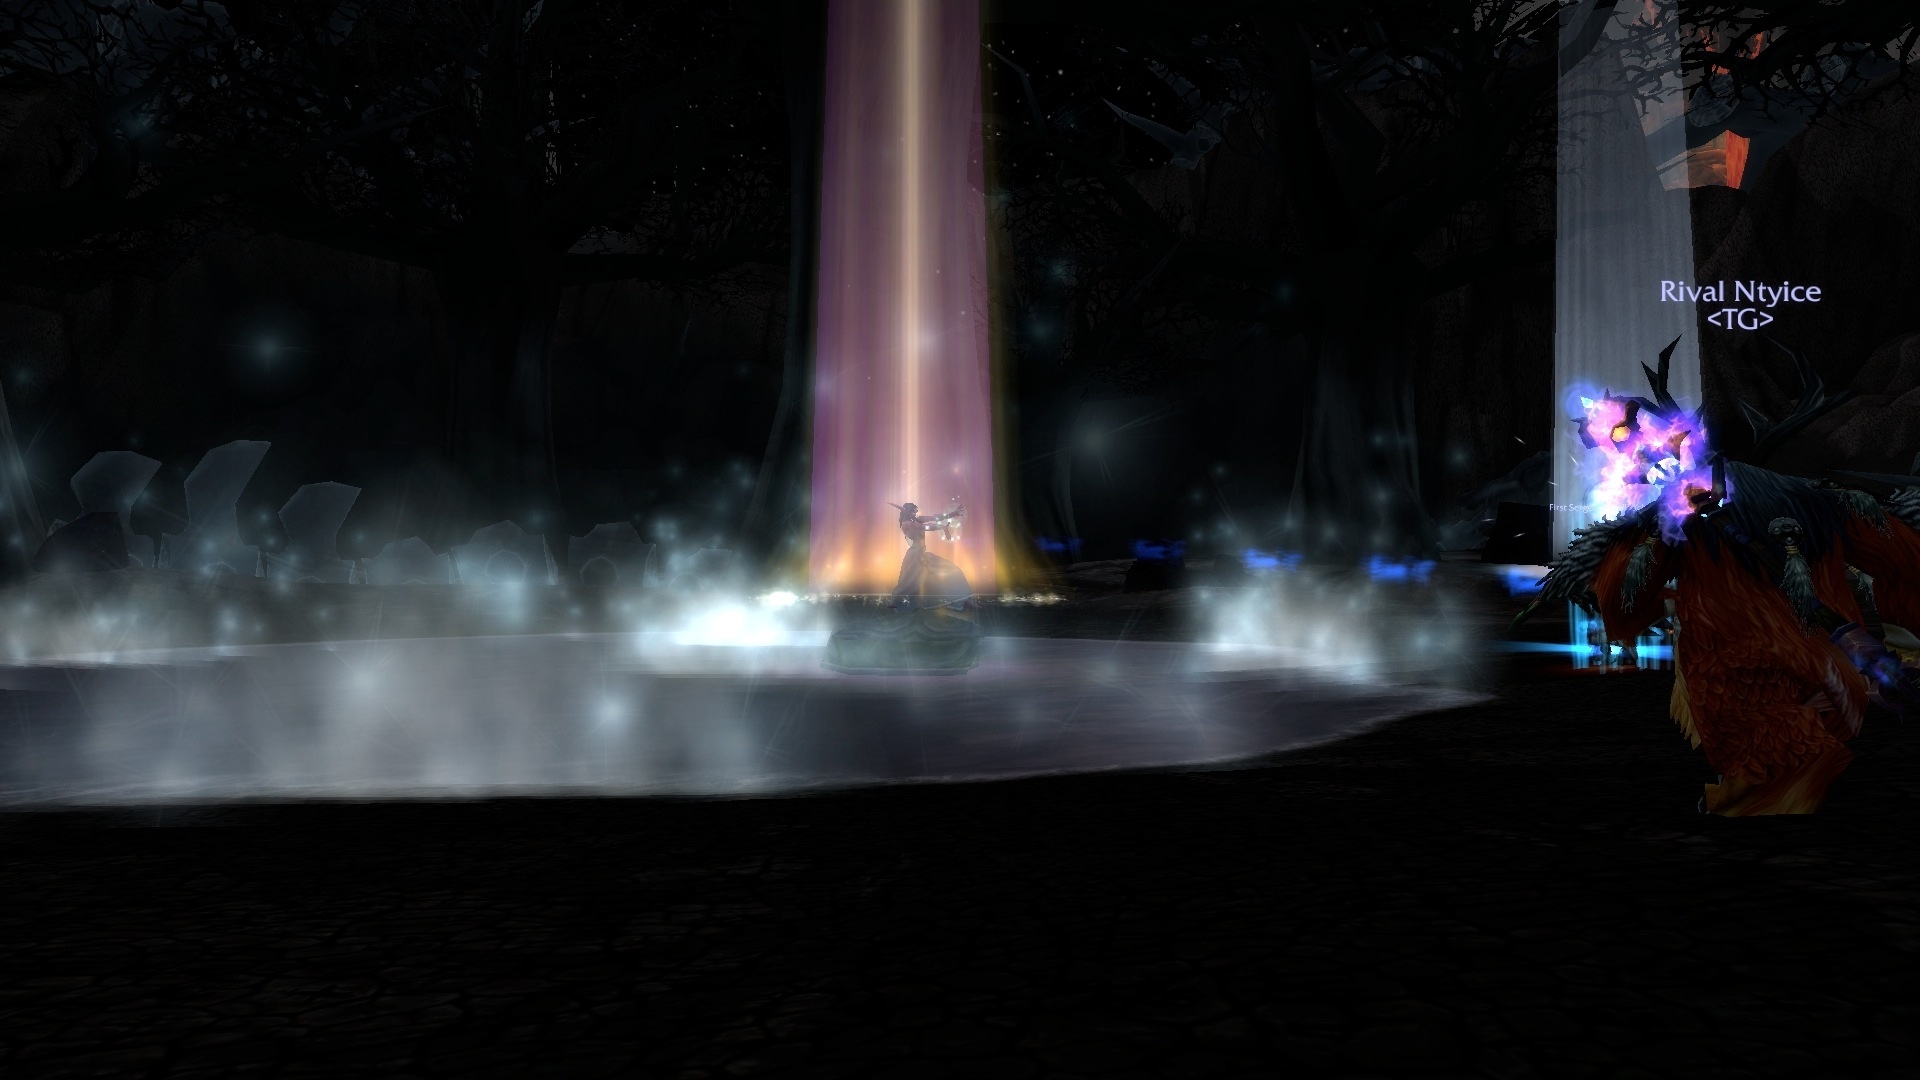
Echo of Sylvanas will welcome you to the Ruby Dragonshrine. I did not notice anything particularly difficult, the groups of minions lead directly to her. You can overlook the vultures on the right.
Sylvanas is also pretty straightforward. Keep your ranged limbs out of combat, so never more than one person will be hit by the infected arrows. Contaminated arrows form a purple line on the ground and deal damage, as well as any traps inside, so it barely pops out and hits you.
She also has two AoE abilities, Unholy Shot and Black Arrow, which will be thrown at a random party member and everyone close to her, making it an even better idea to be at maximum distance from her. Both deal 50.000 damage to the target and all members within 10 yards.
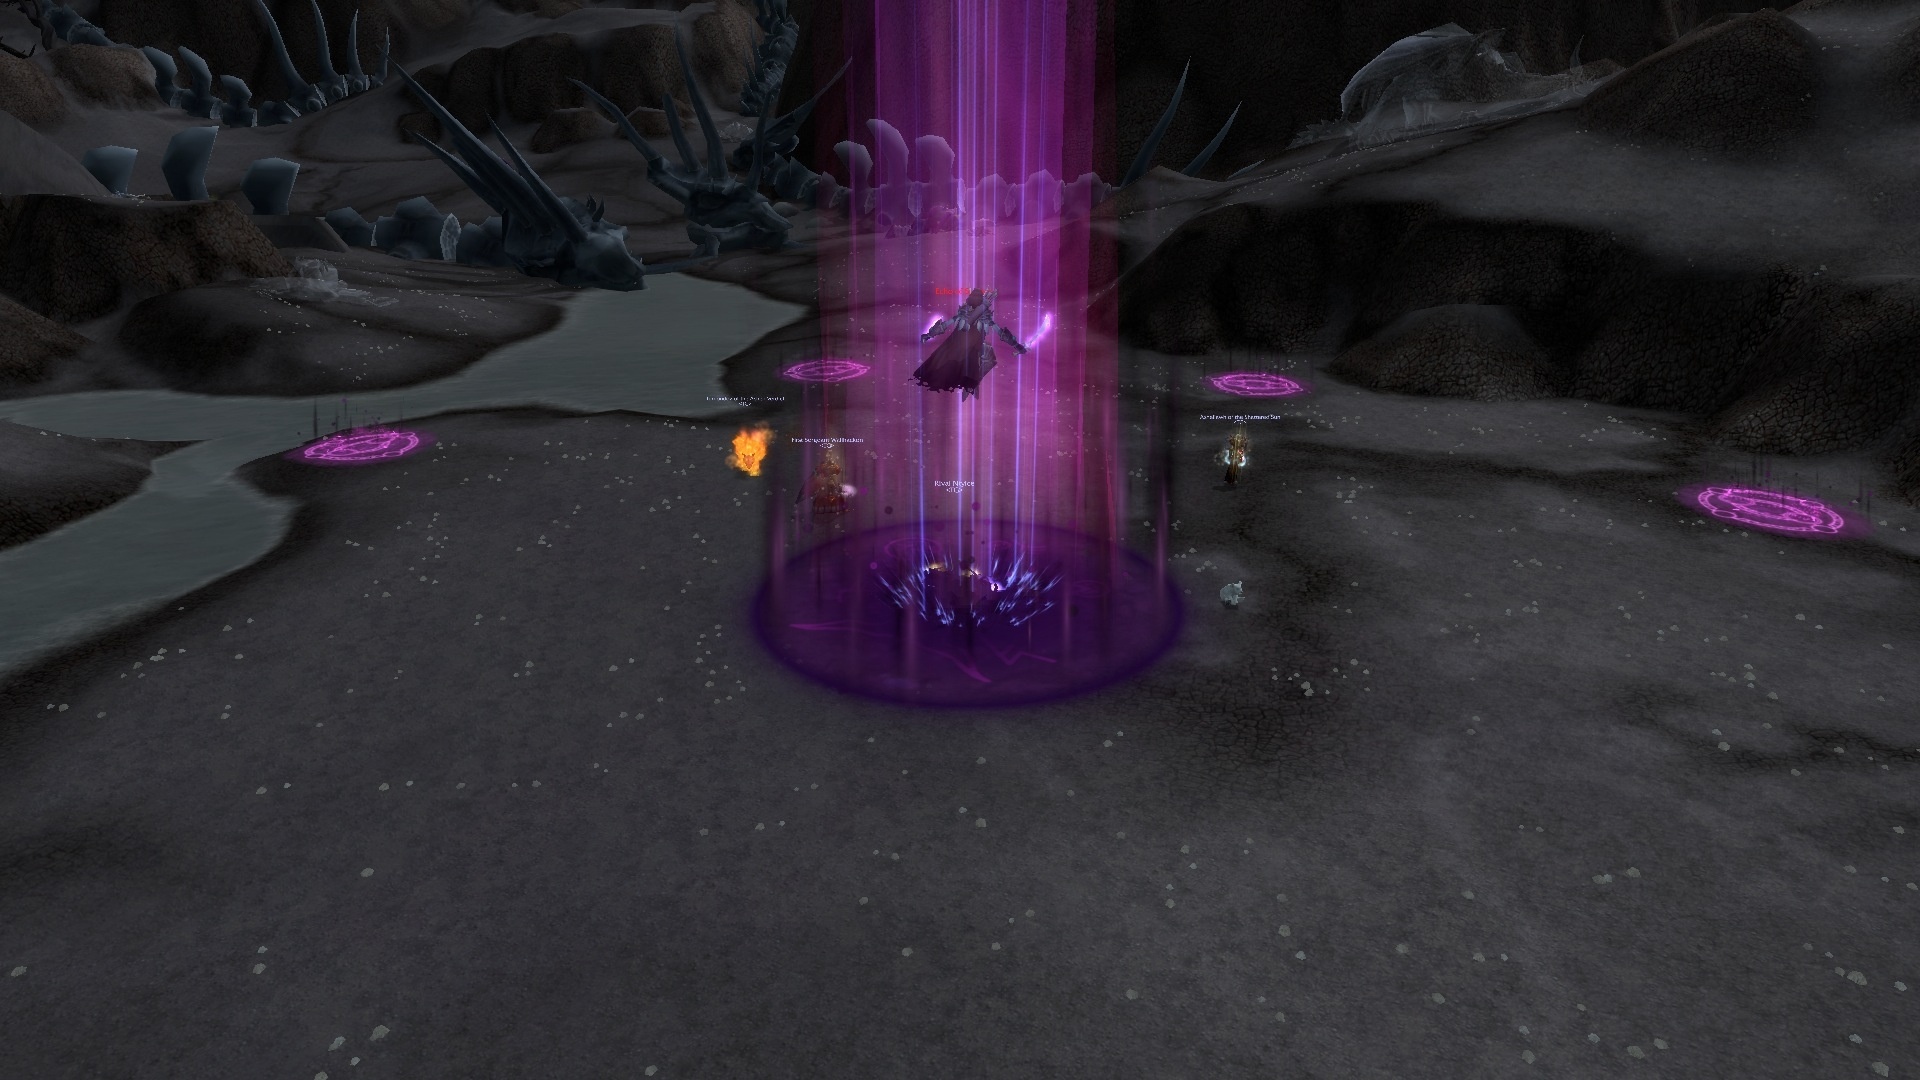
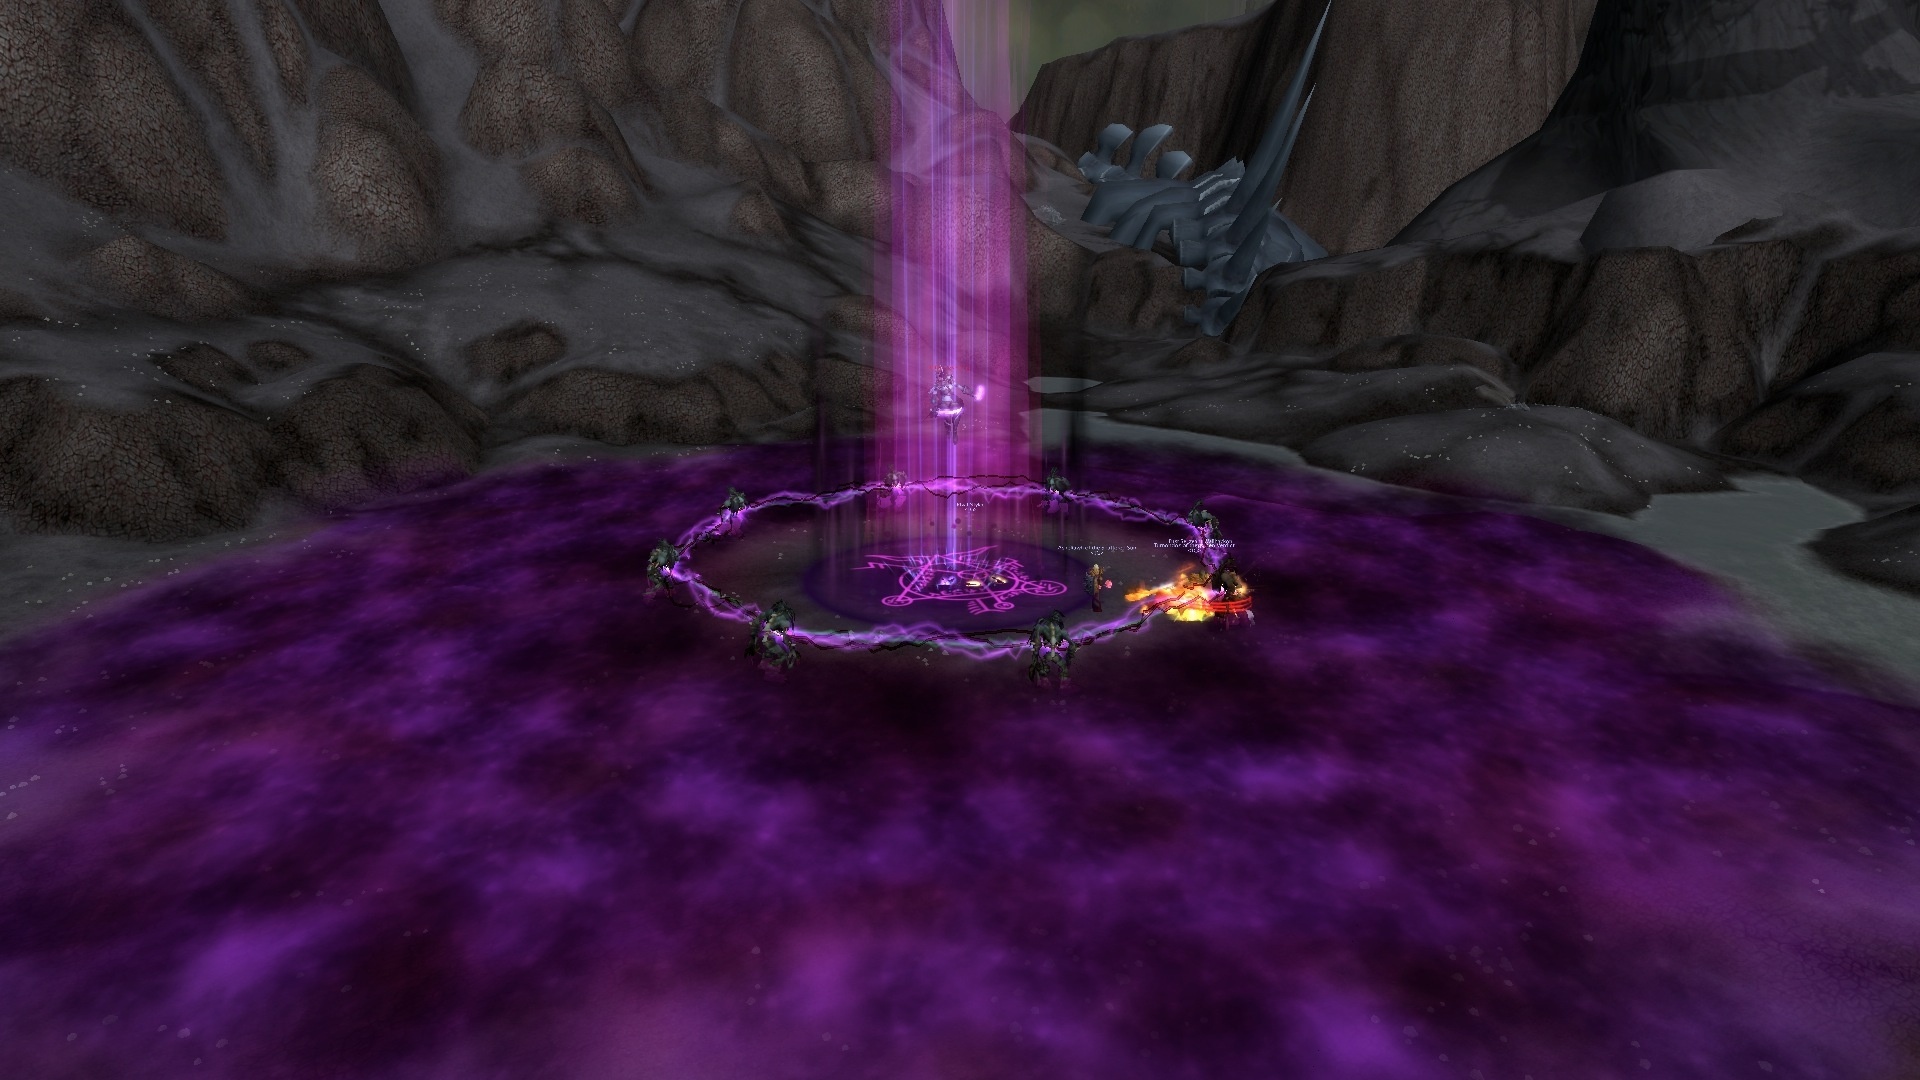
The key to this encounter is in The Call to the Highborne, where Sylvanas will ascend into the sky and attract all members to her. A group of ghouls spawns in a circle around her and they begin to advance towards her. When the ghouls catch up with her, she sacrifices them dealing damage to all (300k), within 10 yards. Moving through the ghoul ring also deals high damage, so the goal is to mark a ghoul and have everyone kill it, so they have a gap to exit the ghoul ring.
Once outside the ring, wait behind the ghouls until she sacrifices them, then quickly separate because she will continue with the infected Arrows. Resume combat normally until she is finished (she should not make more than two Stunned calls before dying).
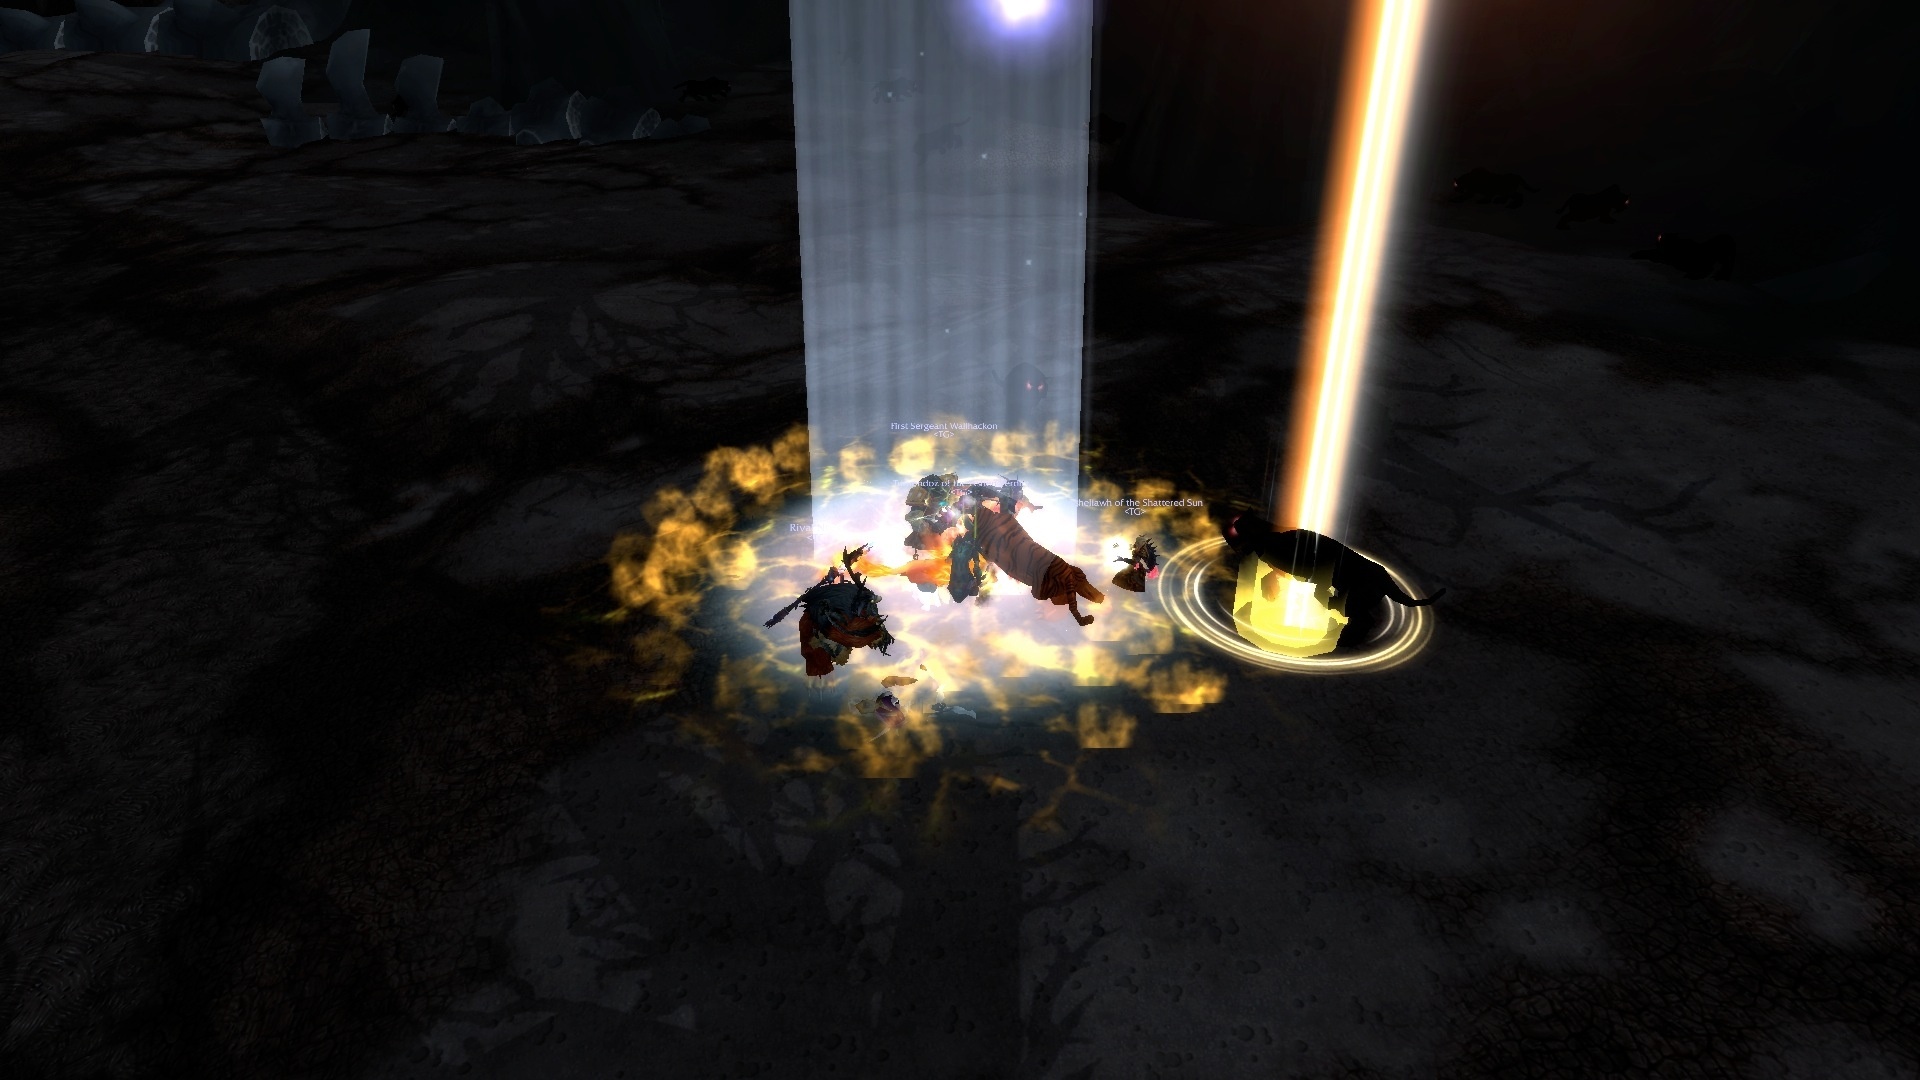
Lastly, Murozond He awaits you at the Bronze Dragon Shrine. He is his last rival. Take out both groups of minions and Murozond will be available. The tank enters from the front, away from the rest of the members, as it has a flame breath. The melees always from the back or the side. The melees have to be near the hourglass in the center of the room and click on it around 80, 65, 50, 35 and 15% health (this rewinds time and restores all ability cooldowns of your party, as well as mana and health), which makes this fight a breeze. In addition, you will be next to Nozdormu that benefits group members with the Bronze Flight boon, greatly increases attack, haste and movement speed.
Murozond drops distortion bombs at random party members, just get out of them when you are the target and enjoy the encounter, it's fun.
This concludes the "End of Days." Hope you enjoyed the guide.
{tab = English} This is a walkthrough to End Time, the first newly released 5-man instance on the 4.3 PTR. Do note that all this footage is taken in the first stages of the PTR and the dungeon might receive significant changes in the future.
End Time is located in the Caverns of Time, and depicts a pretty macabre alternate reality in which Deathwing was not stopped from destroying Azeroth. This instance features a total of 3 encounters - the first two are randomly selected from a pool of 4 possible scenarios, the last encounter will always be Murozond in the Bronze Dragonshrine.
Let's go over the 4 changing scenarios. Echo of Jaina will greet you in the in the Azure Dragonshrine. In this vision you have to collect all 16 green fragments strewn about the place, after which Jaina will show up in the blue circle near the entrance. The priests in the trash packs will spawn little lightwells that need to be killed, as they do massive amounts of healing. Other than that, it's advisable to kill the trash packs near Jaina's spawn point, others can be avoided if your party is sneaky enough.
Jaina is a fairly easy opponent - she'll occasionally blink around and shower your party with frostbolts that require some healing, but neither of these abilities require special action. However, there's two things you need to watch out for: Frost Blades, which are very obvious and easily avoided. Standing in one of those will stun you for 5 seconds, so don't stand in them. Her most devastating ability is Flarecore, which is a little earthy-looking fireball she'll throw at a random location. Once she does this, someone needs to run to the Flarecore and stand in it to detonate it.
If no one detonates the Flarecore within 10 seconds, it'll explode on its own and deal massive AoE damage to every party member. Long story short, assign someone to stand in the Flarecores as they pop up. She also has a Pyroblast, but tank damage seems very low in this encounter as it currently is.
Echo of Baine will greet you in the Obsidian Dragonshrine. The trash in this part of the instance is currently pretty devastating but can easily be dodged. Yes, you don't have to kill a single trash pack. If you decide to do so anyway, have your tank point the dragons away from the rest of your party and dispel every magic debuff. A lot of the nasties are probably interruptable, but I didn't get a good enough look at their abilities in detail.
Baine himself will stand on one of 4 platforms in the lava. Before engaging him, you want to spread your ranged party members out over at least two of the platforms with the tank and melee on Baine's own platform. If possible, avoid dragging Baine into lava, as he gains a temporary buff whenever he touches it. Your party's melee also get a buff when touching the lava, so tanking him near it and having them dip in and out of it might be worth it.
Occasionally, Baine will throw a totem at a random party member - getting hit by a totem will throw that person off the platform, but they should quickly get back to the totem, pick it up and throw it back at Baine. Throwing his totem back at Baine before it disappears will take off 10% of his health, stun him for several seconds and also make him take double damage.
If you don't kill him quickly enough, Baine might jump onto a platform and pulverize it, which deals some damage to everyone on the platform and completely destroys it. If that happens, the party members on the destroyed platform should seek refuge on the tank platform and continue the fight as normal. It's worth spreading out over multiple platforms so less people have to move should this happen.
Echo of Tyrande will greet you in the Emerald Dragonshrine. Once you enter this area, you'll see a bunch of Nightsabers and a fountain of light. Drag any nightsabers that appear into the fountain of light and kill them there. Once the fountain disappears, move on to the next one (be sure that no party member gets left behind) and then repeat the process. After 5 fountains of light and many Nightsabers, Tyrande will spawn.
This is a very straightforward encounter. Basically, you want to avoid standing in anything Tyrande throws at you. Her basic attacks, Moonbolt and Stardust are unavoidable, but everything else is. She'll start out by throwing out Moonlances, which start out at her spawn point and travel outwards in a straight line. Standing in one will stun a player for 5 seconds and inflict some damage.
Her next avoidable ability is Eyes of the Goddess, little white balls of light that travel in a circular motion around the area. Standing in one will inflict significant damage and silence a player for 5 seconds. Think cyclones on Alysrazor, except less deadly.
When she's at 30% health, Tyrande will summon down Tears of Elune, which are blue missiles dropping out of the sky. Angling your camera upwards and zooming out should allow you to dodge most if not all of them. They don't deal much damage anyway though, so getting hit by them isn't the end of the world.
At 80% health and 55% health, Tyrande gains a stacking casting speed buff, for a combined total of 50% increased casting speed. This shouldn't be an issue, though. Damage is still low provided your party members don't stand in everything they possibly can.
Echo of Sylvanas will greet you in the Ruby Dragonshrine. I didn't notice anything particularly challenging about the trash leading up to her, so just kill the packs. You can ignore the vultures to the right.
Sylvanas is also fairly straightforward. Have your ranged members spread out at the beginning of the fight, so it's never more than one person that gets hit by Blighted Arrows. Blighted Arrows form a purple line on the ground and will deal damage as well as snare anyone within it, so just get out if she happens to cast it on you.
She also has two AoE abilities called Unholy Shot and Black Arrow which she'll use on a random party member and everyone nearby, which makes it an even better idea to stay spread out. Both of these will inflict 50000 damage to the target and everyone within 10 yards.
The key mechanic of this encounter is The Calling of the Highborne, where Sylvanas will ascend towards the sky and pull every party member towards her. A bunch of ghouls will spawn in a circle around her and start moving towards her. When the ghouls reach her, she'll sacrifice them which deals 300k damage to everyone within 10 yards. Moving through the ring of ghouls also inflicts massive damage, so the objective here is to mark ONE ghoul and have everyone kill it, which leaves a hole in the ring of ghouls that your party can escape through.
Once out of the ring, wait behind the missing ghoul until Sacrifice is cast, then spread out quickly as she'll follow it up with Blighted Arrows. Resume the fight as per normal until she's dead - she should not cast more than 2 Calling of the Highbornes before she dies.
Lastly, Murozond will await you in the Bronze Dragonshrine. He's your final opponent. Take out both trash packs and Murozond will become available. Have your tank face him away from the rest of your party, as he has a Flame Breath. Melee can safely stand as his back or his side. Have one party member stand near the hourglass in the middle of the area and have him click it around 80, 65, 50, 35 and 15% health - this will rewind time and reset all of your party's ability cooldowns as well as restore mana and health, which makes this fight incredibly easy. Also, Nozdormu will stand by and buff your party with Blessing of the Bronze Dragonflight, greatly increasing attack, casting and movement speed.
Murozond will throw Distortion Bombs at random party members, just get out of these when they're on you and enjoy this fun fight!
That concludes the "End Time" instance. I hope you enjoyed this walkthrough! {/ tabs}
Videos
Achievements
Pending
Botín
| Echo of Baine |
Common Equipment
|
Bain
|
| Echo of Jaina |
jaina
|
|
| Echo of Sylvanas |
sylvanas
|
|
| Echo of Tyrande |
Tyrande
|
|
| Murozond |
|
|
Stock
{tab = End of days}


{tab = Baine}

{tab = Jaina}


{tab = Sylvanas}


{tab = Tyrande}


{tab = Murozond}


{tab = Others}


{tab = Loading Screen}
{/ Tabs}
Thanks to the database Wow head y Tank Spot
Great I would love to give myself kisses with silvanas…. I say blows hehehe
that good looking
I want to know what addon they use for the life bars 🙁
It's the TiddyPlates addon
The ability that does massive damage to the entire party if not "caught" by someone is not the pyroblast, it is the flare
Thanks for the note, we have corrected that detail.