
Hey good! How are you doing with the new expansion? Today we want to bring you this guide on one of the new dungeons in Battle for Azeroth, Atal'Dazar, in collaboration with our colleagues Yuki and Zashy. Let's get to the point!
Atal'Dazar
Atal'Dazar is one of the new dungeons that has been introduced together with the new expansion of World of Warcraft Battle for Azeroth, a dungeon that is located in Zandalar, specifically in Zuldazar.
For millennia, the Zandalari kings have had their last rest in the tombs of Atal'Dazar, hidden atop Mount Mugamba. These pyramids became more elaborate with each ruler, as new rooms were built to house the vast wealth of the deceased. Now, these once pristine halls have been corrupted by the prophet Zul and his faithful lieutenant, Yazma, who seek to use the power of these ancient kings for their own dark machinations.
This dungeon has 4 different bosses and, unlike other dungeons, this one does not grant mount on Mythic difficulty.
Before starting with the complete guide on this dungeon, we want to inform you that this guide is possible thanks to the collaboration with Yuki y zashi.
Here is the complete guide to Atal'Dazar:
Without further ado, let's get started with the bosses guide.
Priestess Alun'za

La Priestess Alun'za will be the first boss we will meet, although we can face Vol'Kaal o They pray in the first place since, between these bosses, the order does not matter.
As a fanatic defender of the golden sanctum of Atal'Dazar, Priestess Alun'za has come to cleanse the temple of all corruption at all costs.
Summary
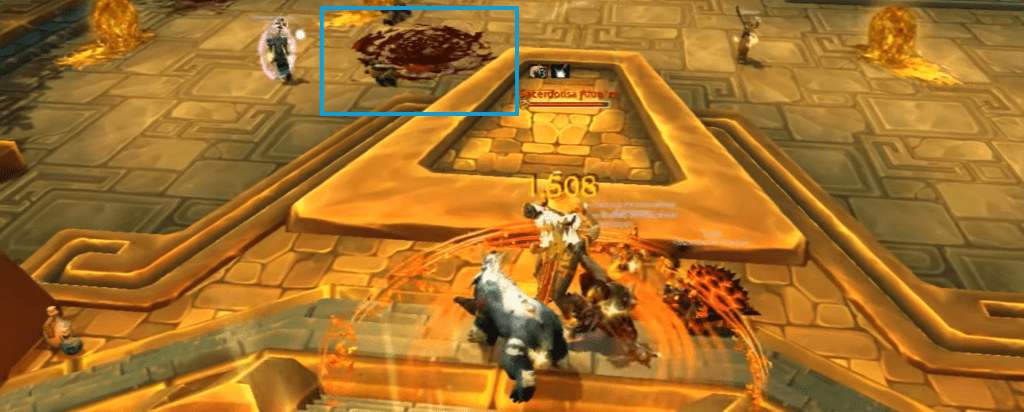
As featured in the Adventure Guide, Priestess Alun'za hurls pools of Corrupted Blood at random locations, covering random players with Corrupted Gold. When Priestess Alun'za reaches 100 energy points, she casts Transfusion.
Skills
Other targets during combat
Tips
- Get near a puddle of Corrupted blood and step on it just as Priestess Alun'za starts to cast Transfusion.
-Tanks
- Reserve damage reduction abilities for Golden claws.
- The Golden spirits they will ignore the combat as long as there is a puddle of Corrupted blood.
-DPS
- Corrupted gold It will reduce the damage you deal, and it will also deal damage to you.
- The Golden spirits will absorb the Corrupted blood if not deleted.
-Healers
- Molten gold affects a random player and can be dispelled if necessary.
Strategy
When we start the match against the Priestess Alun'za, your energy bar will be completely empty and will fill up throughout the encounter. Once she accumulates the maximum 100 points of energy, the priestess will begin to channel Transfusion. This ability will allow him to heal if we do not do the mechanics well and the only thing we will have to do to avoid it is to stand on one of the pools of corrupted blood that we can find on the stage. Once we have placed ourselves on one of the puddles, we will receive Corrupted blood for a short period of time. As long as the priestess is channeling Transfusion and let's all count on the debuff, it won't heal and take extra damage.
Another of the mechanics that we must take into account are the yellow orbs that are in the room. These orbs will apply to us Corrupted gold if we touch them, reducing the damage we deal by 30% and dealing damage over time to ourselves. To perform this mechanic we simply have to move so that we do not touch them.
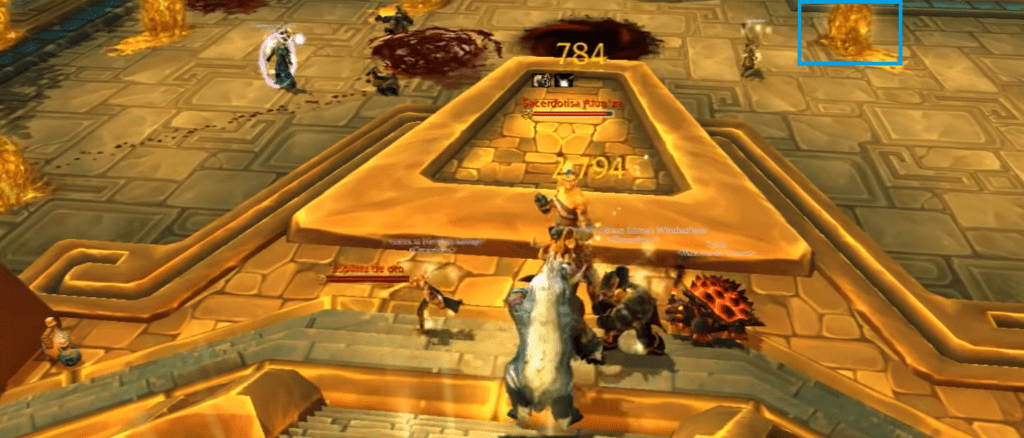
During the encounter, very occasionally, the priestess will apply Molten gold to a player randomly, dealing damage every 3 seconds for the next 30 seconds. This ability is the healer's job to dispel.
Lastly, the boss will summon a Golden spirit that we will have to focus since, as soon as it appears, it will go to the pools of corrupted blood. This should be avoided since what it will do is consume them and will not allow us to perform the mechanics of Transfusion correctly. This spirit is vulnerable to crowd control abilities.
Vol'Kaal

Vol'Kaal he will be the next boss we face with some interesting mechanics.
In life, Vol'kaal was Yazma's loyal bodyguard. After his untimely death, she used her new powers to revive the corpse of her former lieutenant, who can now serve her for all eternity.
Summary
Vol'Kaal empowers himself with Yazma's Evil Voodoo until all revive totems are destroyed. From then on, Vol'kaal begins to apply Rapid Decomposition.
Skills
Other targets during combat
Tips
- Evita Toxic jump.
- Avoid the Toxic puddles.
-Tank
- Interrupts Noxious stench.
-DPS
- Interrupts Noxious stench.
- Healer
- Noxious stench Deals periodic damage to all players.
Strategy
Phase 1
This meeting consists of two phases. During the first phase, our main objective will be to destroy the different Revival totem. In higher difficulties, these totems must be destroyed practically at the same time or, at least, with 7 seconds of difference since if we do not do it correctly, they will begin to channel the ability Revive, healing for life. As long as the totems are alive, the boss will have the buff Evil voodoo y he will take no damage at all.
During this first phase, Vol'Kaal will use different faculties. With Toxic jump It will select a player's location (easily distinguishable as it is marked with a green area) and, after a few seconds, the player will launch to the selected location, dealing massive damage to targets within the area.
Noxious stench It will be another of the faculties that we will have to deal with although, unlike other abilities, this one can be interrupted. The idea is that, as soon as it begins to channel it, it is interrupted since every two seconds that pass, all players will get the debuff Persistent nausea, dealing constant damage to the affected caster. This debuff can be dispelled.
Phase 2
Once we destroy the three totems on the stage, the boss will lose Evil voodoo and you will get the debuff Fast decomposition, in addition to being able to attack him directly. However, a new mechanic is introduced to combat, invoking numerous Toxic puddles all over the stage. These puddles inflict a moderate amount of damage over time if we stay on them, so we will have to be a little careful where we leave the puddles.
Finally and as in the first phase of the encounter, the boss will continue to channel Noxious stench occasionally. Remember to cut the pipeline as soon as possible!
They pray
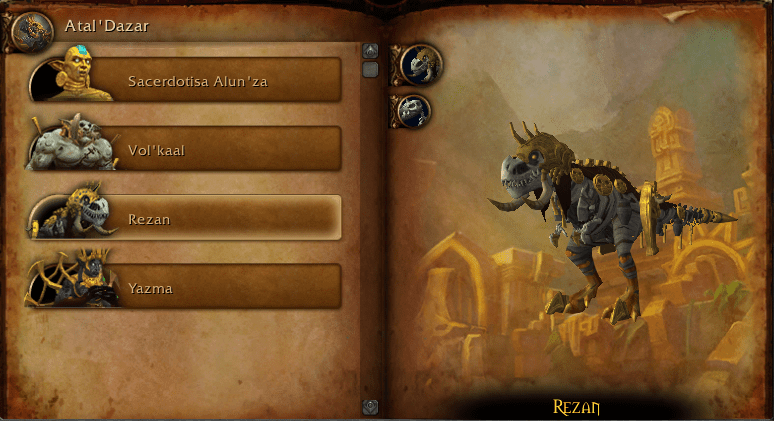
They pray It will be our third confrontation. We can access this meeting from almost anywhere in the dungeon since, being the bottom part, we can simply jump and get to the boss.
Rezan, who was one of the kings of Zuldazar, saw his soul ripped from his body during a ritual. Now there is nothing left but a twisted shell determined to devour whoever enters its hunting ground.
Summary
Rezan deals heavy physical damage with Serrated Teeth, Devours random players, and scares all players with Dread Face.
Skills
Other targets during combat
Tips
- Stay out of Rezan's line of sight when he uses Scary face.
- Escape from Rezan when he starts to To pursue, and dodge the Ancient dry bones while you try to run away.
-Tank
- Use damage reduction abilities when under the effects of Serrated teeth.
- Protect your allies from the reanimated raptors that emerge from the piles of bones.
- Healer
- The tank will take significantly more damage under the effects of Serrated teeth.
- When they pray Devour a player takes large amounts of damage.
Strategy
During the match against this boss, we will have to take into account different mechanics.
Throughout the stage, we can see that there are scattered a lot of bones with small purple smoke.
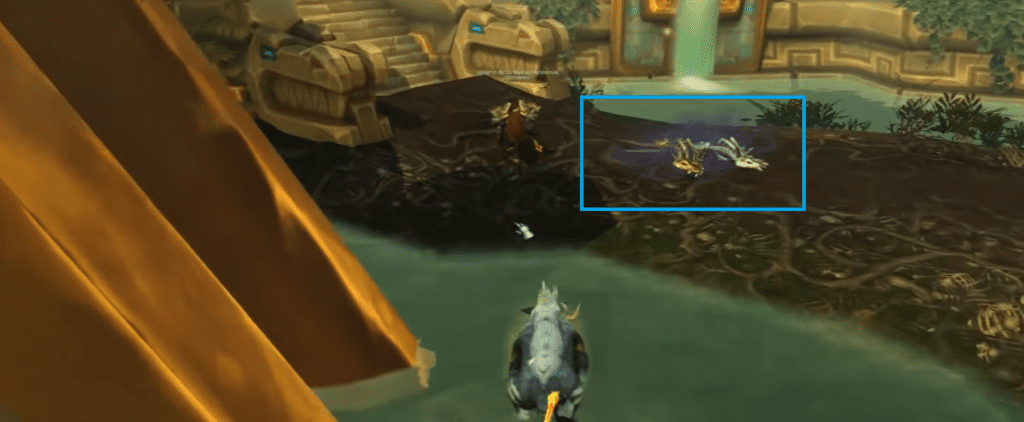
These piles of bones will revive an undead raptor if we step on them, adds that the aggrear tank will have to take care of. Also in higher difficulties, we will not only revive a raptor if we step on them but, in addition, They pray it will also revive them. The idea is to tap the boss near one of the stairs. We do this solely because the boss will channel the faculty Scary face, terrifying all the objectives that are in its range of vision, mechanics that we can easily avoid by getting behind some object or structure.
In addition, They pray will start To pursue to any of the players randomly. The marked objective must flee from it since if it reaches it, the boss will pick it up and use Devour, dealing a large amount of damage to him.
Serrated teeth will be one of the faculties that They pray will channel over the tank. Here the most appropriate thing to do is to use damage reduction.
Writing
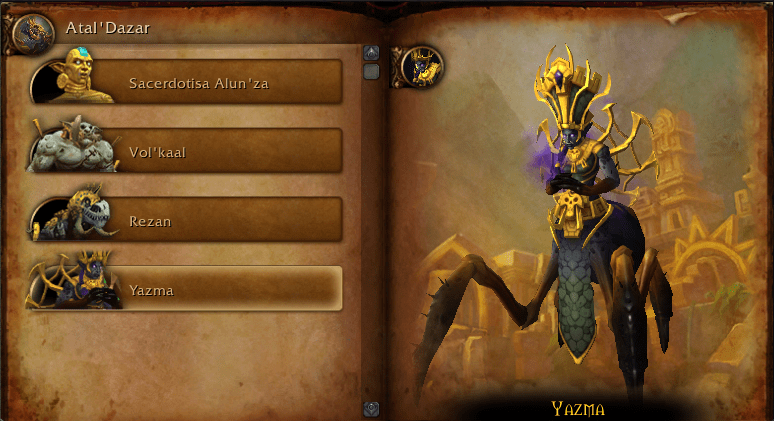
Writing She is the last boss of this dungeon. Before reaching this boss, we must be careful with the spiders that we will find when trying to climb the stairs as they will inflict a large amount of damage on us. The most sensible thing is to avoid them until you reach the top.
After consuming Shadra's might, the spider loa Yazma now has a duty to protect the holy temple of Atal'Dazar for her master, the prophet Zul.
Summary
Upon reaching 100 energy points, Yazma summons the souls of players affected by Soul Rend, creating a Soul Spawn that advances towards her.
Skills
Other targets during combat
- Spawn of Alma
Tips
- Evita Echoes of Shadra.
-Tank
-DPS
- Kill the soul spawn before they reach up Writing.
- Get away from Writing when you are under the influence of Soul tearing.
- Healer
- Get away from Writing when you are under the influence of Soul tearing.
Strategy
As soon as we start the meeting, we will realize that the boss has her energy meter empty. As with the first boss, this one will channel Soul tearing when you complete your energy bar, which is the same, when you reach 100 energy points. This ability will affect all players except the tank. When channeling this ability, all players except the tank will need to move as far away from the boss as possible as they will leave a Soul Spawn in place. These monsters will slowly walk to the position of Writing, exploding, cursing us with Feast of Souls for each spawn that has hit him and inflicting a large amount of damage to all players. To avoid this, we will simply have to focus on them as soon as we leave to prevent them from reaching the boss. Some of the damage that these spawns receive will be redirected to the linked target, so we will have to be careful.
Every so often, the boss will start channeling the faculty Excruciating pain, ability that can and should be interrupted or we will receive a large amount of damage and adding a curse that can be dispelled.
Writing will also invoke some Echoes of Shadra on the stage. These spiders are an exact copy of the spiders that we found on the stairs when we reached Writing. We only have to dodge them since when they come into contact with them, they will explode and leave a dark pool that will slow us down.
And so far this guide to the Atal'Dazar dungeon. We hope it has served you and, above all, we thank you once again Yuki y zashi for collaboration.
You can access his YouTube channel to see the rest of the guides from the following link:
Greetings from GuíasWoW and a big hug (>^.^)> hug <(^.^<)!