
Hey good! How are you doing with the new expansion? Today we want to bring you this guide on one of the new dungeons in Battle for Azeroth, Kings Rest, in collaboration with our colleagues Yuki and Zashy. Let's get to the point!
Kings' Rest
Kings' Rest is one of the new dungeons that has been introduced along with the new expansion of World of Warcraft Battle for Azeroth, a dungeon that is located in Zuldazar.
Few places in Zandalar are more sacred than Kings' Rest. Every king, conqueror or tyrant who has had control of the Zandalari empire rests in this great city of the dead, to protect not only their bodies, but also their spirits.
Only the clergy and royalty of Zandalar are allowed in, but Zul's dark magic spreads through the tombs, so you must step inside and end the darkness that lurks there.
This dungeon has 4 different bosses and on Mythic difficulty, there is a chance that the last boss Dazar, the first King I gave you a mount as a reward, Mummified Raptor Skull:

Before starting with the complete guide on this dungeon, we want to inform you that this guide is possible thanks to the collaboration with Yuki y zashi.
Here we leave you the complete guide to Reposo de los Reyes:
Without further ado, let's get started with the bosses guide.
Golden snake
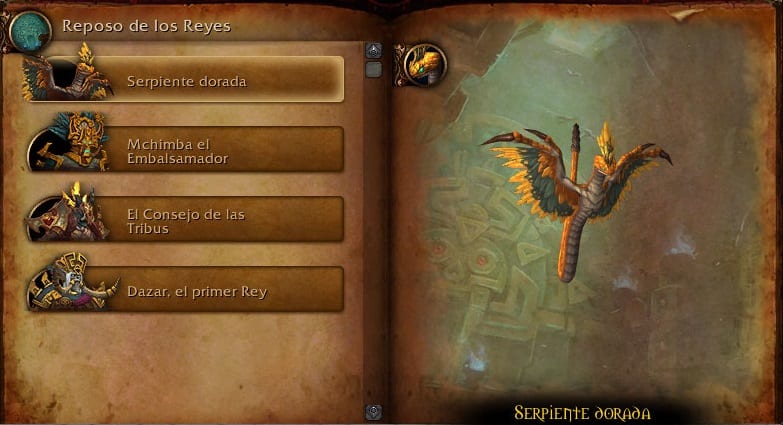
Kings Rest has been attacked before. After a foolish troll tried to summon Hakkar the Soulcatcher on this island millennia ago, the priests of Zandalar created a powerful assemblage to defend this tomb. The golden serpent has stood guard to defend it from intruders ever since, and is in charge of judging who can access the sacred chambers.
Summary
The golden snake spits gold at the party members, who then leave the gold behind in the form of molten Gold. The golden serpent will then animate these pools of gold with Lucre's Call. Kill animated molten gold before it reaches it to prevent it from boosting it with Luster.
Skills
Other targets during combat
- [*]> Animated gold > Chandelier
Tips
-Tank
- When the golden snake wears Lucre's CallMove it away from the gold puddles to give players a chance to kill the animated gold before it reaches the boss.
- Thrashing tail inflicts serious physical damage.
-DPS
- Stay away from the golden snake and your party members when it affects you Spit gold to better position the Molten gold.
- Use stun, root, and knock effects to help your party prevent animated gold from reaching the golden snake.
- Healer
- Players affected by Spit gold they will take a lot of damage.
Strategy
This first boss has a very, very simple mechanic.
First of all, from time to time the boss will use the faculty Spit gold on a random player, dealing damage over 9 seconds. This debuff will leave a pool of gold upon expiration under the affected caster's feet. Staying over this area will deal damage. The idea will be to leave the puddles in a corner of the stage since, after some puddles of gold, the boss will launch the faculty Lucre's Call, creating a Animated gold on each of the pools of gold that we have left. These will slowly move up to the boss, channeling Chandelier about it if they can reach it. These mobs can be rooted, pushed, stunned ...
In addition, we will also see Serpentine puff, having to get away from him so as not to be thrown into the air and receive extra damage and Thrashing tail, doing direct damage to the tank.
Without any more mechanics, we will have defeated this boss.
Botín
Mchimba the Embalmer
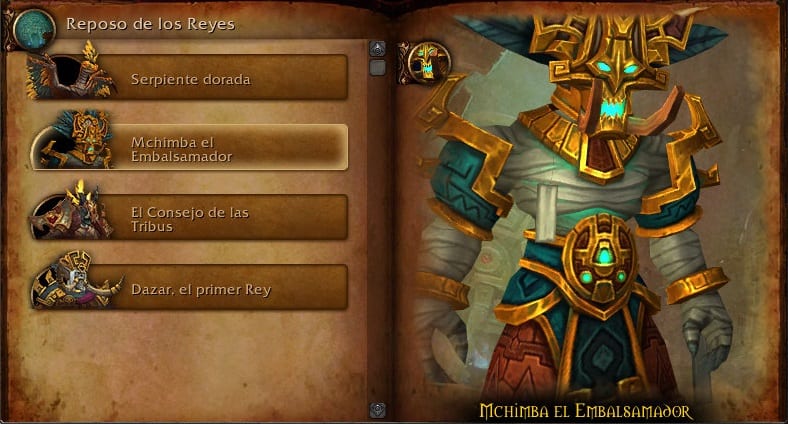
There was once a Zandalari caste whose purpose was to preserve and defend the remains of rulers from the past. But when a terrible plague of corrupted blood swept through the empire, it became too dangerous for mortals to care for the dead. They invoked golems to carry out the dire tasks of preservation and burial; They have used them ever since.
Summary
Mchimba the Embalmer is an enchanted construct to entomb the ancient kings of Zandalar that uses its powers to confine players and prepare them for their eternal rest.
Skills
- Burn corruption > Burn corruption
- Drain fluids > Desiccation
- Confine > Open sarcophagus / Struggle / [*]
Other targets during combat
Tips
-Tank
- Evita Burn corruption.
- If you are under the influence of Confine, Start a Struggle so your friends know what sarcophagus you are!
- When there are players under the influence of Confine, Look for signs of your Struggle to free them!
-DPS
- If you interrupt Drain fluids with immunity, you will avoid Desiccation.
- If you are under the influence of Confine, Start a Struggle so your friends know what sarcophagus you are!
- When there are players under the influence of Confine, Look for signs of your Struggle to free them!
- Healer
- Heal suffering players Desiccation above 90% of your health to remove it.
- If you are under the influence of Confine, Start a Struggle so your friends know what sarcophagus you are!
- When there are players under the influence of Confine, Look for signs of your Struggle to free them!
Strategy
This encounter can become the most complicated of the dungeon, especially in greater difficulties. The boss puts good ostiotes in the tank and it takes some attention to get through it smoothly.
First, the boss will use Burn corruption, leaving large areas of fire that we must avoid, since if we stay on them, they will inflict large amounts of damage.
Another of the faculties that we will see is Drain fluids, channeling it onto a random player, dealing damage every second, and if it ends its channeling, applying Desiccation to the affected player. To avoid this, we must heal the player above 90% of their maximum health to avoid the extra damage.
Lastly, the boss will use the faculty Confine, transferring one of the players into one of the four sarcophagi of the encounter. During this ritual, the boss will go to the sarcophagi in which the trapped player is not located to free one of the Half finished mummy, being priority in the event that they appear. ANDThe affected player must use the ability that will appear on the screen Struggle, which will help our allies to discover in which sarcophagus we are locked. The rest of allies, obviously, will have to try to find the sarcophagus in which the trapped player is to free it and interrupt the ritual. Obviously, we must free the trapped ally before the boss has time to open the sarcophagi.
Botín
The Council of Tribes
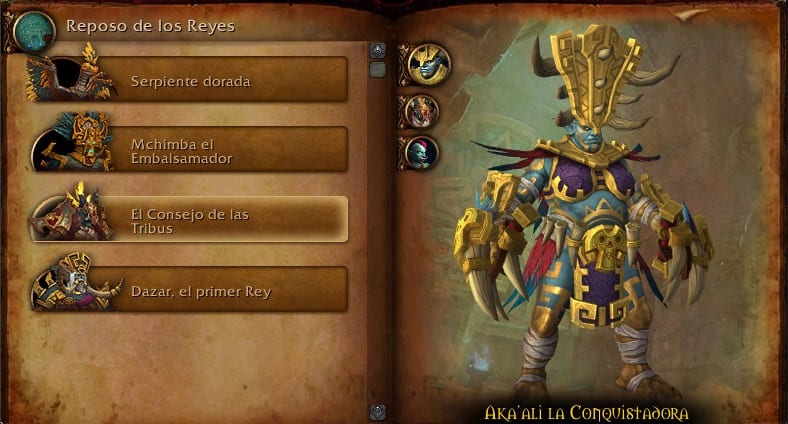
There was a time when Zandalar could not be ruled by a single emperor. After a period of civil war, the heads of three families formed a fragile coalition and tried to rule the empire together, although they did not always agree, there was peace in Zandalar. For a while.
Summary
The battle will begin with one of the three advisers. The order in which advisors join the battle changes from week to week.
When one advisor is defeated, he returns to his ballot box and the next one joins the encounter. However, the defeated advisor will periodically return to combat to use a single ability and then return to his urn.
The encounter ends when the three councilors have been defeated.
Skills
Other targets during combat
[*]:
- Explosive totem > Exploit
- Thundering totem > Strident collision
- Torrent totem > Torrent
- Earth Wall Totem > Earth wall
Tips
-Tank
- El Weakening backhand from Aka'ali the Conqueror will deal much more damage and apply Disarmed defenses for a short time, so try to stay away from her when she affects you.
- All the Spinning axes Kula the Butcher's start near her, making it easier for you to dodge them if you get out of melee range.
- Stand in front of the players who are the target of Cross to reduce the damage they take.
- Interrupts the Venom Nova of Zanazal the wise.
-DPS
- Stand in front of the players who are the target of Cross to reduce the damage they take.
- Interrupts the Venom Nova of Zanazal the wise.
- Prepare to quickly kill Zanazal the Wise's totems when he casts Call of the elements.
- Healer
- El Weakening backhand from Aka'ali the Conqueror will deal heavy damage to the tank.
- El Mutilating ax Kula the Butcher deals serious damage over time.
- If Zanazal the Wise's thunderous totem succeeds in completing its cast of Strident collision, will interrupt the casting of spells, so stop your casting if you manage to complete it to avoid blocking.
Strategy
In this encounter and as it happened in Free Fort, there will be three enemies of which, one of them, will help us in the fight against the tribes of Zandalar, being a different one each week.
Bosses will perform different abilities depending on the objective:
- Kula the Butcher will use Mutilating ax (a faculty that hurts over time) and Spinning axes (an attack in a rotating area that we must dodge).
- Aka'ali the Conqueror will use Cross (Aka'ali will charge a target player and hit all players between her and the selected player) and Weakening backhand (blasts his current target with a debilitating backhand, dealing significant physical damage and knocking them back, as well as applying Disarmed defenses. This effect should be eaten by the tank.)
- Zanazal the Wise will use Lightning bolt (interruptible), Venom Nova (interruptible and, in addition, mandatory) and Call of the elements, invoking the four totems at the same time and performing different abilities. The totems will be a priority at all times to avoid all the damage they can inflict.
Botín
Dazar, the first King

Dazar was the founder and first King of Zandalar, and he led the exodus of his people to leave the quagmire behind and build a city of gold. He was the first tamer of raptors. The undefeated warrior. The father of a kingdom.
Zul's dark magic has awakened him from his rest, so it is up to you to return him to his eternal sleep.
Summary
Dominated by Zul's dark magic, Dazar returns from the dead with his overwhelming martial prowess intact.
Upon reaching 80% health, he summons his hunting raptor Reban to join the fight.
Upon reaching 60% of his health, he rides on T'zala, his faithful steed, who protects him with Eternal Guard.
Lastly, upon reaching 40% of his health, he activates spear throwers in his room, which fire at players until Dazar is defeated.
Skills
Other targets during combat
Tips
-Tank
- The last two strokes of Blade Combo they inflict very serious damage. Reserve defensive powers for them.
- When Reban joins the battle, intercept him before he attacks other party members.
-DPS
- If you are the target of Seismic jump, stay away from the group! If another player is the target, stay away from him!
- Healer
- Blade Combo it will deal a lot of damage to your tank.
- Seismic jump Deals damage to the party, which will be less the further you are from the targeted player. If you are the target, stay away from the group and other selected players!
Strategy
This meeting is just as simple as the rest, we will only have to take into account certain mechanics.
The first faculty and the one that we will have to take care of the whole group is Gale Slash, invoking a whirlwind that will circle throughout the combat zone. Avoiding it will be the most opportune since, when coming into contact with it, it will apply a fairly long damaging effect cumulatively.
Second, you will also use Seismic jump, marking a player and after a few seconds, he will jump to his location, damaging all players who are close enough to the attack.
In third place, Blade Combo Only the tank will take it, dealing large amounts of damage for each slash. It is best to use defensive abilities at this time.
When the boss reaches 80% of his maximum health, he will appear Slice using Hunting jump on a random player, dealing damage head-on.
When the boss reaches 60% of his maximum health, he will appear T'zala but it will continue to be Slice in combat T'zala will use Sepulchral roar, doing damage to the whole group and applying fear to us for a couple of seconds. Finally, all the damage we inflict on T'zala, you will be redirected to the boss thanks to Eternal guardian.
When both partners die, the boss will start using Impaling spear against his enemies, marking a large number of areas in the combat area that, after a few seconds, the spears will fall, dealing damage to the players hit and stunning them for a couple of seconds. Just dodge all the areas.
Botín
And so far this guide to the Kings Rest dungeon. We hope it has served you and, above all, we thank you once again Yuki y zashi for collaboration.
You can access his YouTube channel to see the rest of the guides from the following link:
Greetings from GuíasWoW and a big hug (>^.^)> hug <(^.^<)!